
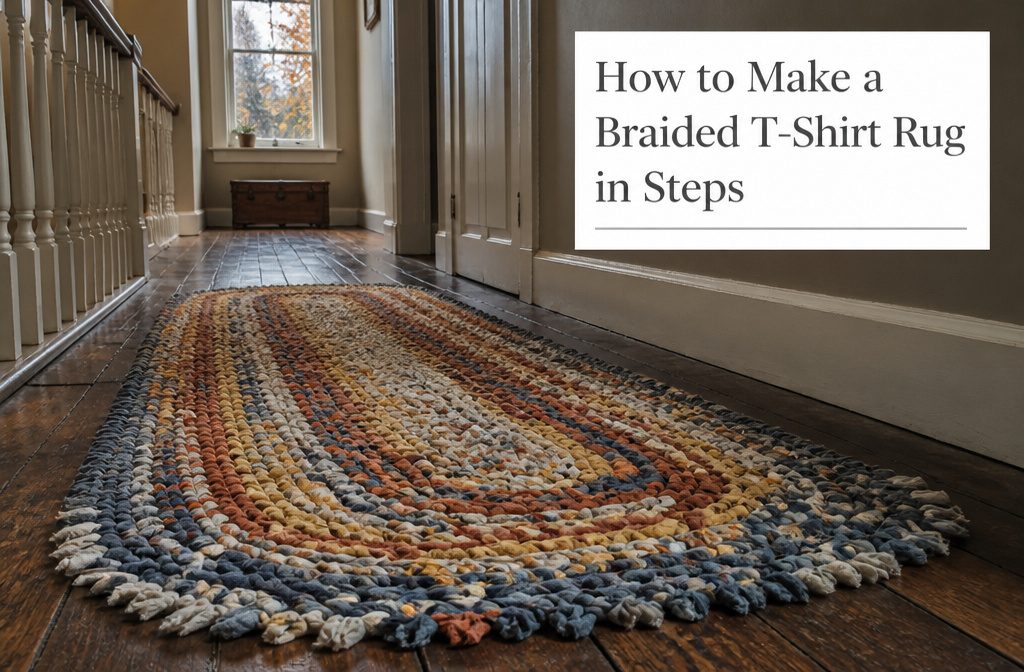
A t-shirt rug is a flat, woven or braided floor covering made from cotton shirts cut into continuous strips, then assembled without sewing or with minimal stitching.
The finished piece will bunch and curl if the strips are cut too wide or the tension is inconsistent, which is why most successful versions use 1.5- to 3-inch strips pulled tight as you braid.
Expect to cut fifteen to twenty shirts for a rug around 30 inches across.
1. No-Sew Braided T-Shirt Rug
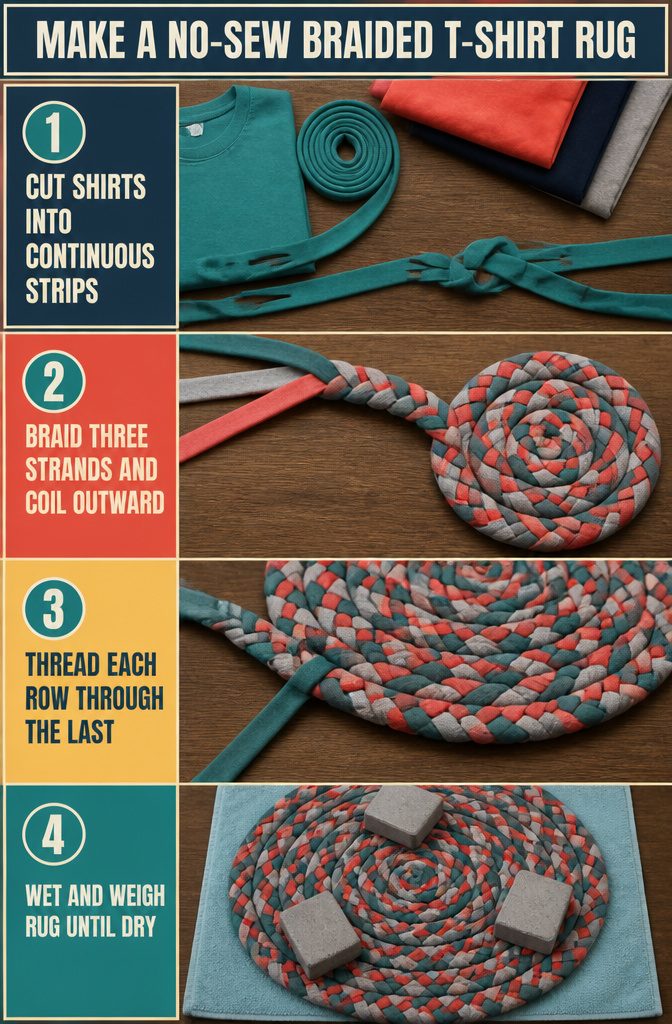
- Cut the shirts into continuous 1.5-inch-wide strips by slicing around each shirt in a spiral, starting at the hem and working up. When you need to join a new strip, cut a small slit near the end of each piece, thread one through the other, and pull the long tail through its own slit to lock them together.
- Braid three strands together using a standard three-strand braid. After the first 4 inches, start coiling the braid flat in a spiral, working outward from the center. Attach each new row by passing the active strand through loops in the previous round rather than sewing.
- Keep coiling and threading until the rug reaches the size you want. The rug will likely bunch as you work and after a few weeks of use. You can flatten it by wetting the surface, laying it flat, and weighing it down with heavy objects until it dries.
2. Braided T-Shirt Rug With Optional Machine Stitching
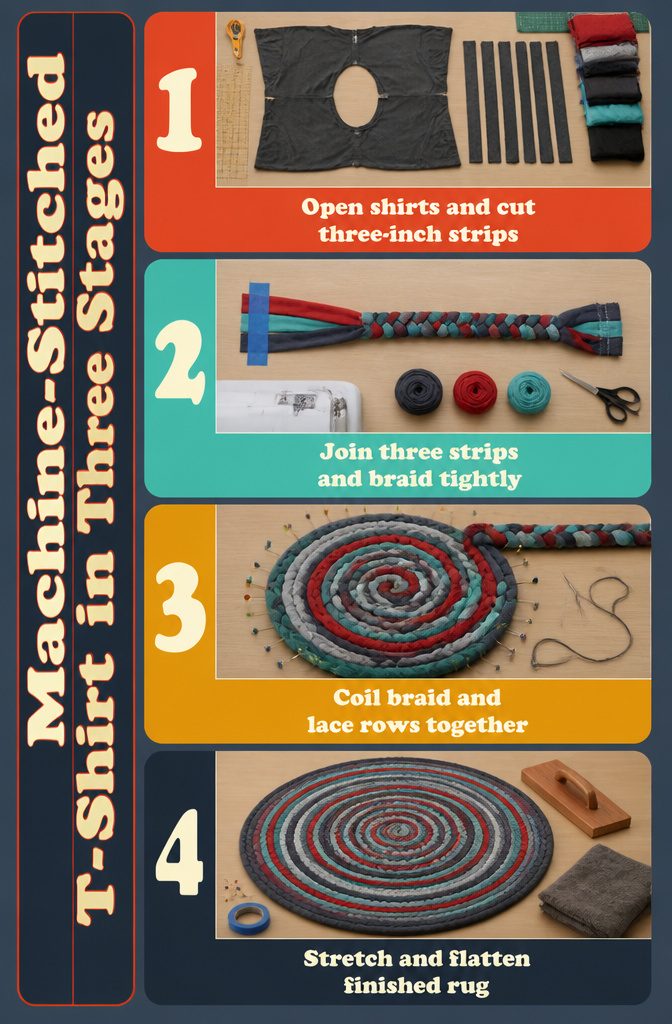
- Cut each T-shirt flat along the side seams up to the arms, trim off the sleeves, and open the shirt completely flat with the neck opening in the center. Cut the fabric in half along the shoulder seams, then slice lengthwise into 3-inch-wide strips. Repeat until all shirts are cut.
- Sew three fabric strips together at one end by hand or with a machine. Tape the sewn end to a flat work surface with painter’s tape to keep tension, then braid the three strips tightly together. When the braid is complete, stitch the loose end closed. Repeat this process with all remaining fabric pieces.
- Start coiling one finished braid flat on a table, keeping the spiral tight and level. Use straight pins to hold the coil in place if it shifts. Thread an embroidery needle and lace over and under each braided row, working right to left and top to bottom. Add braids one at a time, lacing each into the previous round, until the rug reaches your desired size. Stretch and flatten the finished piece before placing it on the floor.
3. Woven T-Shirt Rug
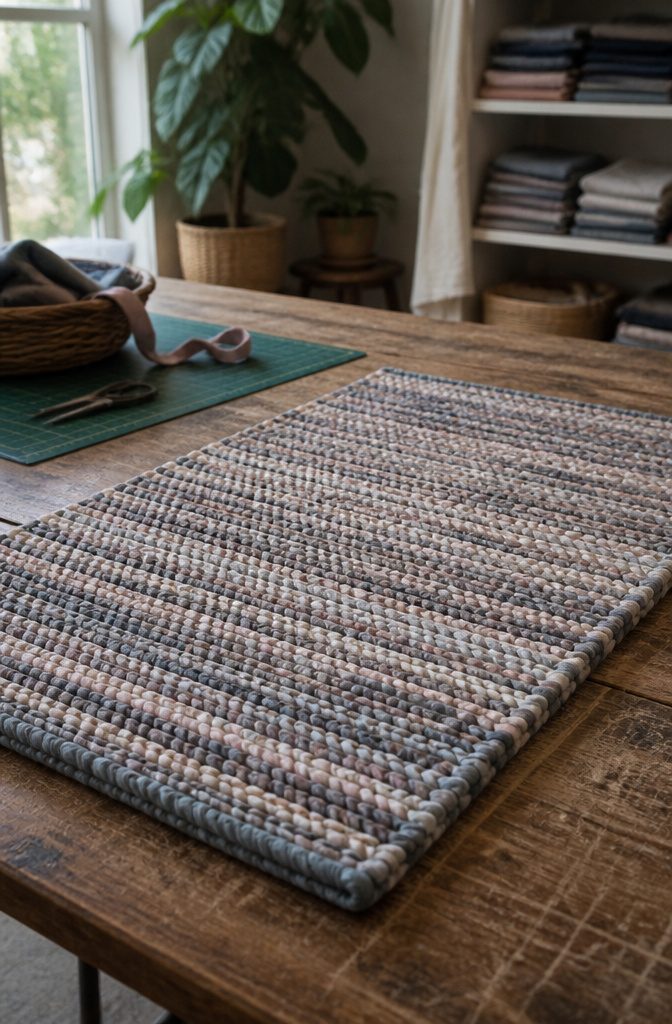
Knitting t-shirt yarn with size 35 needles in garter stitch stretches into something that looks like a pile of wet towels on the floor.
Knitting is meant to be stretchy, which makes it ideal for socks and sweaters but terrible for a stable rug surface.
Weaving worked better. Cut thinner strips and pull each loop tight so the knots stay small and the elasticity disappears as the raw edges curl in on themselves.
The weft should lie about pencil-size when doubled in the shed. I cut my first attempt too thick, and the elasticity caused loose weaving, uneven selvedges, and draw-in along the edges.
Once I adjusted the strip width and tension, the rug held its shape with good structure and an interesting texture from the knots.
Reusing Old T-Shirts and Clothes for Memory Rugs
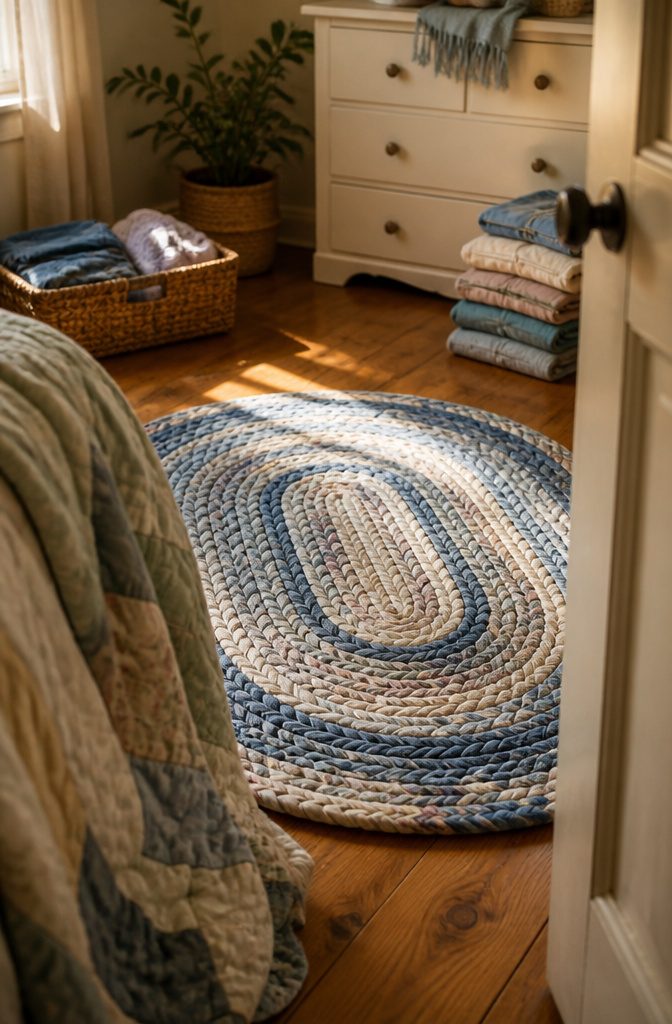
Sentimental or outgrown clothing makes excellent material for a braided rug.
T-shirts you no longer wear but can’t quite throw away—a daughter’s baby clothes, a son’s baseball shirts from every season, ten years of beach vacation tees—can become a memory rug you walk on every day.
The personal connection matters more than the fabric itself.
Old shirts, jeans, and blankets all work.
You need enough material in colors that pair well together. Coordinating shades give the finished rug a deliberate look rather than a chaotic one, but you can use whatever you have.
Baby clothes that have been outgrown are a natural fit for this project. They’re soft, already sorted by a short period of your life, and you get a rug that holds real weight instead of a box in the attic.
Choosing T-Shirt Colors and Fabric Weight
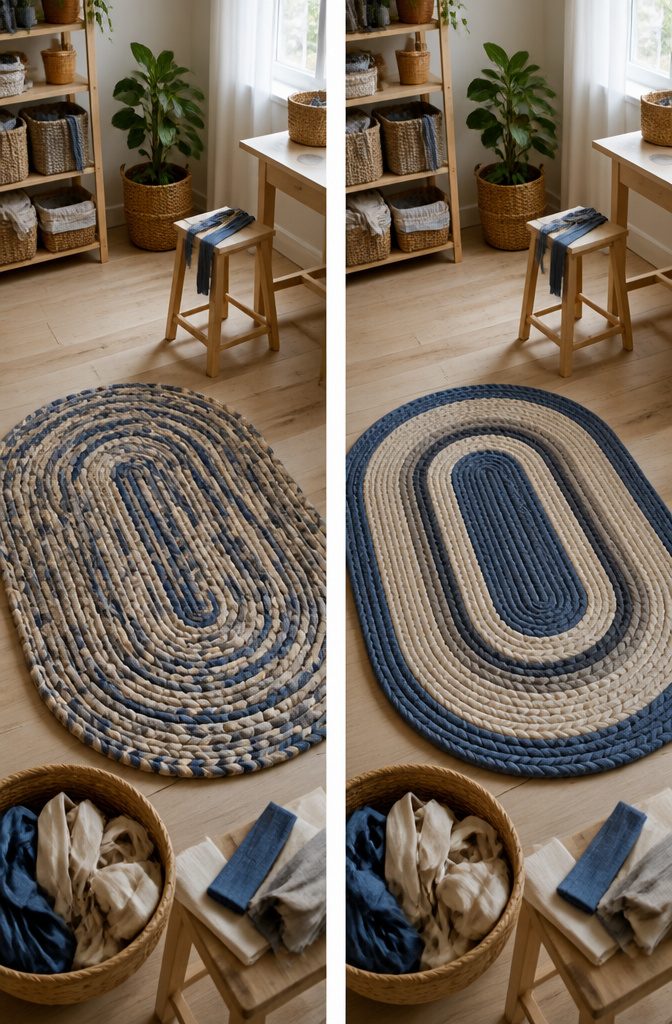
The color scheme matters less than you might think.
Coordinating tones like blue paired with neutrals give the rug a planned look, but an eclectic mix of every color works just as well if that is what your T-shirt pile offers.
The braid hides some of the contrast, so a rainbow assortment reads as textured rather than chaotic.
What does matter is fabric weight.
All the shirts should be the same material and roughly the same thickness. A heavy cotton tee braided alongside a thin jersey undershirt will twist unevenly and leave lumps where the thick fabric bunches.
The rug will buckle instead of lying flat. Stick to all medium-weight cotton or all the same weight of whatever material you have enough of, and the braid will stay smooth through every turn.
Size does not matter at all. A small shirt yields the same strips as a large one once you cut away the seams.
How Many T-Shirts You Need
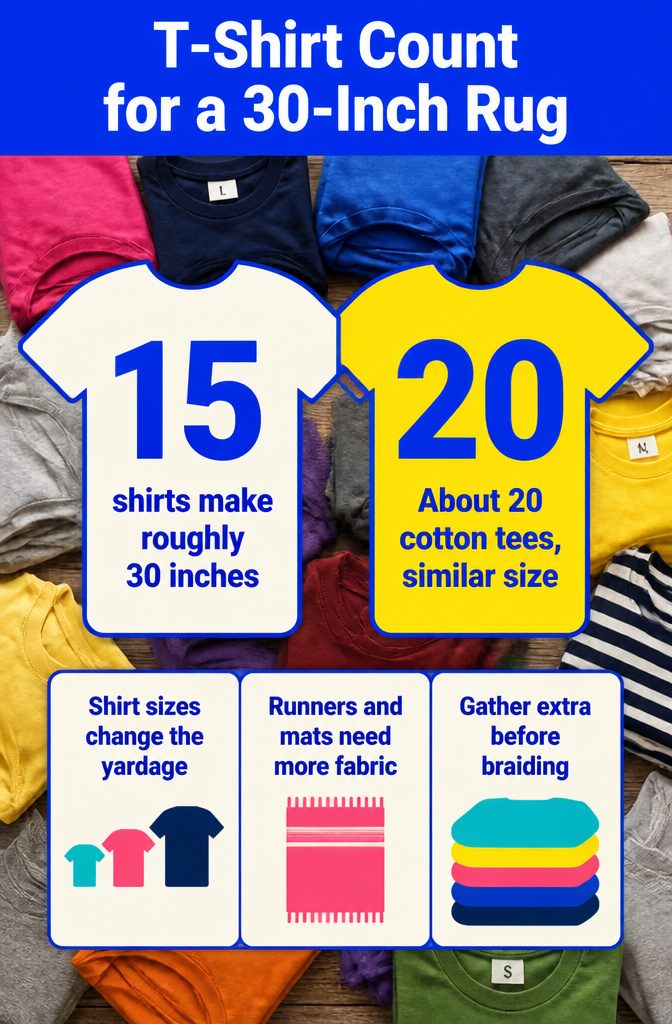
I used fifteen different-sized T-shirts for a rug that measured roughly 30 inches across. Another approach calls for about twenty cotton tees to reach a similar size.
The count isn’t exact because shirt sizes vary, and a men’s large gives you more yardage than a child’s medium. If you want a runner for the bathroom or a mat beside the bed, plan on more fabric.
The rug grows with every shirt you add to the braid, so the final size is really up to how many you’re willing to cut and how long you’re willing to braid.
I find it easier to gather too many at the start than to hunt for another three halfway through when the color balance is already set.
Tools and Materials That Make the Work Go Faster
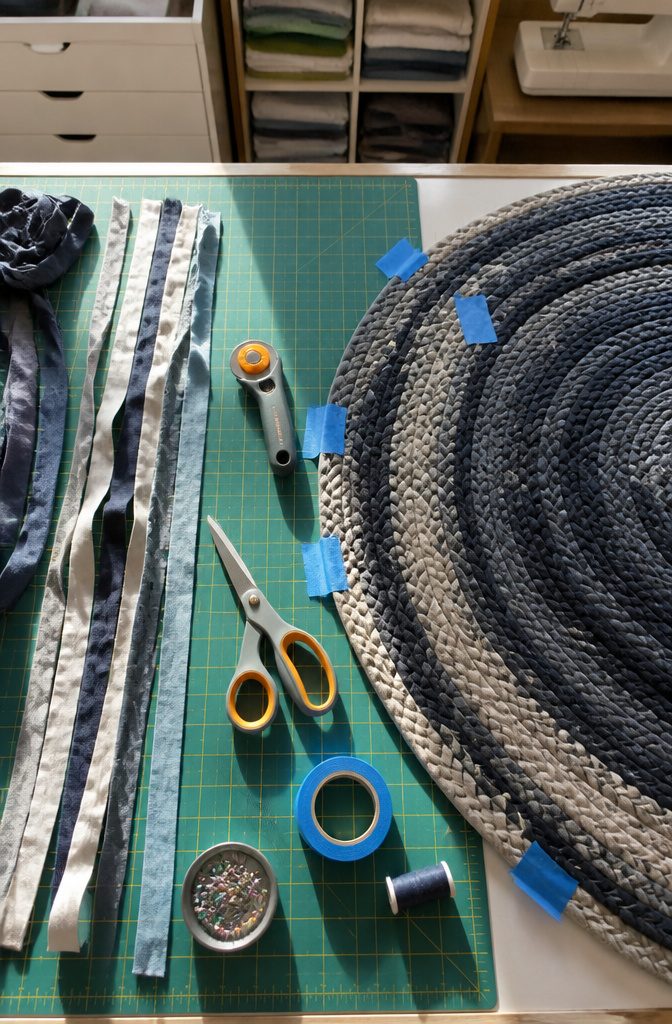
A rotary cutter and cutting mat will cut your prep time in half compared to scissors alone. I use fabric scissors for trimming and final snips, but the rotary cutter makes quick work of long strips.
Here’s what speeds the work:
- Rotary cutter and cutting mat for fast, straight cuts through jersey knit
- Fabric scissors for detail work and finishing ends
- Painter’s tape to anchor the braid while you work
- Embroidery needle and thread for lacing coiled braids together
- Straight pins to hold coils flat as you build the rug
- Sewing machine (optional) for joining strips or finishing ends faster than hand stitching
The Fraser Rag Cutter gets mentioned for cutting strips quickly, though a standard rotary cutter does the job.
A large flat work surface matters more than most tools. You’ll coil and pin the rug as it grows, and trying to manage that on a small table means constant repositioning.
Backing and Protective Finishes
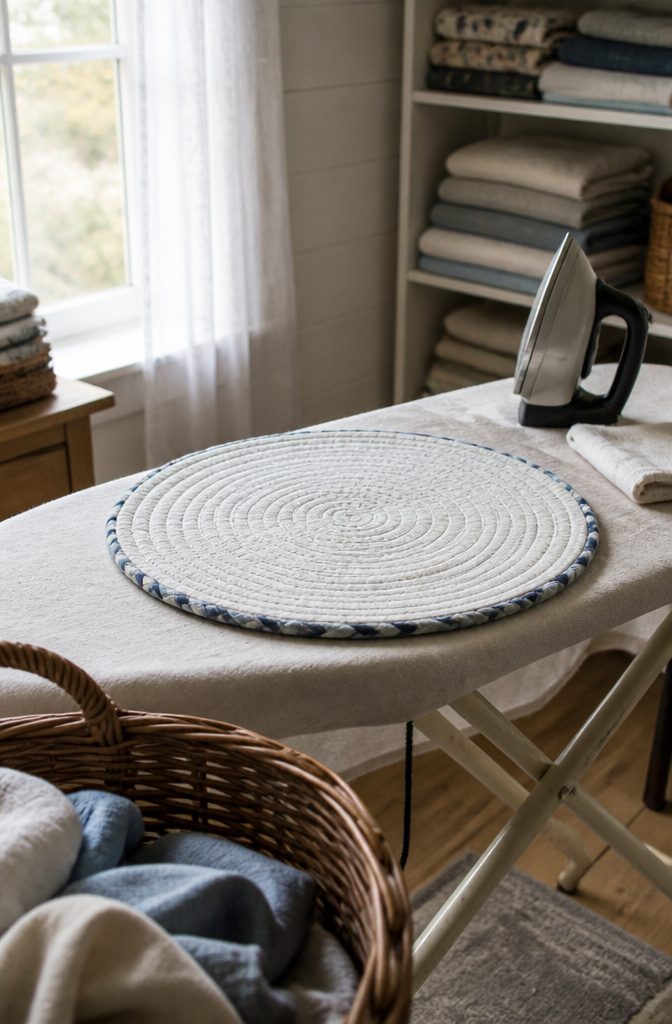
Finishing the back is optional, but it helps the rug hold its shape and stops it from sliding around on the floor. Fusible interfacing ironed onto the reverse side locks the braids in place without adding much weight.
You can find it at any fabric store, and it bonds cleanly when you press it with a hot iron, following the manufacturer’s instructions on the package.
If you would rather skip the iron, starch or Polycrylic spray work as alternative protective finishes.
Both stiffen the fabric enough to keep the rug flat and give it a bit of durability against wear. Starch is the lighter choice and washes out if you ever need to clean the rug by hand.
Polycrylic adds a harder, slightly glossy coat that seals the fibers. Either one goes on after the rug is complete and flat, sprayed evenly across the back and left to dry.
Flattening a Rug That Bunches
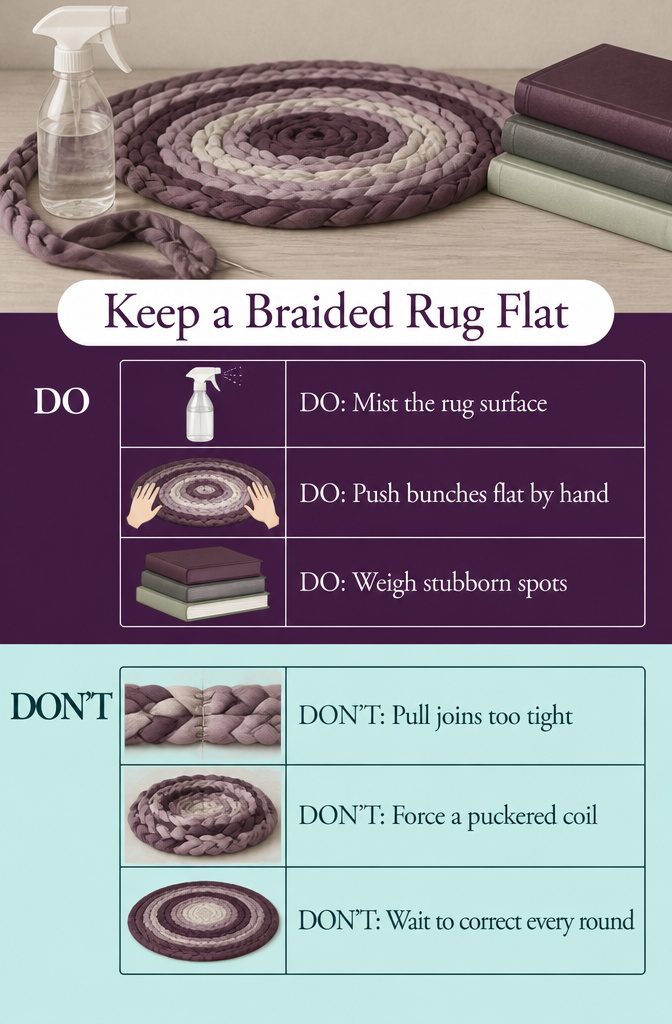
Braided rugs have a habit of bunching as you work your way around, especially once the coil builds up past the first few rounds.
Spritzing the surface with water from a spray bottle softens the fabric just enough to let you reshape it by hand, pushing the bunches flat and coaxing the braid back into a level disc.
If it fights back, set a few heavy objects on the stubborn spots while you continue braiding, and the weight holds the work in place.
The real fix happens earlier. Bunching comes from joins pulled too tight, so I keep mine loose enough that the strips shift a little when tugged.
That slack gives the coil room to curve without puckering, and the rug lies flat from the start instead of needing constant correction.
A loose join feels wrong at first, like the braid will come apart, but the stitching or glue holds it together and the extra give saves you from fighting the shape later.
Frequently Asked Questions
Can you make a rug from t-shirts?
Yes, old T-shirts work well for braided, coiled, or woven rugs.
The fabric is soft, easy to cut into strips, and holds up to regular use once braided or laced together. Cotton tees in any color or size will work as long as the weight stays consistent across all shirts.
How many t-shirts are needed to make a rug?
15 T-shirts will make a rug about 30 inches across.
Larger rugs need more shirts, and the final size depends on how much fabric you cut and how long you braid. Shirt sizes vary, so a men’s large gives more yardage than a child’s medium.
Do you need a sewing machine to make a t-shirt rug?
No, you can braid and coil T-shirt strips without sewing by locking strips together through slits and threading each row through the previous one.
A sewing machine is optional and speeds up joining strips or finishing ends, but hand stitching or no stitching at all both work.
What can you make a rag rug out of?
Old shirts, jeans, and blankets all work for rag rugs.
Baby clothes, outgrown baseball shirts, vacation tees, and any worn clothing you no longer wear make good material. The fabric should be the same weight throughout so the braid stays even and lies flat.






