
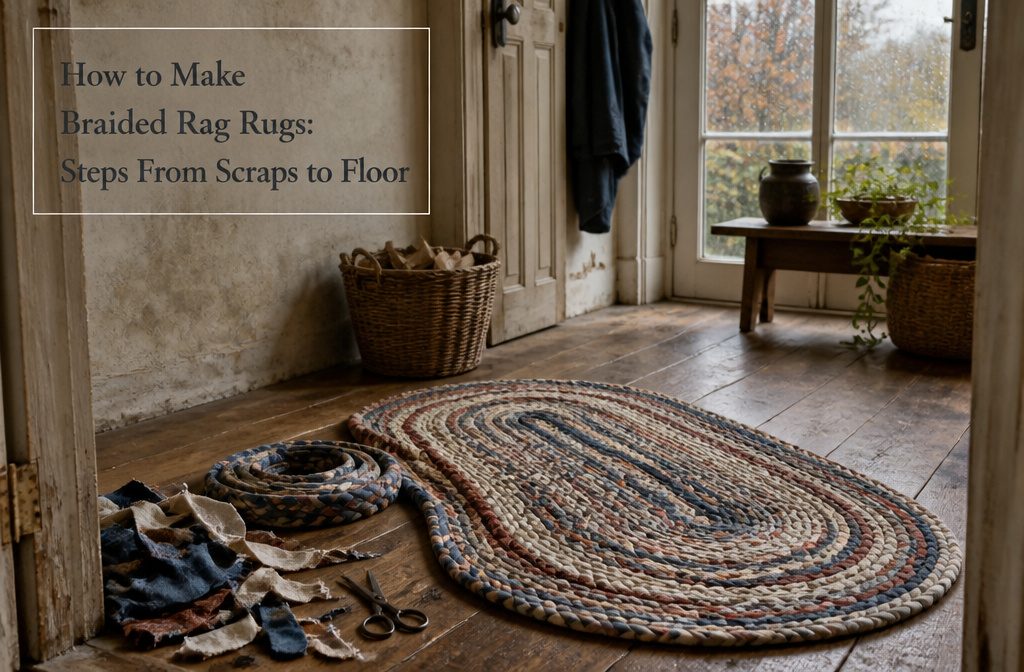
Braided rag rugs are floor coverings made by braiding fabric strips into long coils and stitching or weaving the coils together.
The braid stays flat only if you keep the tension loose, especially at the turns where oval rugs need extra volume.
Cotton strips run 2 inches wide, wool at 1 inch, and T-shirts at 1.5 inches; fifteen T-shirts will give you a rug about 30 inches across.
1. Prepare Fabric Strips
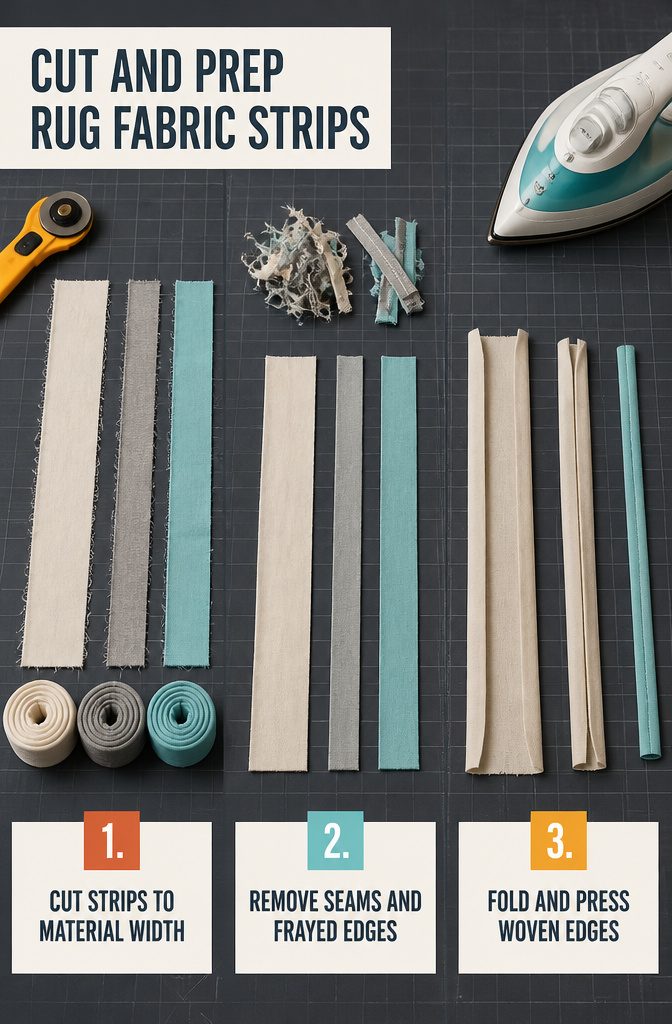
Cut the fabric into long strips, and the width changes with the material. Cotton goes at 2 inches wide, wool at 1 inch, and T-shirts at 1.5 inches.
General woven fabric lands anywhere in the 1–3 inch range. Wider strips make the braid chunkier and fill space faster; narrower ones take longer but give you more control over the final shape.
Remove any seams before you start braiding.
They add bulk in the wrong places and make the braid uneven. Trim off frayed edges too, especially on older fabric that has been through the wash a few times.
For woven fabric, fold each raw edge toward the center of the strip, press it, then fold the whole thing in half lengthwise and press again. That encloses the raw edges and gives you a clean tube to braid with.
Knit fabric does not need this step. The edges curl in on their own and stay put once braided.
2. Join Strips Into Continuous Strands
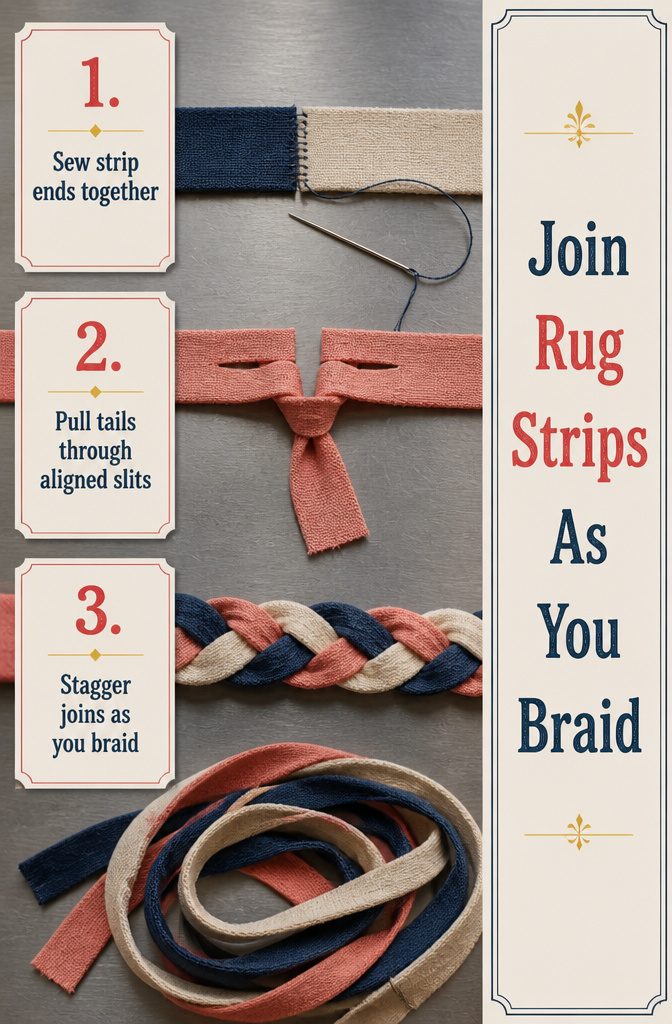
Your strips will run out mid-braid, so you need a join that holds tight and stays flat under foot.
Sew the ends together with needle and thread if you have time for the strongest join, or use a slit-and-pull: fold over the end of each strip, cut a small slit into the center of both, line up the two slits, then pull the tail of the new strip through both slits and tug until snug.
An Amish knot or a slip-knot work the same way, looping one strip through another.
Whichever method you pick, stagger where the joins land so you don’t end up with three bulky knots clustered together in the braid. That means keeping your strips at different lengths as you work.
Don’t roll the fabric into skeins before you start—they tangle badly once you’re halfway through a braid. Leave each strip loose or in a loose coil, and join as you go.
3. Start the Braid
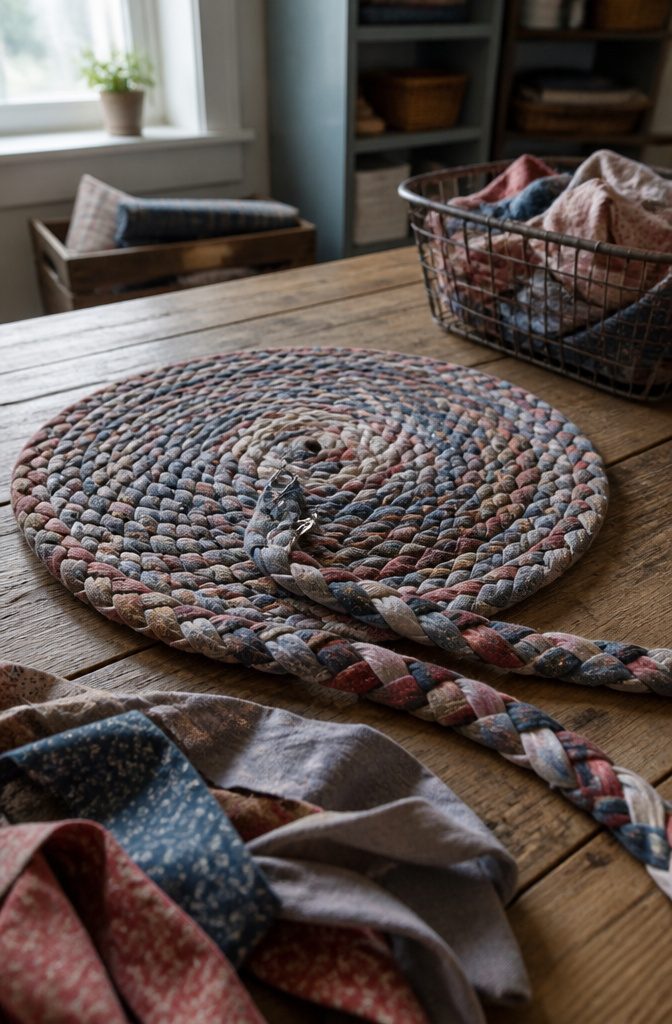
The traditional three-strand braid starts simply.
Pin three fabric strips together at the top and braid them just as you would hair, alternating the outer strips over the center one. Keep the tension even as you go so the finished braid stays about an inch wide.
For methods that add a fourth strand partway through, braid the first three strips for about a foot before bringing in the fourth.
That initial length gives you enough structure to handle the more complex pattern without the strands twisting loose.
Circular rugs begin differently: start with just two strips braided together for the foundation, then switch to three once you have a stable center.
After four inches of braid, start coiling it into a circle.
That first tight coil forms the rug’s center, and every round after that builds outward from it. The braid should lie flat without puckering, which means keeping the tension steady from the start.
4. Build the Rug Outward
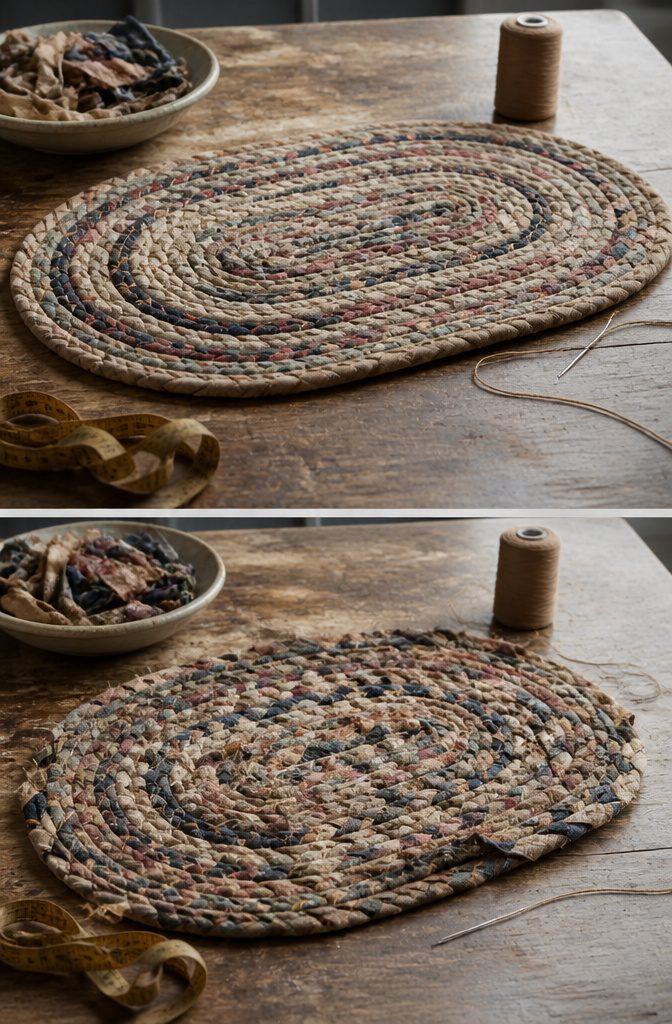
Once you have a long braid coiled into a starting circle, three joining methods compete.
Traditional sewing stitches each new row of braid to the one before it using coarse thread and a needle, working around the rug’s perimeter and catching both edges of adjacent coils.
Owners on Reddit mention that hand-stitching is the slowest part of the job, though a lacing cord threaded in and out of the loops can move faster than a running stitch.
The braid-in method skips thread entirely: you work with four strands instead of three, and every few braids you take the outer strand and weave it through an existing loop in the coil you are building against, tugging to lock it before continuing.
The no-sew woven approach resembles the cotton loop potholders from childhood: strips run horizontally across the rug’s width, and each new vertical pass follows an under-over-under-over pattern, tucking the tail into the growing rug when you reach the end.
I prefer the woven method for speed and the sewn coil when I want the rug to hold a precise oval.
5. Shape Turns and Keep the Rug Flat
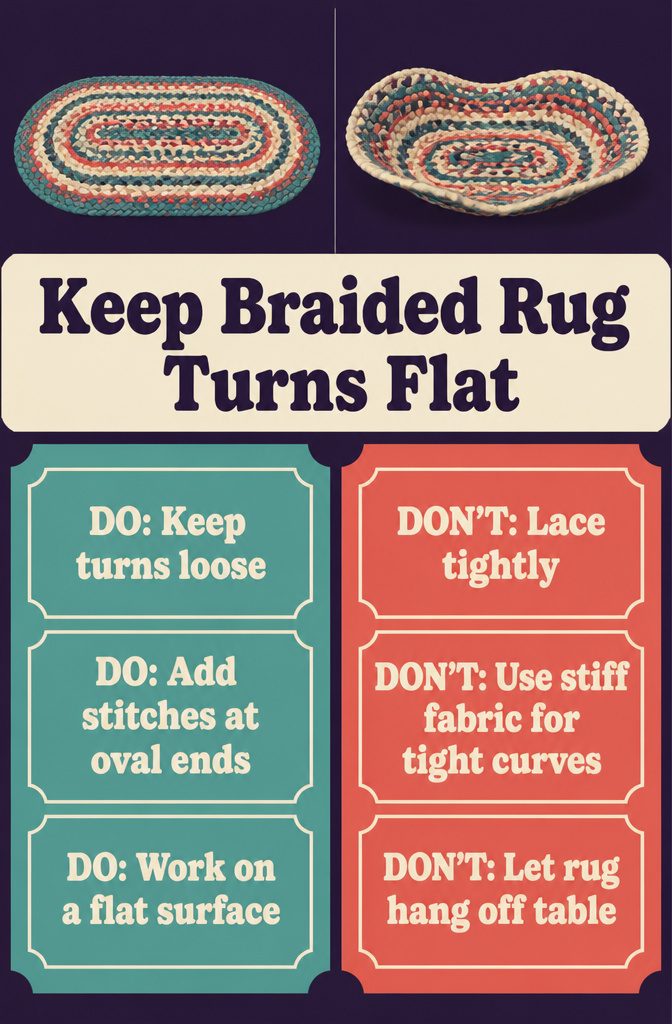
A rug that bowls or curls at the edges is almost always too tight somewhere. Keep your braid loose enough to lie flat, especially at the turns where oval rugs need extra volume.
If you’re working the traditional method, lacing too tightly will pull the rug into a dome. Loosen the joins as you go and the fabric will settle flat.
T-shirt jersey stretches enough to turn comfortably, but woven cotton sheet often does not.
If the rug starts to buckle even with a loose braid, the fabric itself may be too stiff for the shape you’re making. Switch to something with more give.
The braid-in method adds stitches at the oval ends to compensate for the added perimeter, the same way you would increase at the short ends of a crocheted oval.
Without those extra stitches the rug pulls tight and warps. Once the rug is complete, spritzing it with water and pressing it by hand will flatten minor waves.
Lay heavy objects on it while it dries if you need to. Working on a flat surface through the entire build prevents the kind of stretched distortion that happens when part of the rug hangs off the table.
6. Finish the Edge
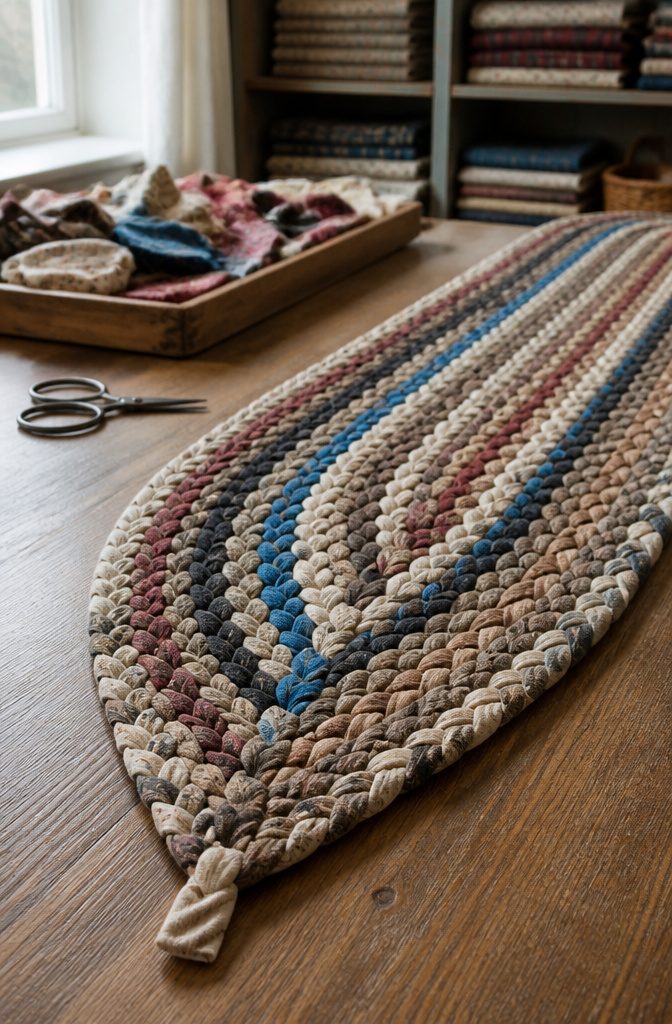
Stop the initial braid when it is about half your desired rug length, then start the finishing process as you approach the safety pin marking the end of your round.
For the no-sew woven method, you need to taper down gradually by reducing the number of active strips while keeping them even. Start with eight, then decrease to six, four, two, and finally none.
The cleanest way to drop a strand is to leave it on top of the work instead of flipping it back into position.
On your next stitch, lace the strand down through the braid loop from the top to the underside rather than lacing it up the usual way. Leave it there and keep going with the remaining strands.
As you drop strands, alternate the lacing direction: some go up through the braid loops as usual, others go down from the top. The braid loops get longer as the strand count falls, which creates a tapered finish.
Some rugs want a sewn end tucked underneath instead, but the braid-in taper skips stitching entirely and holds just as well if the fabric has any grip to it.
Using Old Fabric and Scraps
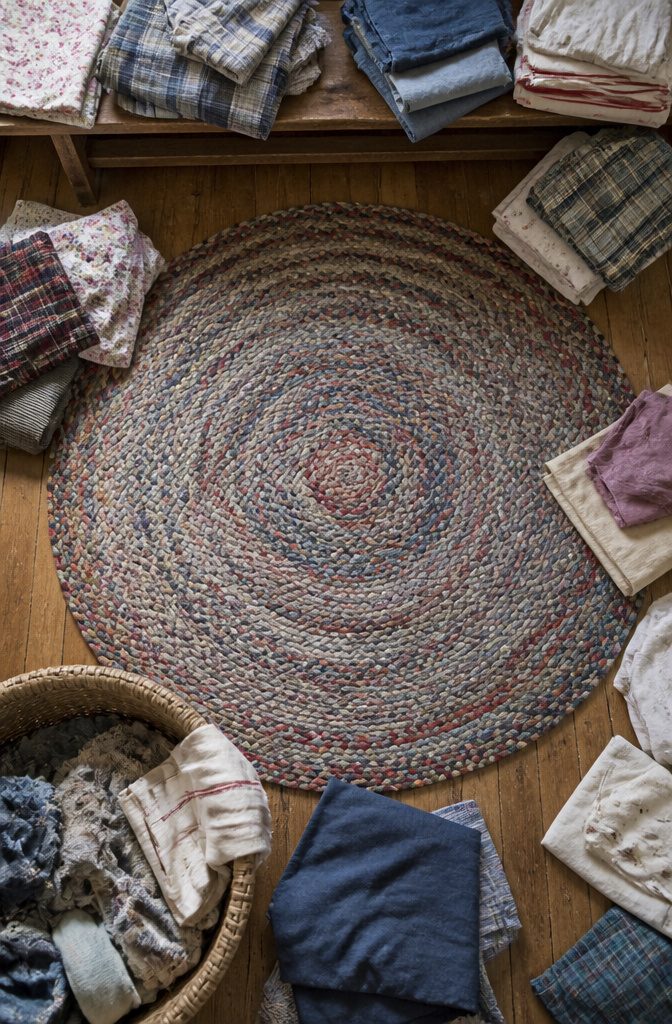
Braided rag rugs turn worn clothing and fabric scraps into something you can walk on.
Shirts, sheets, curtains, blankets, jeans, dish towels, and T-shirts all work, which means you already have the material if you have a closet you’ve been meaning to clear out.
The pattern hides most of what the original fabric looked like, so ugly prints and faded colors disappear into the braid.
Fifteen different-sized T-shirts made a rug approximately 30 inches across.
More shirts give you a larger rug, and you can keep adding until the size works for the space. Old baby clothes make tight, dense braids if you want a smaller project with some memory attached to it.
This approach isn’t new. A 1906 description called braided rag rugs a way for households to repurpose worn-out textiles into durable floor coverings, practical and frugal at the same time.
The logic still holds: you save the fabric from the trash and end up with something you would otherwise buy.
Color Planning
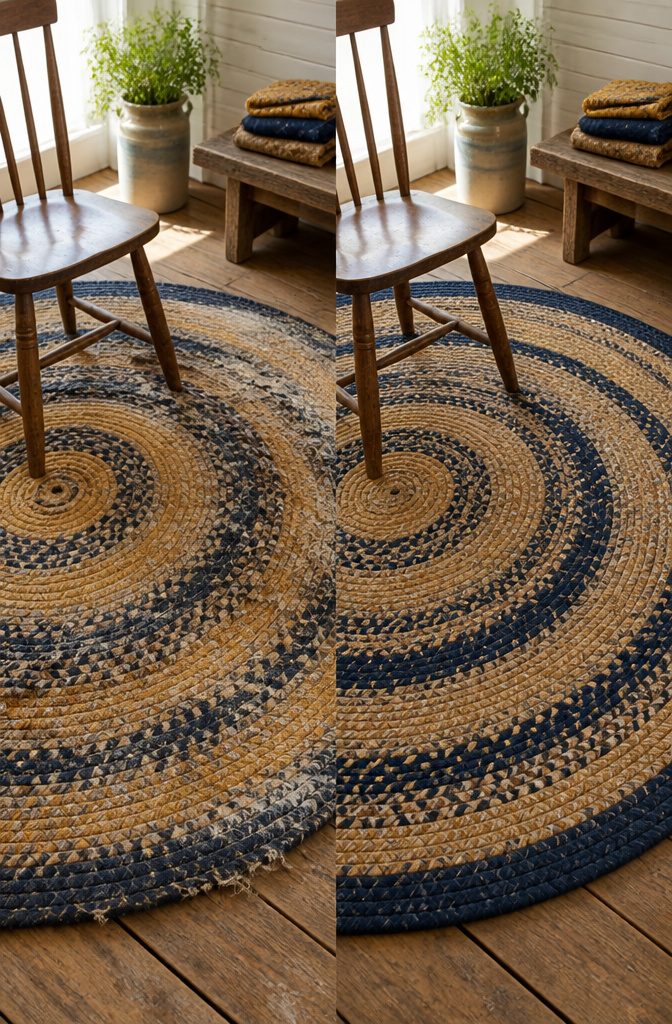
Color planning can guide your scrap selection, but it stays optional.
You can match fabrics to a palette or work with every color you pull from the pile. Both paths turn out finished rugs.
Coordinating three or four colors gives the rug a deliberate look without much extra effort. One maker picked three golden-toned fabrics and added a dark navy strand for contrast, letting that navy thread pull the eye through the coil.
Pairing blue shirts with neutrals holds the same logic: enough continuity to read as intentional, enough variation to keep the braid interesting.
Contrasting a single strand or the outer edge sharpens the shape.
A dark braid along the perimeter frames the center and makes an oval or round rug look more finished. Alternating colors in a repeating order builds stripes that spiral outward from the core.
If you want an eclectic rug, skip the matching entirely. Scraps in every color work just as well, and the randomness reads as charm rather than accident when the braid stays tight and the sewing stays even.
Frequently Asked Questions
How do you make a braided rag rug?
Cut fabric into strips 1–3 inches wide depending on material, join them end-to-end, then braid 3 strands together and coil the braid into a flat circle or oval.
Secure each new round to the previous one by sewing, lacing, or braiding in the outer strand as you go. Taper the final strands to finish the edge cleanly.
How do you get wrinkles out of a braided rug?
Spritz the rug with water and press it flat by hand, then lay heavy objects on top while it dries. Working on a flat surface during construction prevents most warping, but minor waves will settle with moisture and weight.
How much fabric do you need for a rag rug?
Fifteen T-shirts produce a rug roughly 30 inches across. More fabric gives you a larger rug, and you can keep adding strips until the size fits your space.
Are rag rugs washable?
Yes, if the fabric you used is washable. Cotton, T-shirt jersey, and most woven clothing fabrics hold up through the same wash cycles they survived before you cut them into strips.






