
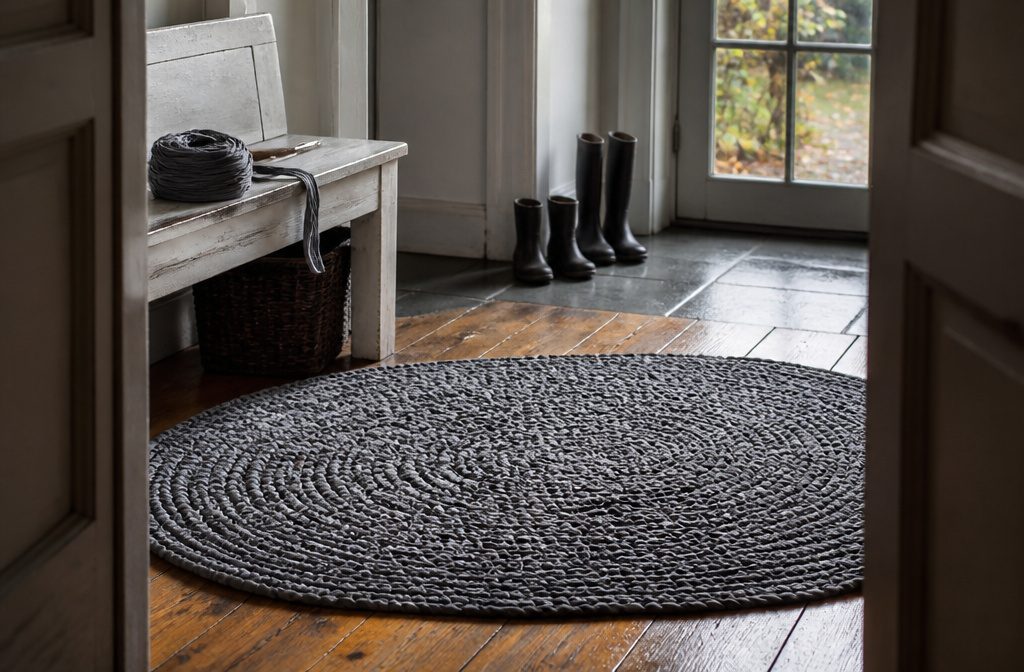
A crochet rag rug is a floor covering made by crocheting long strips of fabric, usually cut from old sheets or clothing, into a dense, durable surface.
The fabric you start with determines how much prep work you face: sheets give you continuous yardage with almost no joining, while scraps and denim require cutting, piecing, and sometimes hours of strip preparation before you ever pick up a hook.
1. Choose and Prepare Your Fabric
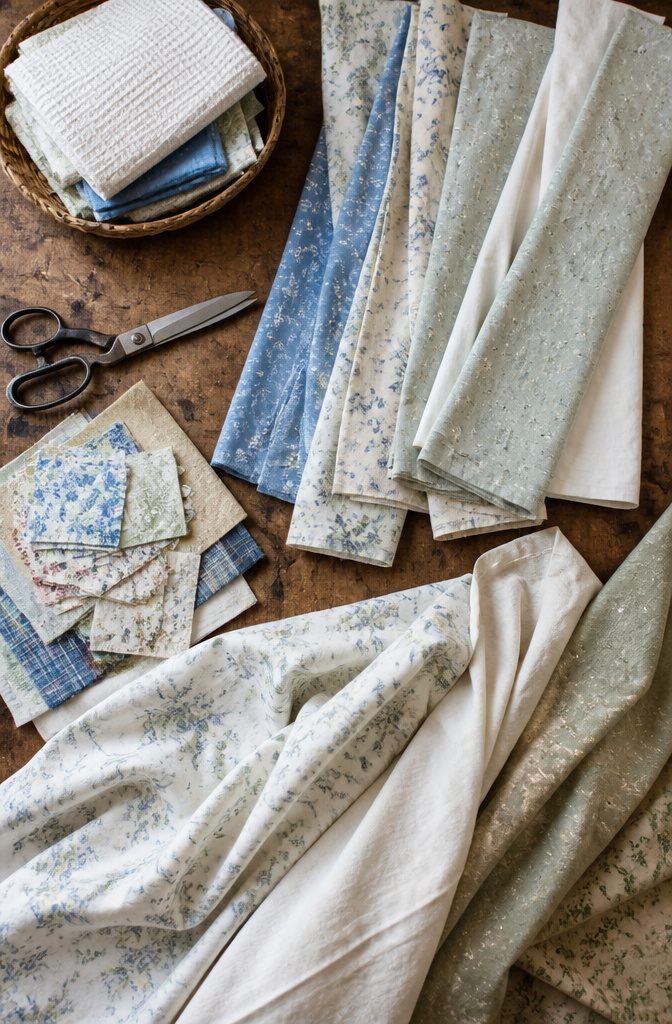
Old sheets are the classic choice — they give you long, unbroken lengths of fabric with no piecing required.
Thrift store sheets work just as well as anything from your linen closet, and if you’re making a rug for a specific room, using old sheets from that space keeps the color palette coordinated without hunting down matching fabric.
I find natural fabrics like cotton the most forgiving to work with, and they crochet smoothly without fighting the hook.
Scraps and fat quarters are just as useful if you already have them stashed away, though you’ll spend more time joining strips. Quilting fabric, remnants, and even old clothing all turn into rugs.
Denim is sturdy enough to hold up, but I skip jeans with extensive holes, stubborn stains, or grease spots. Those weak points only get worse once you start pulling the fabric through tight stitches.
Keep similar fabrics together rather than mixing weights. A rug made entirely from sheets or entirely from quilting cotton stays consistent underfoot, while mixing thin and thick fabrics leaves you with lumpy rows.
2. Cut the Fabric Into Strips
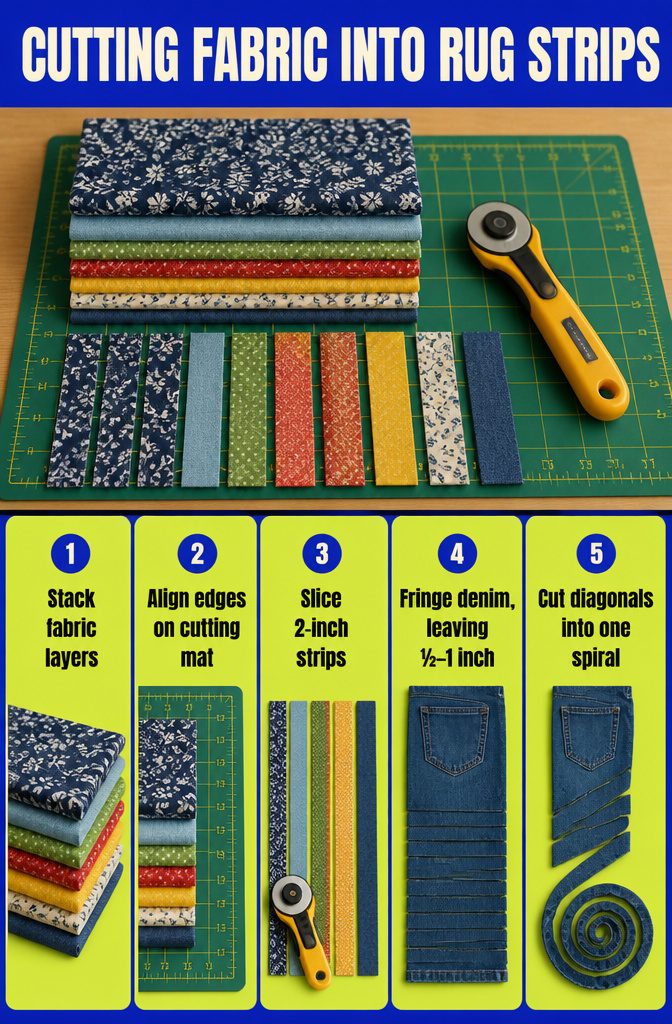
The standard cut is 2 inches wide, running lengthwise down the fabric or across a sheet. I stack several layers, line up the edges on a cutting mat, and use a rotary cutter to slice through all of them at once.
The mat and cutter make this faster than scissors, and keeping the strips uniform means the rug texture stays even.
Denim works differently.
Instead of cutting separate strips, you turn each pant leg into one continuous spiral. Lay the leg flat, remove the cuff, and cut straight across about 1 inch from the bottom edge.
Stop ½ to 1 inch from the far edge rather than cutting all the way through. Make parallel cuts from the same side until the whole leg is fringed, then rotate so the uncut strip runs along the top.
Cut diagonally from the bottom edge up to meet each parallel cut, turning the fringed leg into a single long strip. The angles and lumps disappear once you start crocheting.
3. Join Strips and Build Your Supply
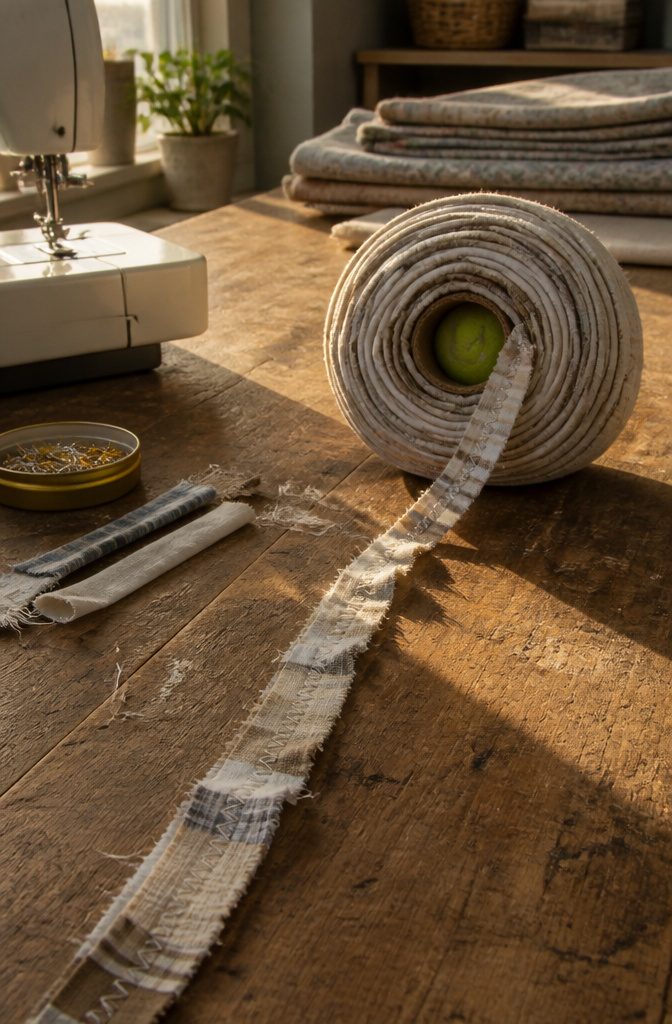
Once your strips are cut, they need to be joined into one continuous length.
If you have a sewing machine, sew along the open edge as close as you can get—a zigzag stitch is even better—to stop fraying before it travels too far down the strip.
The stitch gives the fray a stopping point rather than eliminating it completely, so washing will still pull a few threads loose, but far fewer than raw fabric would shed.
For joining the strips themselves, three methods work.
Sewing strip ends together with a few stitches is the most secure. Slits near the ends of two strips let you pull one through the other and lock them without thread.
Knotting works when you’re adding fabric partway through the project and don’t want to stop to sew. I prefer sewing early and knotting late.
Once joined, wind the strips into a ball.
A tennis ball at the core keeps the center from collapsing. Two evenings will get you through joining and winding about 186 yards, enough for a small oval rug.
4. Decide on Color and Pattern
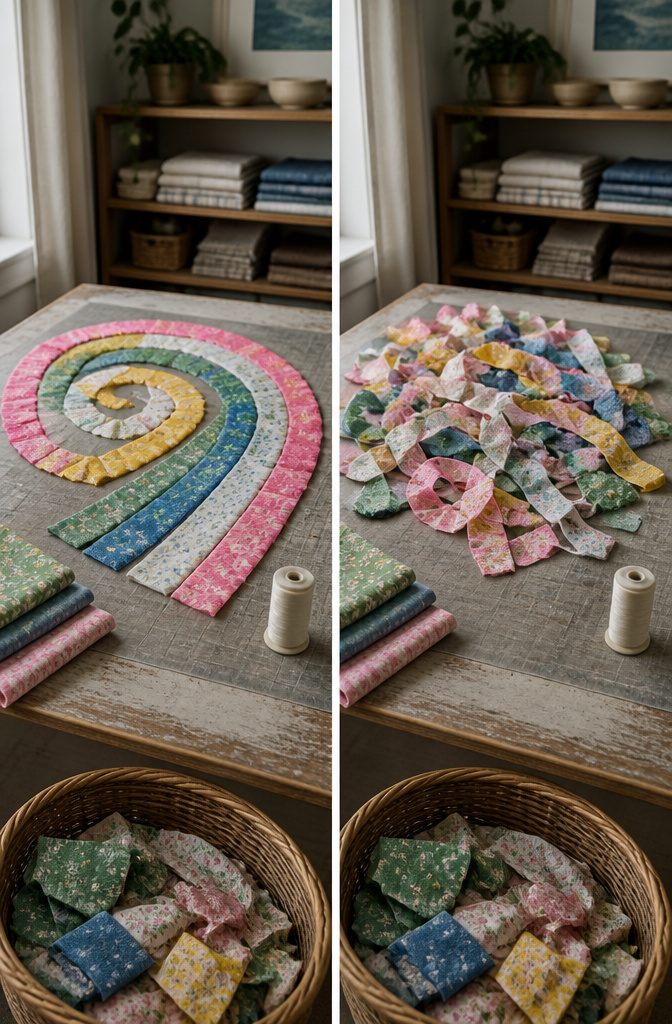
You can join every strip into one continuous ball and crochet straight through for a completely random color arrangement, the way variegated yarn switches mid-skein.
That approach gives you an unpredictable scatter of tones throughout the rug, and it works beautifully if you like spontaneity.
A more controlled pattern means sorting before you sew. Cut all your pink fabric first, then yellow, then green, blue, and so on.
Within each color, alternate the patterns you used. Stack them in the order you want them to appear, mixing pink, yellow, green in a rainbow sequence, and sew that stack end to end.
If one color dominates the pile, try alternating a color piece with a white piece every time to keep the balance even.
Stripes and gradients come from grouping like colors into separate balls rather than joining everything at once.
Different denim shades can shift from light to dark across the rug if you sew each shade into its own run and switch between them as you crochet.
5. Pick Your Hook and Stitch
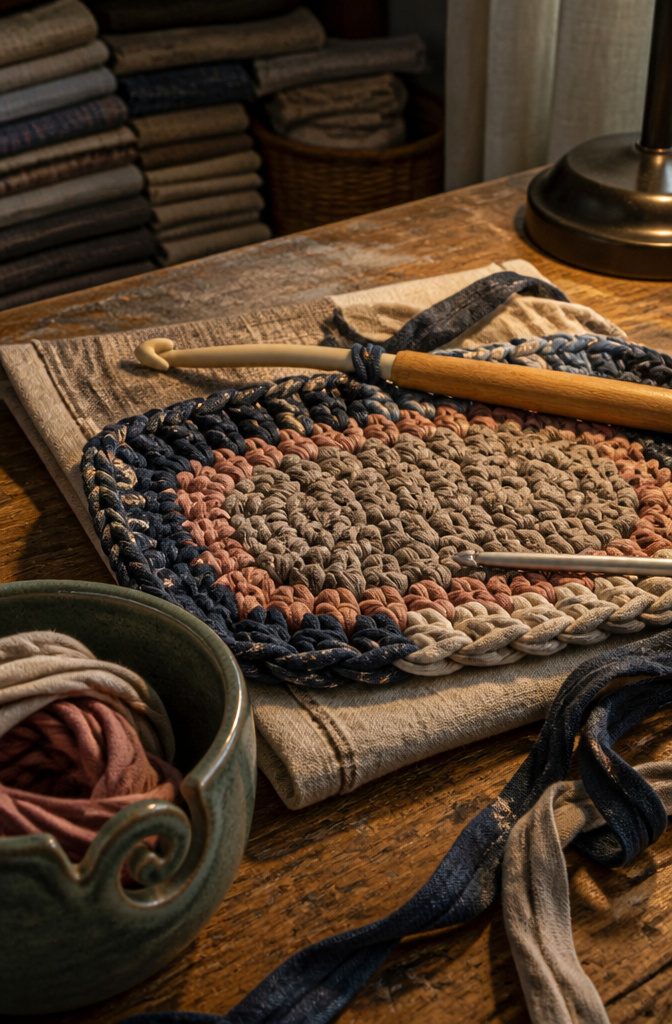
The biggest hook you can find is the right one for rag rug work.
A size M (9 mm) hook is common for thinner fabric strips, but if you are working with denim or bulkier material, a jumbo hook around 19 mm will keep the process moving.
At first, holding something that large feels like you grabbed a kitchen utensil by mistake.
You end up wrapping your whole hand around it instead of holding it delicately between your fingertips, and your arms do more of the work than they would with a standard hook.
Resting the rug on a table while you stitch helps with control, though you can work from the couch if you do not mind fabric strands on your lap.
Jumbo crochet hook (around 19mm)
— Grit
That size range covers most fabric thicknesses and gives you room to pull thick strips through without fighting the loop.
Stitch choice is simpler. Single crochet is the workhorse stitch for rag rugs because it locks each round tightly and builds a stable surface.
Some patterns call for half-double crochet if you want a looser weave or faster progress, and every rug starts with a chain stitch to set the foundation.
You can stick with single crochet alone and build a rug that holds up to foot traffic, or mix in half-double stitches along straight sections if the fabric is thin and you want more coverage per round.
The choice depends on how dense you want the finished piece and how thick your fabric strips run.
6. Start the Rug and Set Its Shape
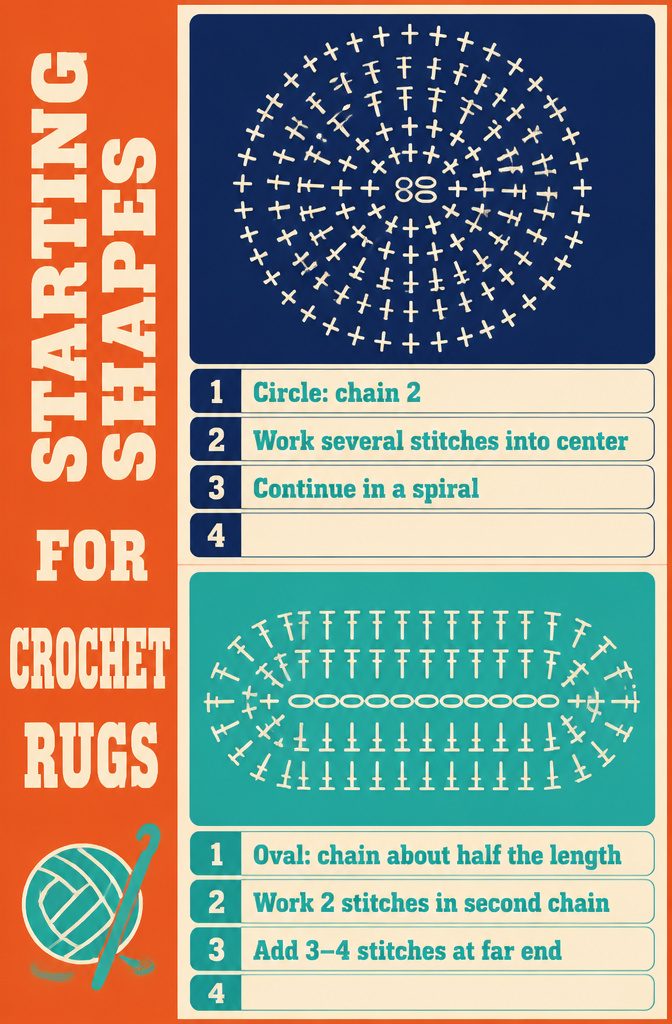
The shape you start with sets what you end up with, and the first few stitches are where that decision gets made. For a circle, chain 2 and work multiple single crochet stitches into the first chain and slip knot.
You will need several stitches per stitch below to keep the center flat. The work continues in a spiral, starting dense and gradually spacing out to one stitch per stitch as the diameter grows.
For an oval, chain about half the finished length you want. A chain of 20 or 21 gives you a rug that stretches longer than it is wide, suitable for a spot beside the bed or in front of a sink.
Work 2 single crochet stitches into the second chain from the hook, then 1 per chain to the end.
At the far end, work 3 or 4 stitches into the slip knot, turn, and continue down the other side of the foundation chain. The oval grows by adding concentrated increases at each rounded end while the long sides stay straight.
7. Increase to Keep the Rug Flat
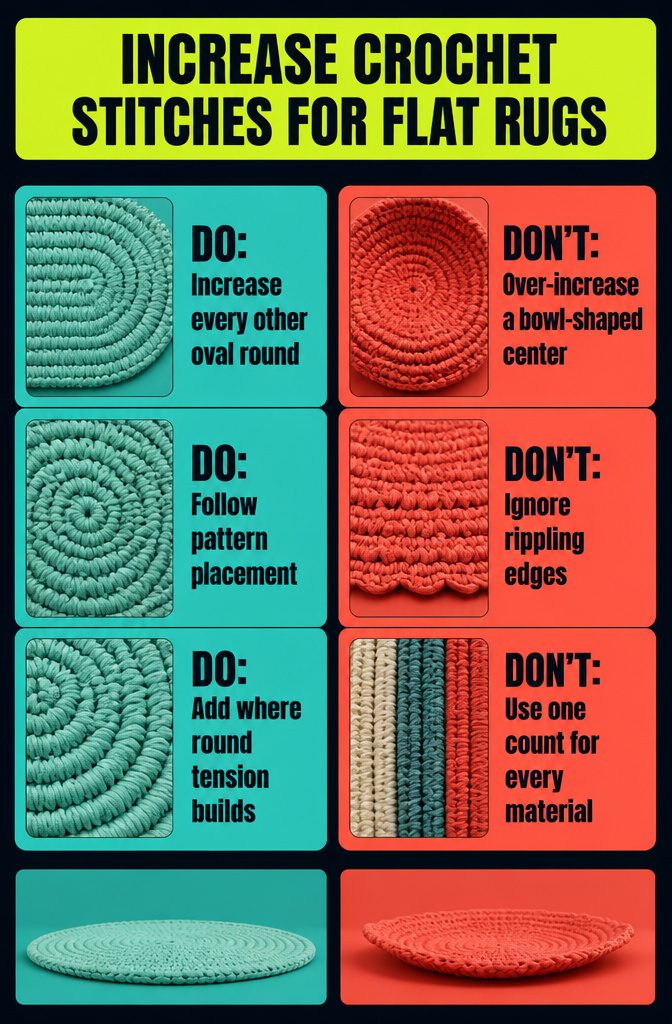
Increase to Keep the Rug Flat
Increases depend on the shape and the material you’re working with. For an oval pattern, increase every other round to keep the fabric lying flat.
A round rug follows the same principle but the placement shifts: you add extra stitches wherever tension builds or the fabric has to stretch to reach the next stitch.
The pattern specifies exactly where to increase. That instruction keeps the rug from rolling up at the edges.
If your rug starts to bowl upward in the center, you’re increasing too much. If the edges wave or ripple, you need more increases in those rounds.
Required increases vary with how tight you crochet and how wide you cut your strips. Wider strips and looser tension generally need fewer increases than narrow strips worked tight.
8. Finish and Secure the Rug
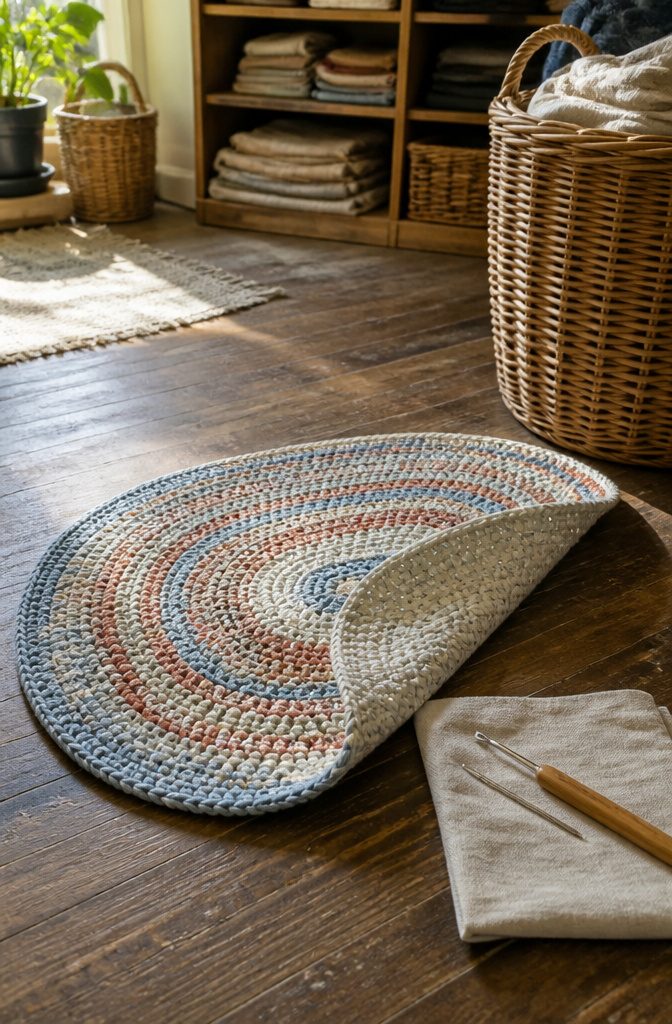
When the rug reaches the size you want, end with a round of single crochet and finish with a slip stitch to lock the final loop.
Pull the fabric tail through that last stitch and tighten it so it holds without bunching. Leave about 6 inches of tail hanging free.
Weaving the tail inward keeps it from unraveling and hides the raw edge.
I thread the tail back toward the center of the rug, either with the same hook I used for the body or a size smaller if the fabric is thick and resists going back through the stitches.
Push the tail through a few loops on the underside, change direction once, and pull it snug.
If your hook keeps snagging, a blunt needle does the same job with less drag. Clip any excess once the tail sits flat against the back of the rug.
Fabric Choices and What Works Best
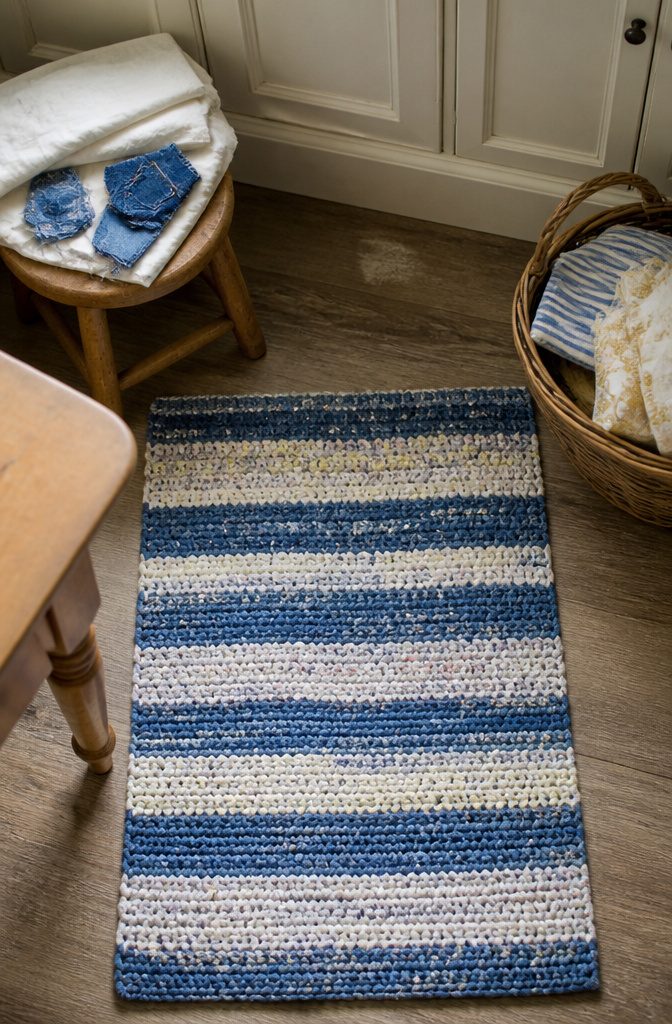
Natural fabrics are the reliable choice for a rag rug that can handle washing and foot traffic.
Cotton sheets give you the yardage you need without buying new material, and twin or queen sheets both work. One rug measuring 20×50 came from about 4 lbs of cut fabric, so one queen sheet will not be enough on its own.
Fat quarters make sense if you already have a stack from another project, though you will need several to reach a finished rug of 16×28.
Denim makes a thicker, sturdier rug than any other fabric I have seen mentioned. It uses up jeans that no longer fit but have enough good fabric left to justify cutting them apart.
The weight underfoot suits kitchens especially well, and denim can be layered with lighter cotton if you want pattern breaks between the solid runs.
Quilting fabric and clothing scraps both appear in finished rugs, and reusing what you have is what this project is about.
One crocheter mentioned remnants from sewing projects, which tend to be lighter weight cotton or linen but still plenty durable when crocheted down into strips.
Tools and Supplies You Need
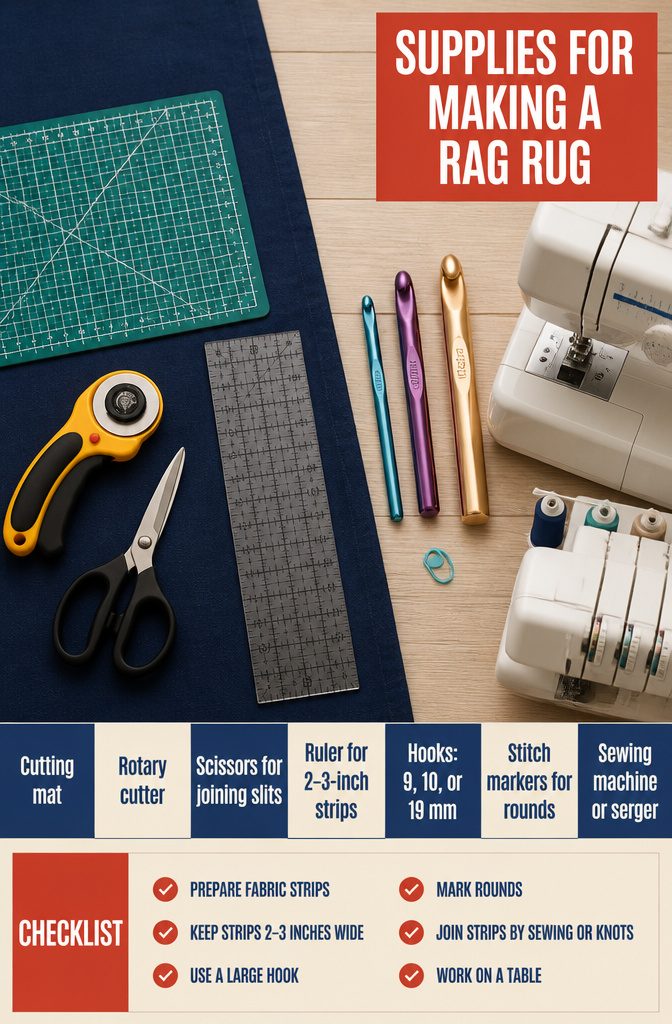
You need a few basics before you start cutting fabric. I keep a cutting mat, rotary cutter, and scissors on hand for prepping strips—the rotary cutter makes quick work of stacked fabric, and scissors handle the slits for joining.
A ruler helps keep strips consistent at around 2 to 3 inches wide.
For the crochet side, hook size matters. Sources mention three options:
- 10 mm hook
- Size M (9 mm) hook
- Jumbo hook around 19 mm
The larger the hook, the faster the work moves. A size M or 9 mm hook is on the larger end of standard sizing; jumbo hooks around 19 mm make thick, fast progress but feel awkward at first.
You grip them more like a fist than fingertips, and the work sits better on a table than balanced in your lap.
Stitch markers help track rounds if you lose your place. A sewing machine or serger speeds up strip joining if you prefer sewn seams over the knot method, though the knot approach cuts sewing time entirely.
Washing and Care
Washing and Care
The finished rug handles laundry the same way the fabric it came from did.
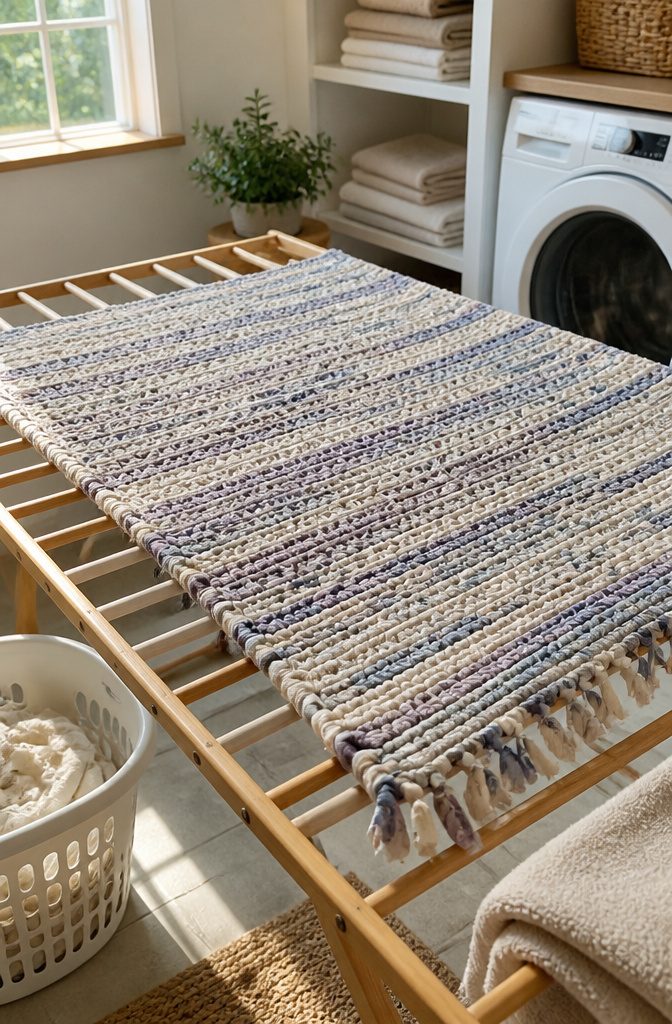
I machine-wash mine on a normal cycle and lay it flat to dry. If you used cotton sheets or T-shirts, the rug comes out clean and the fabric strips hold together just fine through the agitation.
Some people run the rug in the dryer for about half the drying time, then pull it out and hang it over a chair to finish air-drying.
That cuts down the wait and gives you a chance to flip it so both sides dry evenly.
One thing worth doing before the first wash: check the cut edges of your fabric strips.
Cotton frays, and any loose threads or unfinished edges can tangle or knot in the machine. If you see fraying, trim the threads back or tuck and stitch the ends into the rug before you toss it in.
Frequently Asked Questions
What size crochet hook should I use for a rag rug?
Use a size M (9 mm) hook for thinner fabric strips or a jumbo hook around 19 mm for denim and bulkier material.
The biggest hook you can find will keep the work moving faster, though it feels awkward at first since you grip it with your whole hand rather than your fingertips.
What crochet stitch is best for a rug?
Single crochet is the best stitch for rag rugs because it locks each round tightly and builds a stable surface that holds up to foot traffic.
You can mix in half-double crochet along straight sections if you want faster progress or more coverage per round with thinner fabric.
What is the best fabric to use for rag rugs?
Natural fabrics like cotton sheets are the most reliable choice for a rag rug that can handle washing and foot traffic.
Denim makes a thicker, sturdier option that works well in kitchens, and quilting cotton or fabric remnants from past projects also hold up well when crocheted into strips.
How can a beginner make a rag rug?
Cut fabric into 2-inch-wide strips, join them into one continuous length, and wind them into a ball.
Use a large hook (size M or bigger), start with a chain stitch to set your shape, and work in single crochet rounds, increasing every other round to keep the rug flat.
Finish with a slip stitch and weave the tail back through the underside.






