
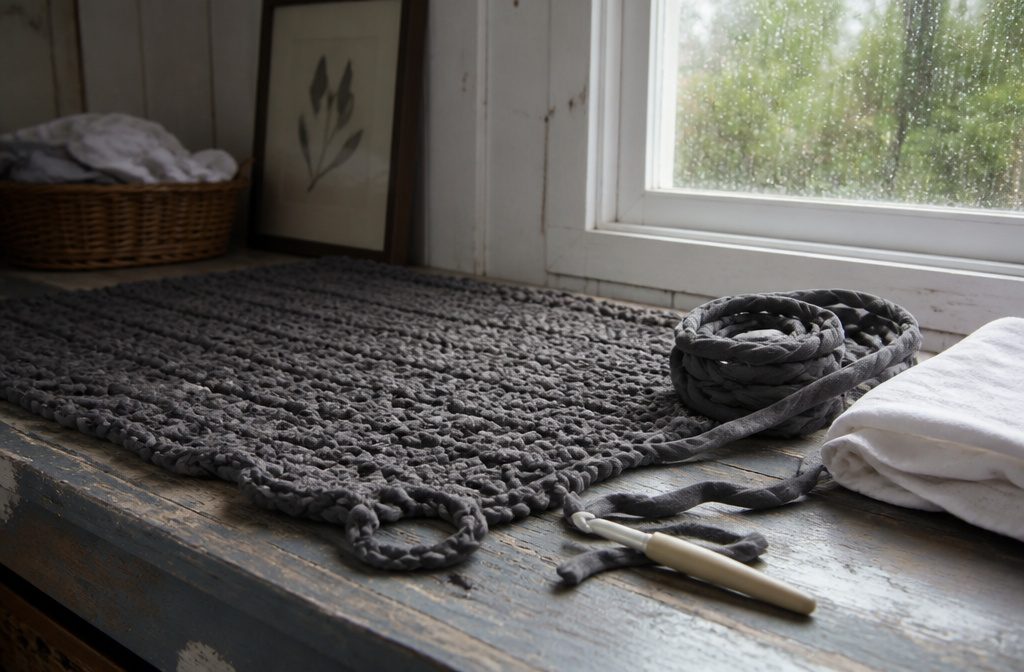
A crocheted rag rug from fabric strips takes 2 to 3 balls of homemade yarn for a 23-by-31-inch piece, plus an afternoon at the sewing machine and hook. Most attempts fail because the stitches are worked too tightly.
Fabric yarn crocheted at normal tension produces a stiff board instead of a rug that lies flat, so every row has to stay loose enough that the cotton can relax and drape.
1. Choose Fabric and Cut It Into Strips
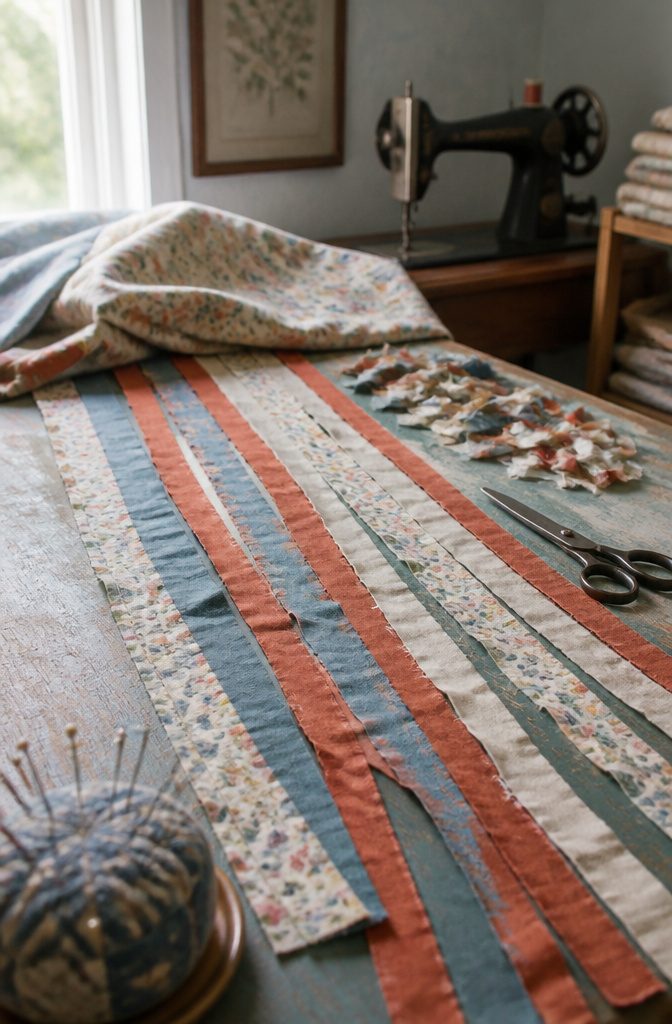
Fabric strips should be about 3/4 to 1 inch wide for crocheting a rag rug.
Quilting cotton works well, and so do selvages or vintage sheets. The width matters because it governs how tight the finished rug lies.
Narrower strips make a flatter rug that fits under a door. Wider ones produce a thicker, fluffier result.
I stick to quilting cotton or thinner. Linen blends and canvas are too bulky for crochet.
They fight the hook and pile up stiff instead of draping. The same goes for anything heavier than a cotton bed sheet.
Consistency matters more than precision. One strip might end up slightly wider than the next, and that’s fine for a rustic rug.
But keeping the width and thickness in the same range prevents thin spots where the fabric suddenly narrows or changes weight. A rug with uneven strips shows the variation as lighter or darker bands where the rows pull differently.
2. Sew the Strips Together
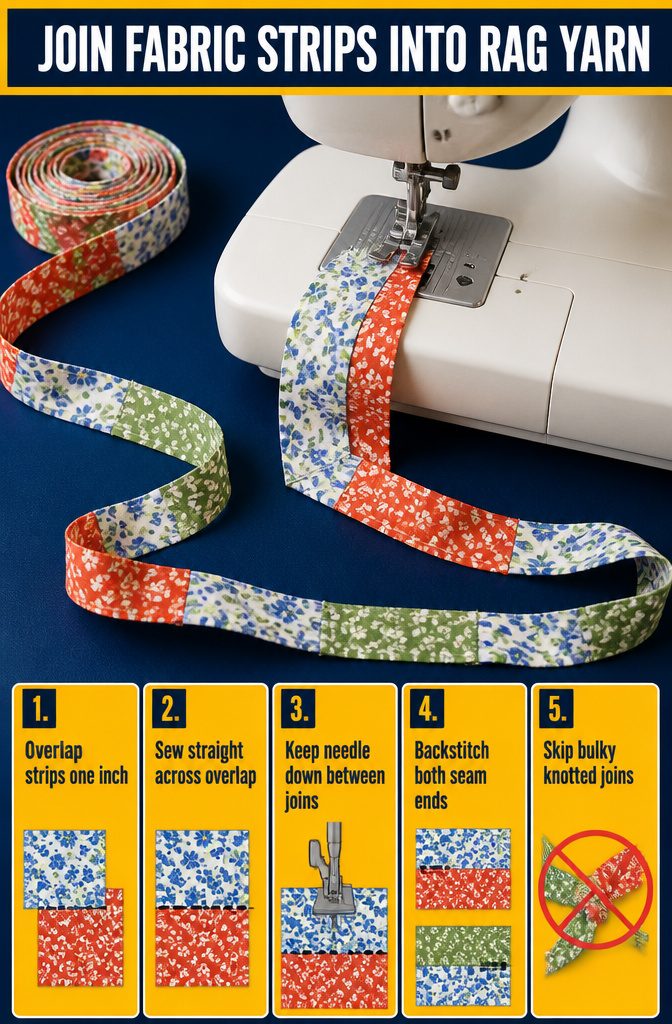
- Overlap two fabric strips by about an inch and sew them together with a straight stitch on your machine.
- When you reach the end of that seam, leave the needle down and feed the next strip under the presser foot without cutting the thread between joins.
- Continue sewing strip after strip in the same way, so you end up with a long chain of fabric connected by short thread bridges.
- I backstitch at the start and end of each seam. It takes an extra second per join, but the alternative is strips that separate mid-crochet when tension pulls them apart.
- Skip tying the strips together if you can. Knotted joins are much harder to crochet with because the bulk catches on the hook and stops the yarn from feeding smoothly through your hand.
3. Roll the Fabric Yarn Into a Ball
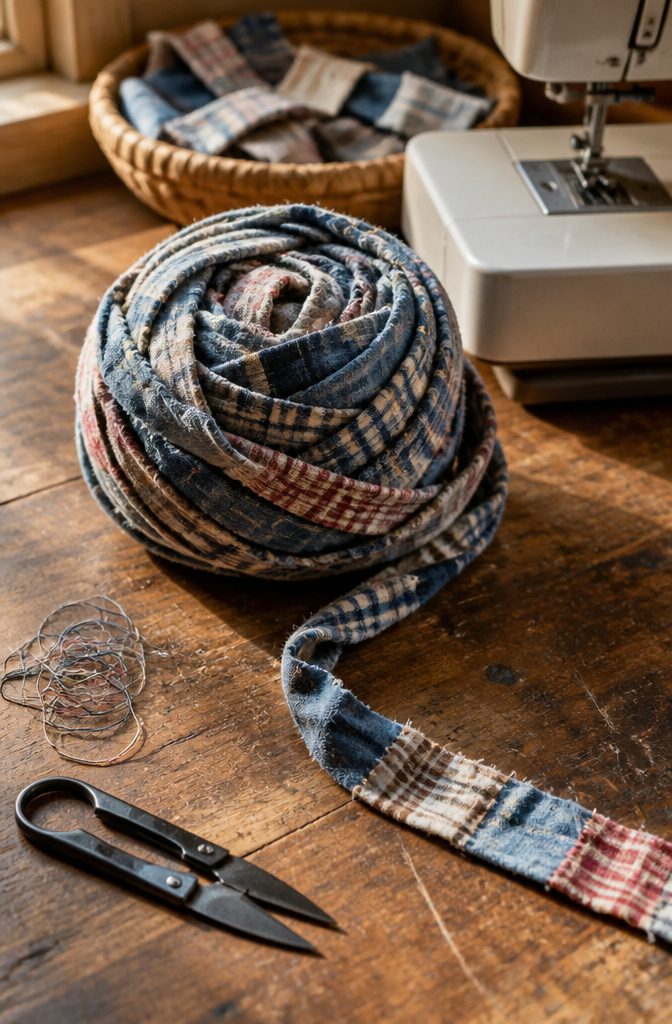
Once the entire chain is stitched, I remove it from the sewing machine and cut the threads between each strip.
The kids sometimes grab this task if they’re around, but it only takes a minute either way. What you’re left with is a long, continuous strand of fabric that rolls up into a ball the way any yarn does.
I roll it loosely so it stays flexible and doesn’t bind when I start crocheting.
The ball doesn’t need to be tight or even particularly tidy. Sometimes my kids swipe it before I can use it because they like playing with the texture, but it rolls back up without trouble.
If the ball runs out mid-rug, I make another one and attach it with a quick pass through the sewing machine, overlapping the two ends the same way I joined the original strips.
No hand-sewing, no knots that show. The join disappears into the rug.
4. Crochet the Rug Loosely
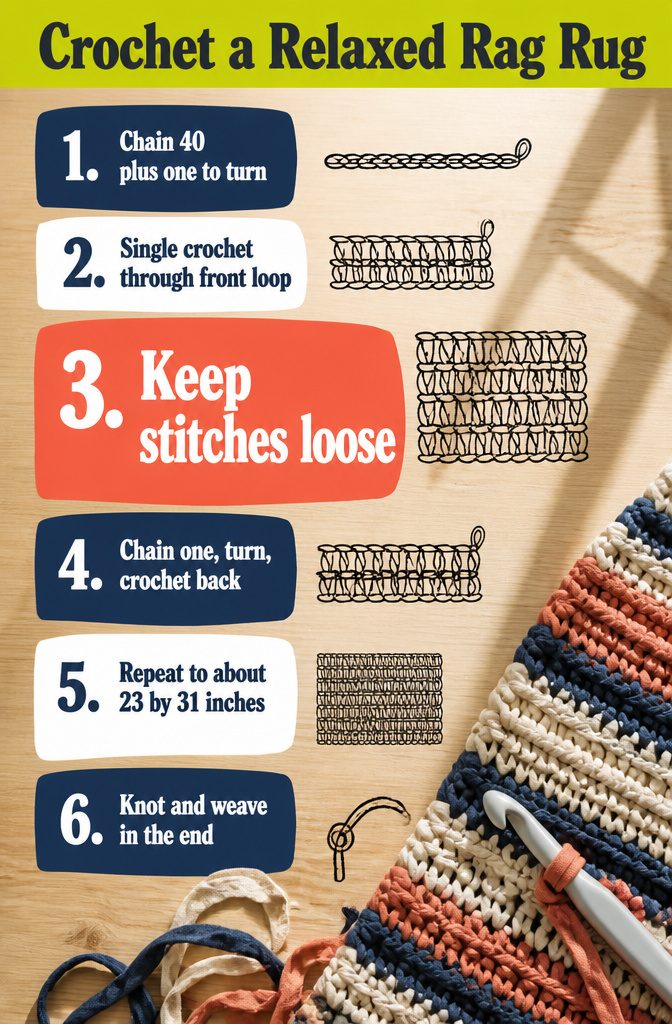
- Chain 40 stitches plus one for turning using a P hook (11.5 mm). The P hook is larger than what most crochet projects call for, but fabric yarn is bulkier than regular yarn and needs the room.
- Single crochet across the row, working through the front loop only. Crocheting through just the front loop gives the rug a ribbed texture and keeps it from getting too stiff.
- Crochet loosely. This is the most important part of the whole process. Tight stitches with fabric yarn create a board-like surface that won’t lie flat or feel comfortable underfoot. Loose stitches let the fabric relax and the rug drape naturally.
- Chain one when you reach the end of the row, then turn the work. Single crochet back across, again through the front loop of each stitch.
- Repeat the pattern—chain one, turn, single crochet across—until the rug reaches the length you want. The example rug measured about 23 by 31 inches.
- Knot the end and weave it in to finish. If you run out of fabric yarn partway through, sew a new strip on with a quick pass through the sewing machine and keep going.
5. Cut Sink Mats for a No-Crochet Method
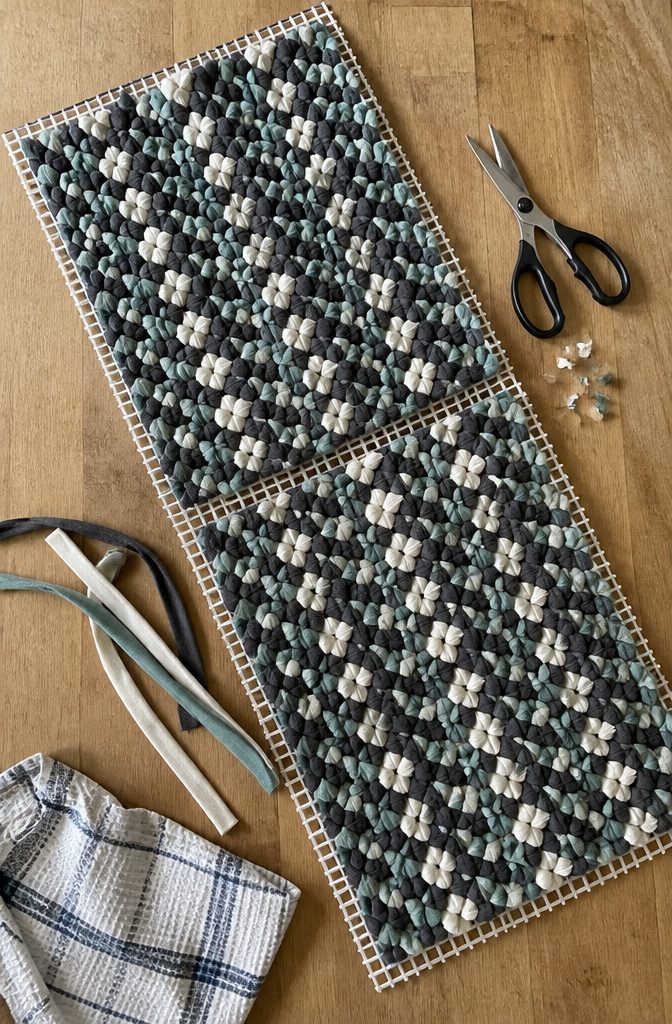
If you want to skip the crochet step entirely, two sink mats from Dollar Tree cut to size and laced together give you a rug base in about half the time.
The mats I worked with measured close to the width I needed, so I trimmed the ends to match the center pieces at about half an inch wide.
Cutting the tough plastic was by far the hardest part of the whole project. Kitchen shears worked better than craft scissors, but even then it took real pressure to get through cleanly.
Once the mats are ready, cut your T-shirt yarn into six-inch strips. These shorter lengths are much easier to tie through the mat holes than the long continuous strands you would use for crochet.
The process feels more like lacing than stitching, and the finished rug holds up just as well under regular foot traffic.
6. Tie the Yarn Through the Mats
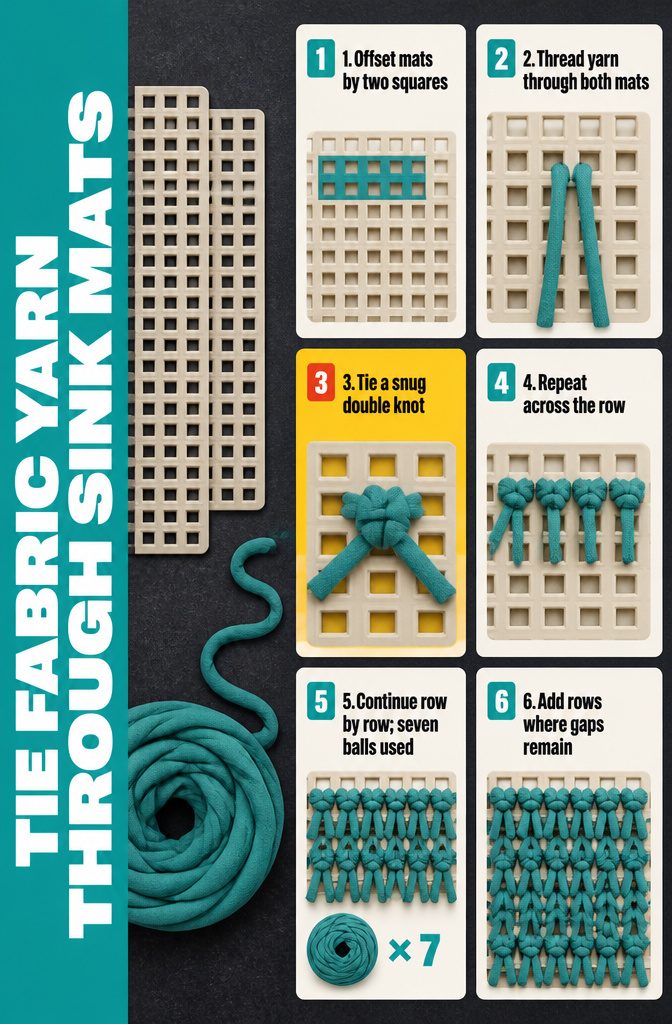
- Layer the two sink mats by matching up two squares in from the end of each mat. The offset keeps the seam from sitting at the very edge and gives the rug a sturdier shape.
- Thread your fabric yarn through two holes at once, pulling a tail through so you have enough length to work with on both sides.
- Tie the yarn with a double knot, pulling it snug so the mats hold together firmly. A single knot loosens too easily under foot traffic.
- Move to the next pair of holes in the same row and repeat, working across until you reach the opposite edge.
- Continue row by row, threading and knotting until the rug looks full enough. I used seven balls of yarn to finish the piece, though you might need more or less depending on the size of your mats and how densely you want the fringe.
- Check the coverage as you go rather than committing to a fixed pattern. The texture fills in unevenly at first, and you can always add another row if gaps show through.
How Much Fabric Yarn a Rug Needs
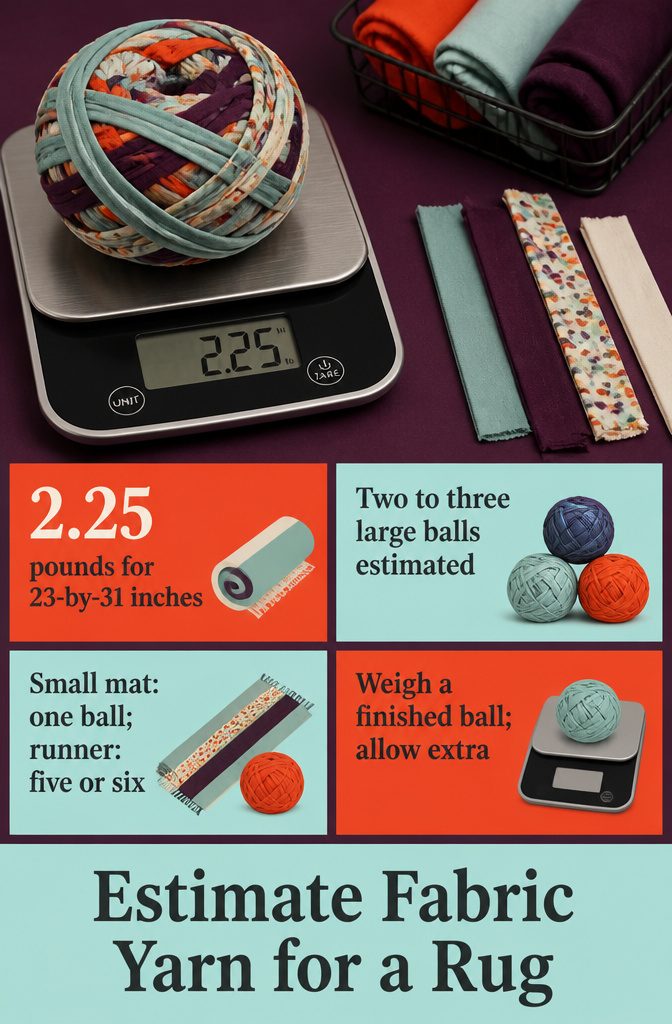
The 23-by-31-inch rug I found documented weighed about 2.25 pounds and used an estimated two to three larger-size balls of fabric yarn.
That gives you a starting point, but the real answer depends on how big you want to go. A smaller bath mat might need only one ball, while a bedroom runner could take five or six.
Fabric yarn is lighter than regular yarn, so weight matters more than yardage when you’re planning. If you’re making your own strips from old T-shirts, weigh a finished ball on a kitchen scale before you start crocheting.
That way you know how much fabric to prep if you want the rug bigger or need to match the first batch later.
The amount also shifts with how tightly you crochet and how thick you cut the strips, so build in a little extra the first time.
Keep the Rug From Moving Around
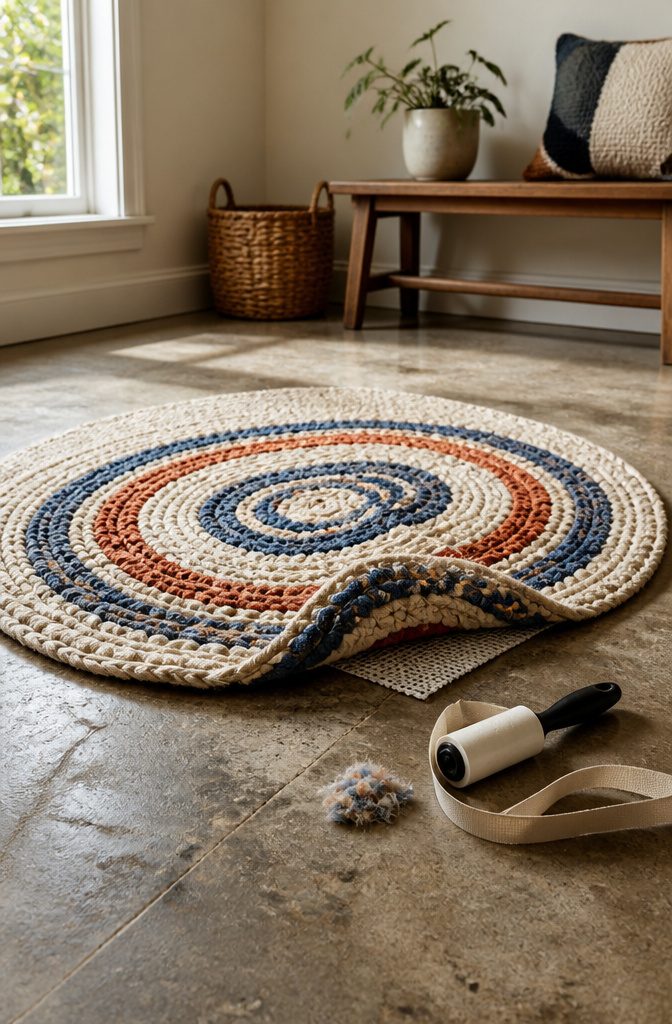
Once the rug is finished, the biggest problem is keeping it from sliding around on hard floors.
Carpet tape or a nonslip rug liner underneath solves it. The tape sticks straight to the floor and grips the fabric base; the liner sits between rug and floor and does the same job without adhesive.
Either one keeps the rug from bunching under your feet or sliding when you step onto it.
One other thing worth knowing while you work: T-shirt yarn sheds. Not a lot, but enough that you’ll see fuzz on your hands and clothes as you tie the strips through the mat or crochet them into rounds.
A lint roller nearby cleans it up quickly. The shedding calms down after the rug gets some use, but during construction it’s constant enough to notice.
Frequently Asked Questions
How much fabric yarn is needed to make a rag rug?
A 23-by-31-inch rug uses about 2.25 pounds of fabric yarn, or roughly two to three larger-size balls. Smaller bath mats need only one ball, while bedroom runners can take five or six.
Weight matters more than yardage because fabric yarn is lighter than regular yarn, so weigh a finished ball on a kitchen scale before you start if you want to plan for a larger size.
Does fabric yarn shed while making a rug?
T-shirt yarn sheds enough during construction that you’ll see fuzz on your hands and clothes as you work.
Keep a lint roller nearby to clean it up quickly. The shedding calms down after the rug gets some use, but while you’re tying or crocheting the strips it’s constant enough to notice.
Should I tie or sew fabric strips together for crochet?
Sew the strips together instead of tying them. Knotted joins are much harder to crochet with because the bulk catches on the hook and stops the yarn from feeding smoothly through your hand.
Overlapping the strips by about an inch and sewing them with a straight stitch keeps the joins flat and easy to work with.
How do you keep a rag rug from sliding on hard floors?
Carpet tape or a nonslip rug liner underneath solves the sliding problem. The tape sticks straight to the floor and grips the fabric base, while the liner sits between rug and floor and does the same job without adhesive.
Either one keeps the rug from bunching under your feet or sliding when you step onto it.






