
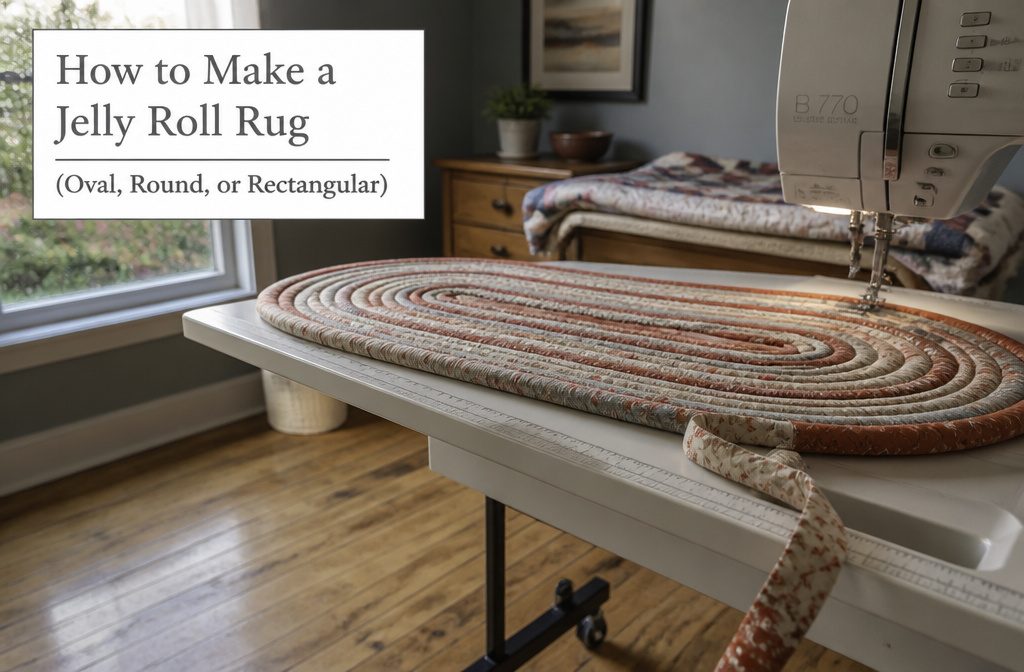
A jelly roll rug is a coiled fabric tube zigzagged into an oval, round, or rectangular mat that washes on cold and lays flat on hardwood or tile.
The whole project takes 6–8 hours of active work, but flatness depends entirely on keeping the rug level with the needle as you sew.
If the coil hangs off the machine bed, the weight will pull your stitching crooked and cup the edges.
What You Need
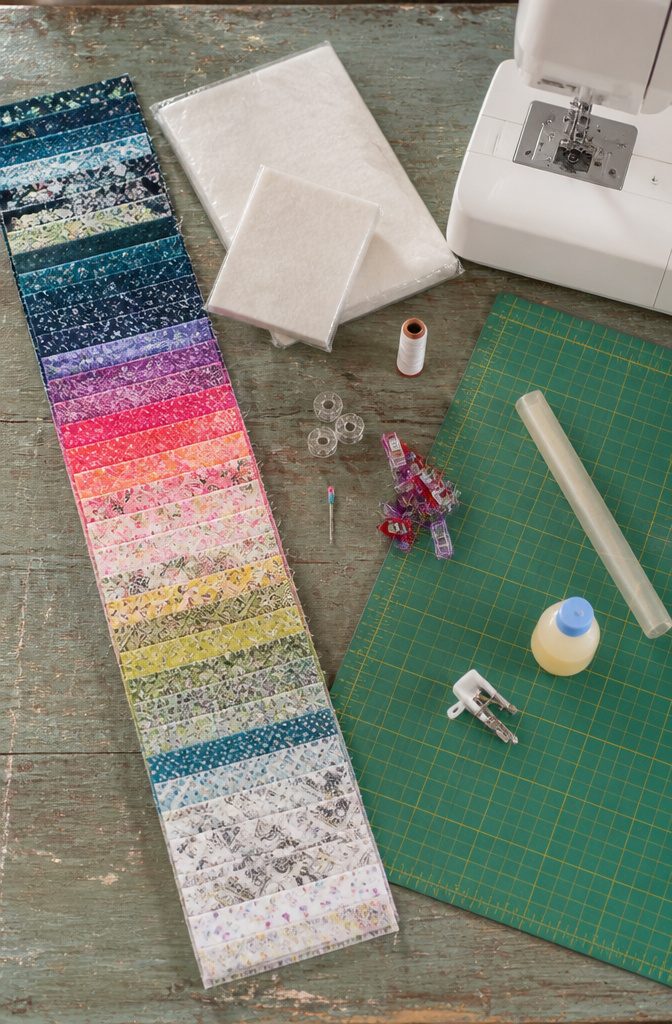
You will need one jelly roll (40 strips at 2½ inches wide), two packages of precut batting cut to the same width, thread, and a sewing machine with zigzag stitch capability.
The batting can be precut rolls—Bosal Katahdin On-A-Roll is the standard—or you can cut your own from scraps and fuse the ends together as you go.
Precut rolls save time, because you won’t stop every few minutes to join pieces.
- One jelly roll (40 strips of fabric, 2½ inches wide)
- Two packages of precut batting at 2½ inches wide, or about 50 yards total
- Thread: at least 500 yards (wind 7–8 bobbins before you start)
- Denim needle: 90/14 or 16/100
- Clips or pins
- Sewing machine with straight and zigzag stitch
- Optional: fabric tube tool, Best Press starch, walking foot
Most of the thread goes fast. I found the bobbins more useful wound ahead of time than stopping mid-round to reload.
How to Make a Jelly Roll Rug
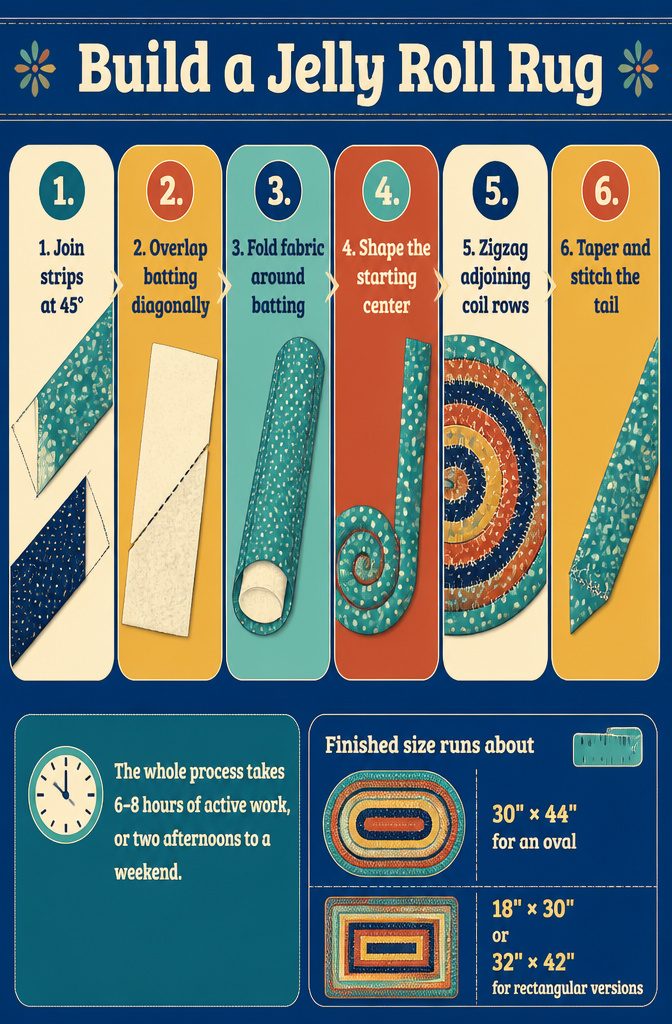
1. Join your strips
Sew the jelly roll strips end to end at a 45° angle and press the seams open. Diagonal joins keep the bulk from stacking up in one spot as you coil.
2. Join your batting scraps
Cut batting scraps on a diagonal, butt them up, and overlap them slightly. No need to seam or fuse; lapping them is enough to keep the tube smooth.
3. Wrap fabric around batting and stitch the tube closed
Place the batting on the wrong side of the fabric strip and fold both edges to the middle, then fold that in half so all raw edges sit in the center.
Stitch along the folded edges using a 1/8" or 1/4" seam allowance. You can also feed both fabric and batting through a tube maker if you have one; it wraps and closes the tube as it comes out the other side.
4. Form the starting center
For an oval rug, fold the beginning of the tube back on itself to make a straight spine about 15 inches long, then begin wrapping around it. For a round rug, coil it tight from the very first turn.
5. Coil the tube and zigzag rows together
Butt each new round up against the previous one and zigzag across the join with your stitch width set to 5.5 mm and length at 1.4 mm (or your machine’s biggest setting).
Keep the rug flat on the machine bed; do not let it hang off the table, because the weight will pull your stitching crooked. Ease in extra fabric as you go around the ends so the rug lays flat.
6. Finish the tail
Taper the end of the tube and stitch it down flat against the outer round so it disappears into the edge.
7. Press the finished rug
Iron the rug once it’s off the machine to help it lay flat.
The whole process takes 6–8 hours of active work, or two afternoons to a weekend. Finished size runs about 30" × 44" for an oval, 18" × 30" or 32" × 42" for rectangular versions.
How to Keep the Rug Flat While You Sew
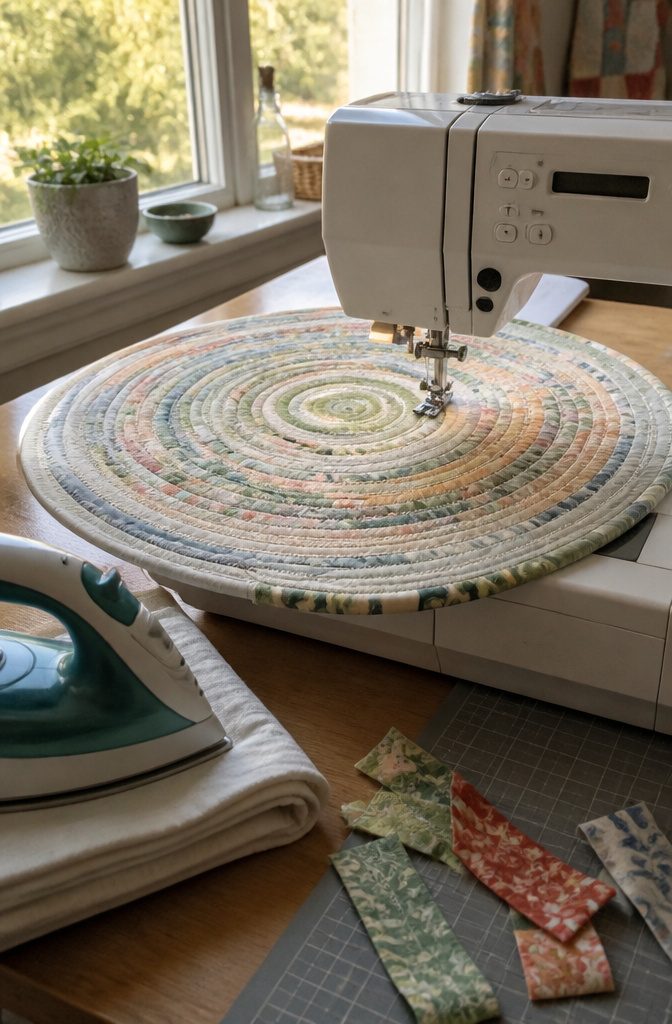
Flatness depends on even feeding across the machine bed and steady control through the turns.
When you start rounding a corner, the outside edge of the strip has farther to travel than the inside, so ease in extra fabric on the outer edge rather than focusing on the inner curve fitting snugly.
If the outer edge pulls tight, the rug will cup at the edges.
Support the weight of the rug so it stays level with the needle. Lifting the bulk even slightly as you sew will cause curling.
If you see a small curl forming, flatten everything before you continue. A large curl is worth unpicking rather than living with.
After the first four or five rounds, pull the rug off the machine and lay it on the floor.
Look at it from standing height. A flat center now means the rest will follow; a domed center is five minutes to unpick now or a wasted weekend if you finish it that way.
Every few rounds after that, press the rug with steam and let it cool flat before you sew again. That keeps the shape locked in as you build outward.
Oval, Round, or Rectangular
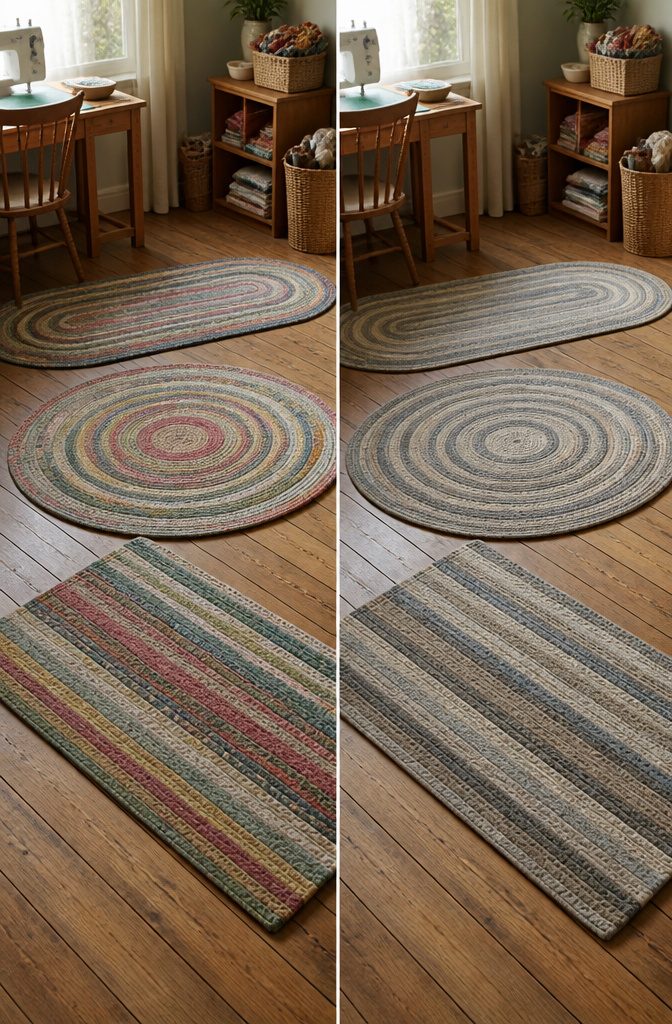
Oval, Round, or Rectangular
Shape decides how you start and where the joins sit. For an oval rug, fold the wrapped tube back on itself to make a straight center spine about 8 inches long, then zigzag around that spine in continuous coils.
The fold gives you two straight sides and curved ends. Round rugs skip the fold and start with a tight circle from the very first turn, coiling outward until you hit the size you want.
Rectangular versions break the pattern entirely: cut individual strips to the length you need, stitch them side by side in straight seams, and finish the raw batting edges at both ends with a zigzag or tassel trim.
Rectangles avoid the tight curves that pull oval and round rugs crooked if you rush the center, which is why they work well as a first attempt.
Batting Types and Using Scraps
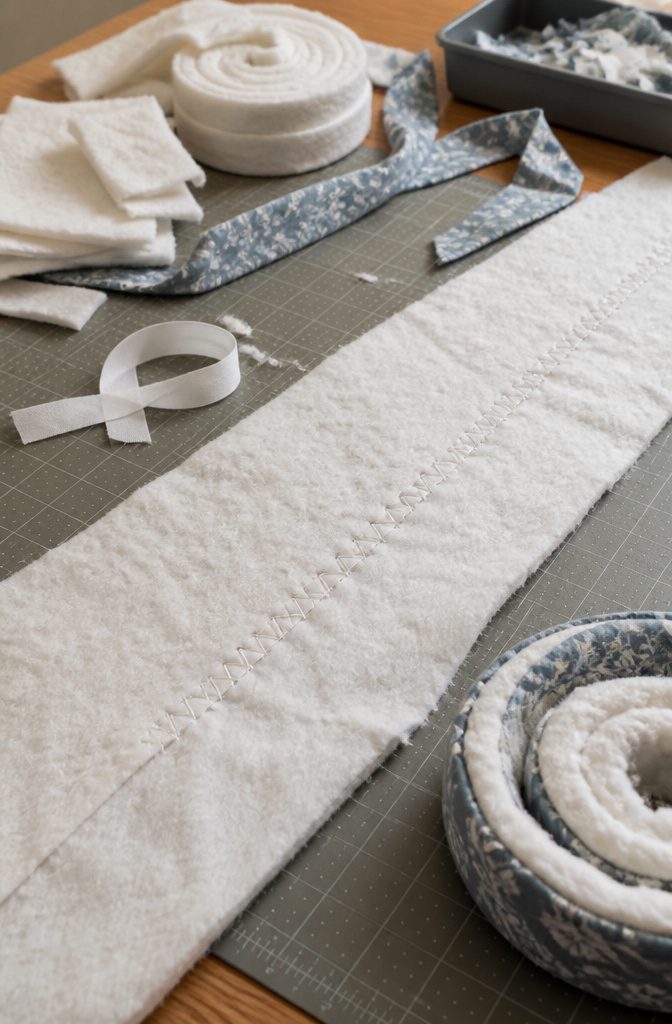
Cotton or cotton-blend batting is what I reach for. The material wraps cleanly, presses without bunching, and washes cold without shifting inside the coil.
Wool batting is not recommended—it has too much loft, which makes the tube thick and difficult to cut through when you zigzag the coil together.
Precut 2-1/2″ batting comes in packages or 50-yard rolls sized exactly for a jelly roll rug.
The continuous roll means fewer joins and faster progress at the sewing machine. Bosal also makes a 2-1/4″ roll in organic cotton that works, though you lose a quarter inch of wrap width.
Batting scraps are fair game if you have them.
Cut leftovers to 2-1/2″ wide, butt the ends together, and join them with a wide zigzag stitch. You can also fuse the ends with batting seam tape or overlap them by half an inch and stitch through.
Fifty yards is the total length you need, and piecing takes longer than sewing from a roll, but it uses what would otherwise sit in a bin.
Polyester batting paired with cotton or poly-cotton fabric can melt under a hot iron. Stick with cotton batting when pressing is part of the process.
Machine Setup and Skipped Stitches
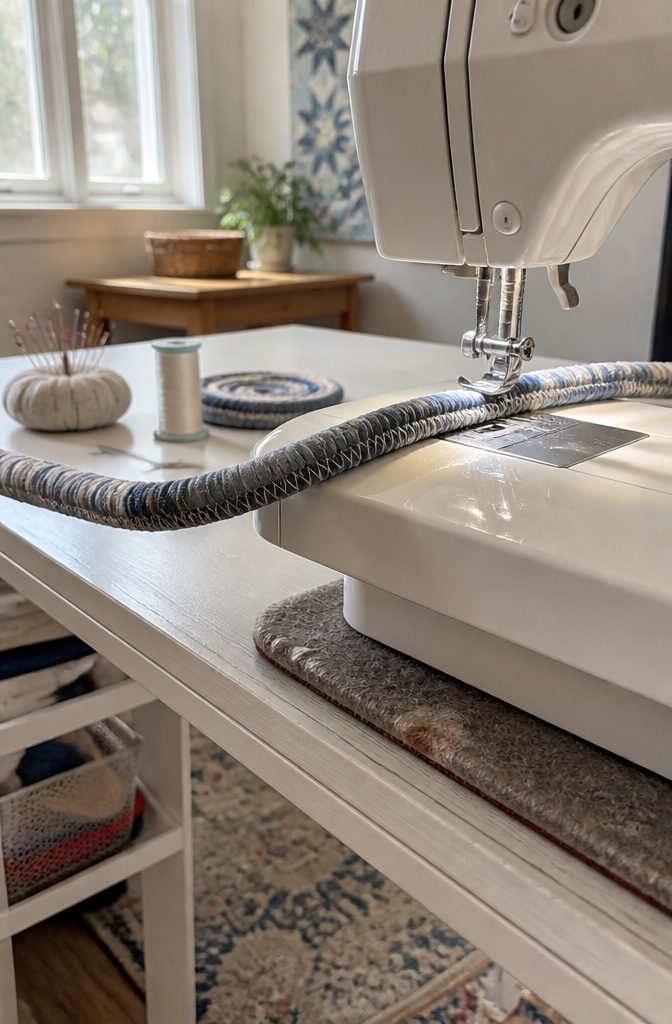
I set the machine to a zigzag width of 5.5 mm and a length of 1.4 mm, though width 5 and length 1 work just as well if that is what your machine prefers.
The seam allowance runs less than a quarter inch. Thread matters more than most people guess: 50-weight cotton thread such as Aurifil runs cleaner through the bulk than polyester, and skipped stitches often clear up the moment you swap spools.
The needle takes the real beating. A fresh denim needle in size 90/14, 16/100, or 14–18 pushes through the loft without balking, and I replace it halfway through a large rug whether it looks dull or not.
If stitches still skip, test a sample coil first and adjust foot pressure if your machine allows it; on a Bernina, dropping pressure to 25 solved it.
The other fix is dead simple: set the machine on a flat extension table so the weight of the rug does not pull against the foot.
A heavy coil hanging off the edge stretches the seam and skips stitches no needle change will cure.
Washing and Care
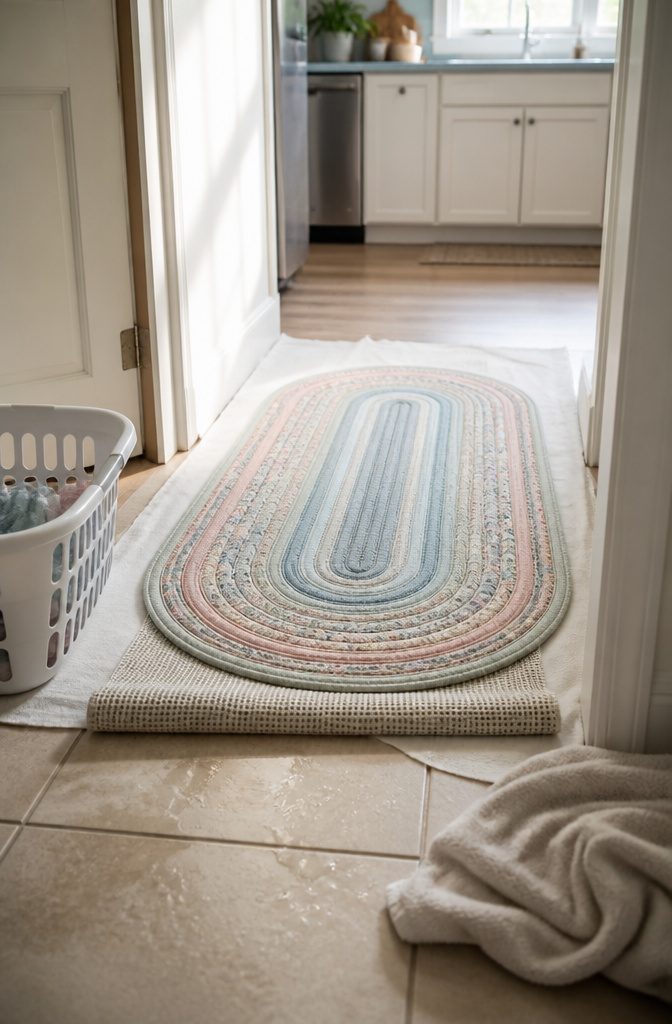
Washing and Care
Jelly roll rugs are washable, which makes them practical for actual use in a kitchen or entryway.
I wash mine on a cold gentle cycle and then lay it flat to dry. You can tumble dry on low if you need it faster, but cotton batting will shrink a little the first time through.
That shrinkage tightens the coils and makes the rug feel denser, so it is not a flaw. If it comes out of the dryer even slightly wavy, finish drying it flat and press it smooth.
If the rug will sit on tile or hardwood, add non-slip tape or backing before you put it down. Cotton has grip, but not enough to hold on polished floors where someone might catch an edge in socks.
Placemats and Other Projects
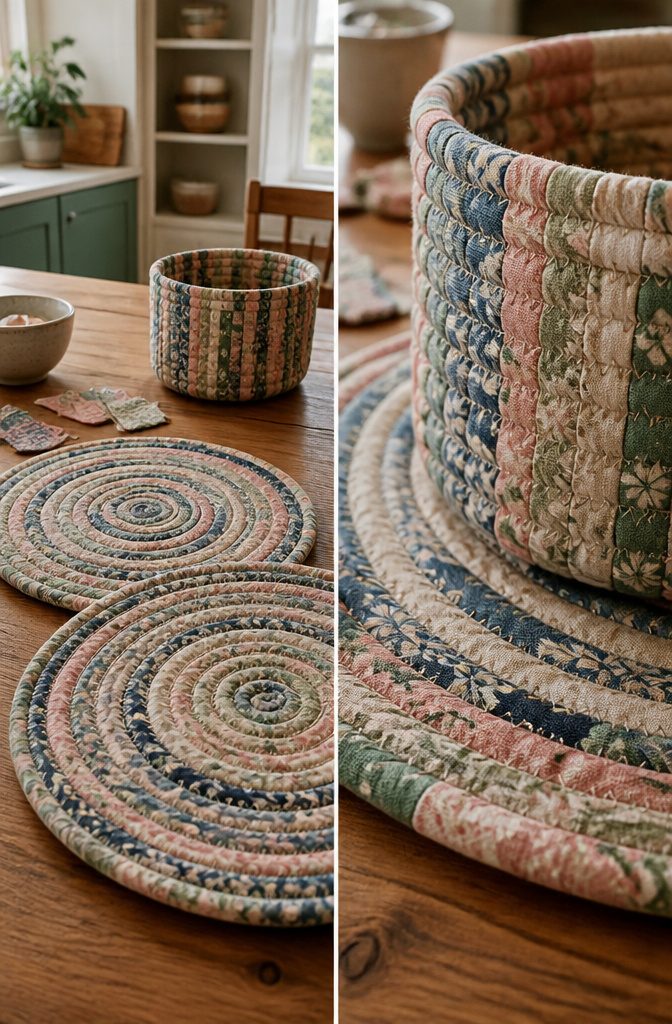
The same technique that makes a rug scales down beautifully for placemats. You’ll need about 7 yards of batting per placemat, which you cover with fabric strips just as you would for the larger project.
The difference is when you make that first curve: bend the strip at around 8 inches and keep coiling until the placemat reaches the size you want. The sewing method stays identical, just tighter and faster because the surface is smaller.
The approach works for bowls and baskets too. The shift is mostly in how you handle the sides: once the base reaches the right diameter, you start stacking coils vertically instead of spiraling them flat.
Finishing changes slightly because a basket needs structure where a placemat can lie soft, but the zigzag stitch and the coiling principle stay the same.
A set of placemats is a good first test if you want to see how the fabric behaves before committing to a full rug.
Frequently Asked Questions
How many jelly rolls does it take to make a rug?
One jelly roll (40 strips at 2½ inches wide) makes a standard rug measuring about 30" × 44" for an oval or 18" × 30" for a smaller rectangular version. Larger round rugs may require more than one jelly roll depending on the final size you want.
What kind of batting do you use for a jelly roll rug?
Cotton or cotton-blend batting at 2½ inches wide works best for jelly roll rugs. Wool batting has too much loft and makes the tube difficult to sew through, and polyester paired with a hot iron can melt.
Are jelly roll rugs washable?
Yes, jelly roll rugs are machine washable.
Wash on a cold gentle cycle and lay flat to dry, or tumble dry on low if you need it faster. Cotton batting will shrink slightly the first time through, which tightens the coils and makes the rug feel denser.
How do I keep the jelly roll rug flat?
Support the weight of the rug level with the needle and ease in extra fabric on the outer edge as you round corners so the outside has room to travel farther than the inside.
Press the rug with steam every few rounds and let it cool flat before continuing to lock in the shape.
Can I make placemats with this jelly roll technique?
Yes, the same coiling method scales down for placemats.
You need about 7 yards of batting per placemat, and you bend the first curve at around 8 inches instead of 15. The zigzag stitch and wrapping process stay identical.
Can I make a round rug or a rectangular rug?
Yes, both shapes are possible.
Round rugs start with a tight coil from the first turn instead of a straight spine, while rectangular versions use individual strips stitched side by side in straight seams with the batting edges finished at both ends.
Can I make a jelly roll rug without a tube maker?
You can fold the fabric around the batting by hand, and many people do. It is slow work and hard on your hands, but it produces the same result if you press as you go.
Can I make a jelly roll rug without batting?
No, the batting is what gives the rug its body and structure. Without it, you would only have a flat coil of fabric with no cushion or weight, which would not function as a rug.
What foot do you use for a jelly roll rug?
A standard presser foot works fine for the zigzag stitch that joins the coils. A walking foot can help with feeding the bulk evenly through the machine, but it is optional rather than required.






