
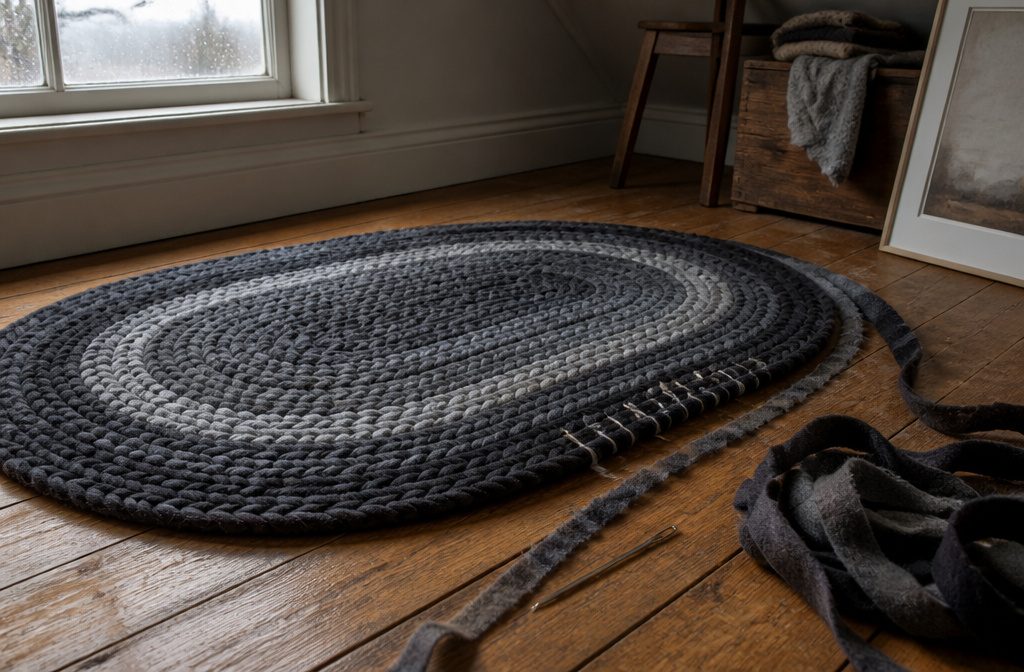
A braided rug made from wool coats and blankets takes 15 to 20 hours for a 2-by-3-foot piece, and most of that time goes to a step people assume they can skip: lacing each row to the one before it without letting the curves buckle.
The fix is to skip loops only at the turns, never on straight sections, which keeps the rug flat instead of rippled.
1. Choose and Prepare Your Material
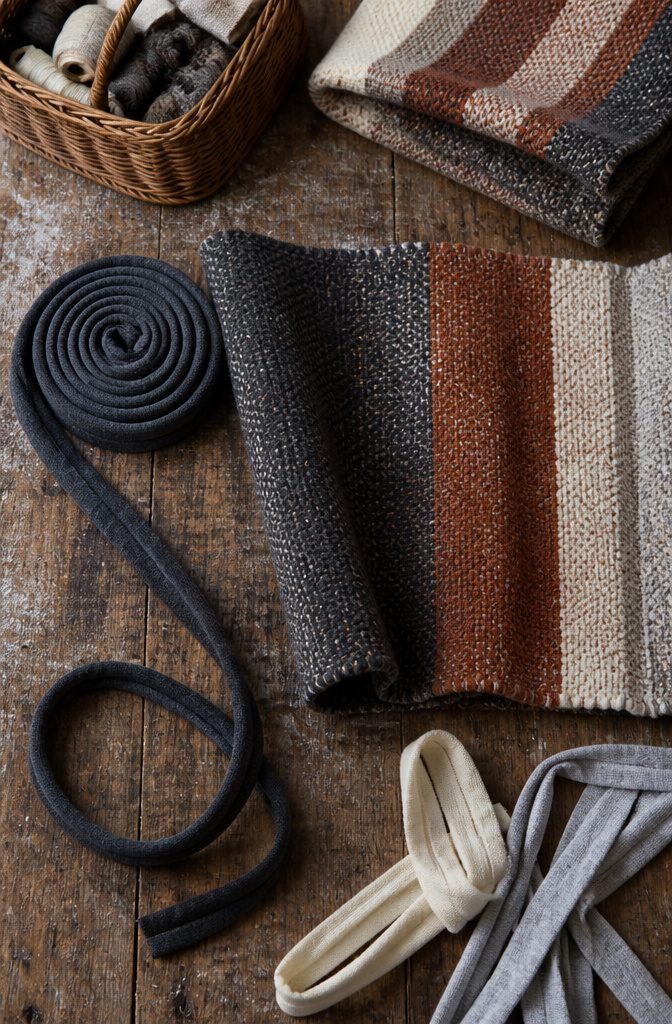
The fabric you start with changes how tight the braid sits and whether you sew it or skip the needle entirely.
Woven wool is the best choice for a tight, durable braid because it holds its shape without stretching. Look for an 80/20 blend or 100% wool in coat weight or heavy blankets.
The thicker the fabric, the easier it is to work with and the less you waste building a good roll. Lightweight wool needs extra fabric or stuffing to get the same body, and neither option saves time.
Old T-shirts and jersey knits work well for no-sew methods, especially finger crochet rugs that skip the lacing step.
Cotton sheets, towels, and polyester chiffon also braid, though they lack the long-wearing quality of wool. If you’re pulling from what you already own, mixing fabrics is fine as long as each strand has similar weight.
Cut or tear strips 2 to 2 1/2 inches wide on the straight of the fabric, and keep every strip the same thickness so the braid holds an even tension.
Fold the raw edges toward the center, then bring the folded sides together so no frayed edge shows. Some people roll the strip instead, tucking raw edges inside as they go.
Either method works. You want a clean tube of fabric that won’t fray as you braid and lace.
2. Cut Strips and Join Them Into Workable Lengths
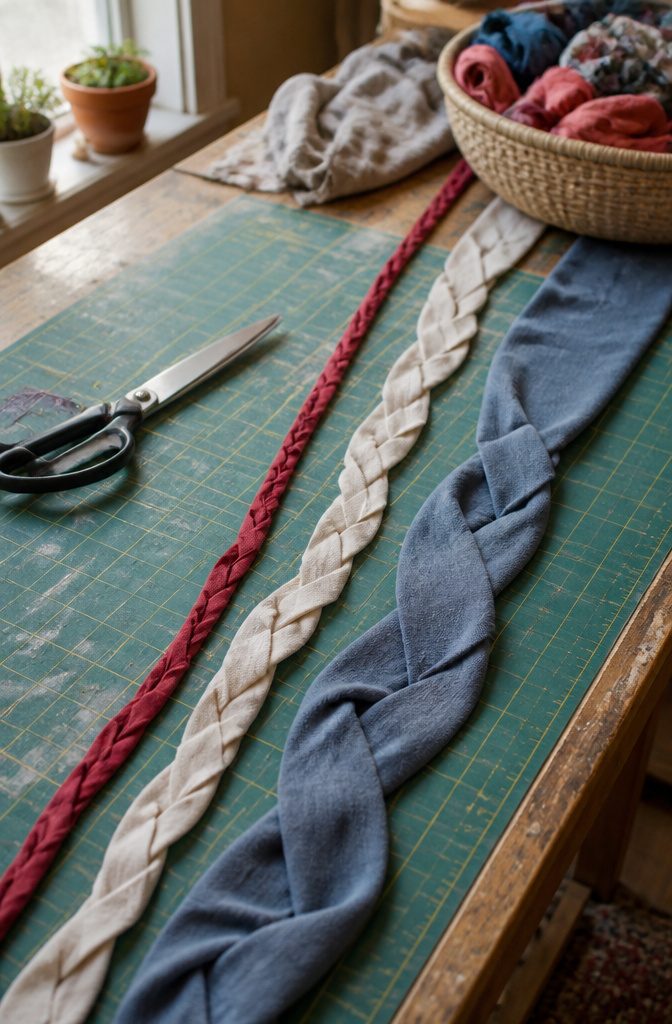
Strip width depends on the fabric. I cut 2 to 2½ inches for general cotton, about 1½ inches for jersey T-shirts, and 1 inch for wool.
The tighter weave in wool can take a narrower strip without fraying to nothing, while knits need a bit more width to stay substantial through the braid.
Joining new strips comes up every few feet. The slit-and-pull method is fastest: cut a small slit near the end of each strip, line up the slits, and pull the tail of the new strip through both openings.
The join tightens as you braid. Some people prefer an Amish knot or a quick line of machine stitching, but that adds time.
Sewing by hand works if you want invisible joins, though I find it slows the momentum too much for a project that already takes hours.
Stagger the joins so they don’t all land in the same braid rotation.
Three joins stacked at the same point create a bulky lump that shows through the finished rug and makes lacing harder later. Add a new strip to one strand, braid a few feet, then join the next.
3. Start and Make the Braid
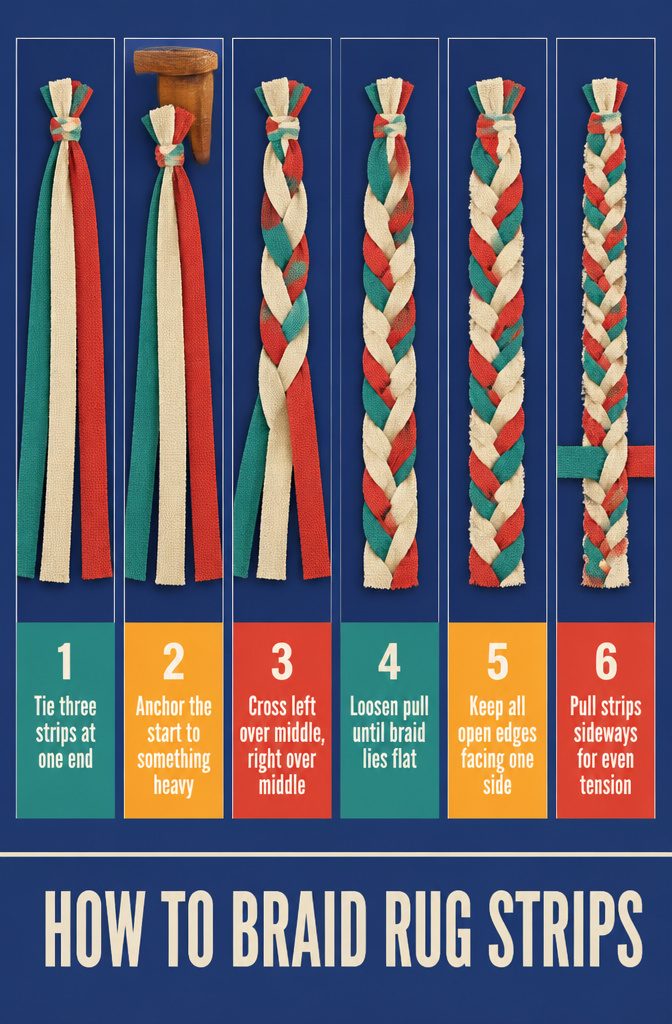
Tie three strips together at one end and anchor them to something heavy. A chair works.
Left over middle, right over middle, repeat. The first few inches might twist or buckle.
Loosen your pull until the braid lies flat and the folds stay aligned. All open edges should face the same side as you work, which keeps the finished surface consistent when you lace rows together later.
Another way to begin is to stitch two folded strips together, then join the third at a right angle to form a T. That puts all three strands in position without a knot.
Either method lands you in the same rhythm after a few passes.
Aim for a finished braid about 1 inch wide.
Pull the strips sideways, not downward, to keep tension even. After braiding a foot or so, some methods add a fourth strand by folding it in half, weaving it under and over the existing three, then stitching it in place.
The extra strand adds thickness and lets you vary texture if you want it.
4. Shape the Center and Build Outward
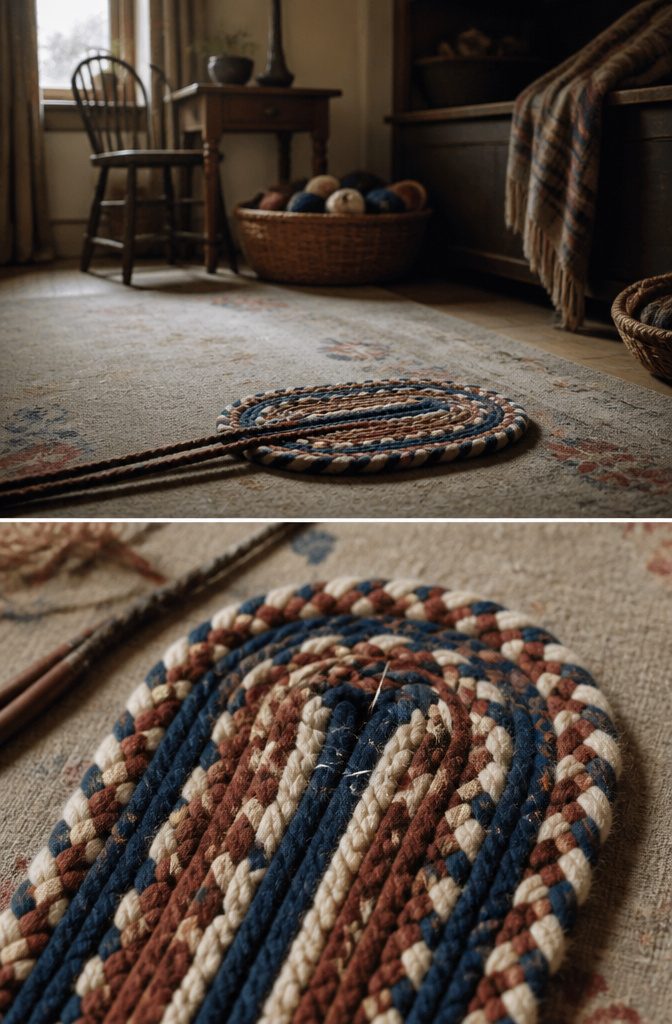
The center shape decides how the rest of the rug grows, and each shape starts differently. For a round rug, coil about 4 inches of braid into a tight spiral and stitch the first loop closed.
The rug builds outward from there in concentric circles, adding rows that wrap around the center until the rug reaches the size you want.
Ovals need a straight starter section instead of a coil. For a 4-by-6-foot rug, leave the center 2 feet of braid straight; for a 6-by-9-foot rug, make it 3 feet.
Bend the braid back on itself so the two lengths run parallel, stitch them together along that straight center, then begin circling around the ends and sides.
The oval emerges as you add rows that curve around the short ends and stay parallel along the long sides.
Rectangles take the longest starter braid: more than twice the finished length, with at least 1 inch per foot extra to account for the first round of lacing.
That extra length keeps the corners square and the edges straight as you work outward in rectangular circuits.
5. Join Rows and Manage Curves
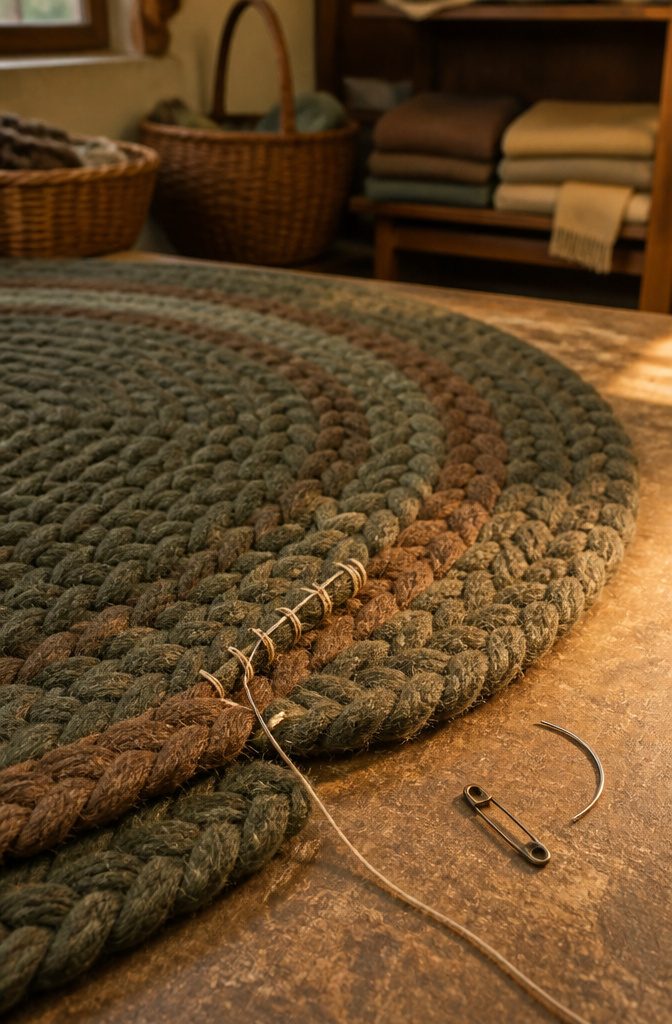
Once your braid is long enough to start forming the rug, you face a choice: lace adjoining rows with needle and thread, or braid new strands directly into the existing work.
For sewn rugs, thread a curved needle or bodkin with carpet thread and lace through alternate loops of each braid where they sit side by side.
The loops form an open V along straight sections, and the lacing holds them together without showing much. At curves you skip loops on the new braid to add fullness.
Lacing through 2 loops on the outer braid while continuing through alternate loops on the inner row keeps the rug flat instead of letting it buckle. Skip only at the curves, not on the straight sides, or the rug will ripple.
The braid-in method skips the needle and thread. You work new strands into the existing rug with a blunt device like a closed safety pin or a needle, pushing it through loops to anchor each pass.
At the oval ends, stitch into the same holes more than once to compensate for the added volume the turn demands. Those extra stitches keep the rug from buckling where the curve tightens.
6. Finish the Edge and Secure the Rug
Once the rug is the size you want, taper each strip over 5 to 7 inches so the finish stays smooth. Trim each strip to a different length rather than cutting all three at once.
Turn the raw edges under and blindstitch each one with matching thread. Braid the tapered strips to the end and lace them into the body of the rug as far as the short lengths will reach.
Sew the shortest strip under one of the others, then wrap the last two around each other and stitch them together so nothing unravels.
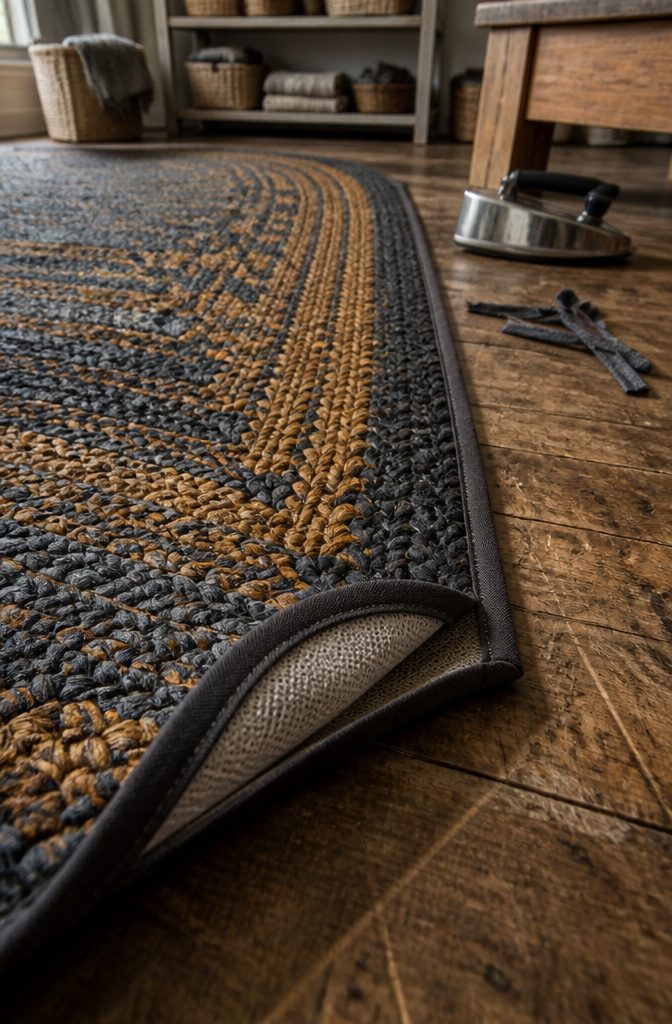
For a rectangular rug, stitch straight across both ends to hold the braids in place, then cover the cut edges with rug binding tape.
If you used the braid-in method, finish by weaving each strand back into the rug one at a time instead of stitching anything.
To protect the back and keep the rug from shifting, iron fusible interfacing onto the reverse side or brush on starch or Polycrylic spray.
Using Fabric Scraps and Old Clothing
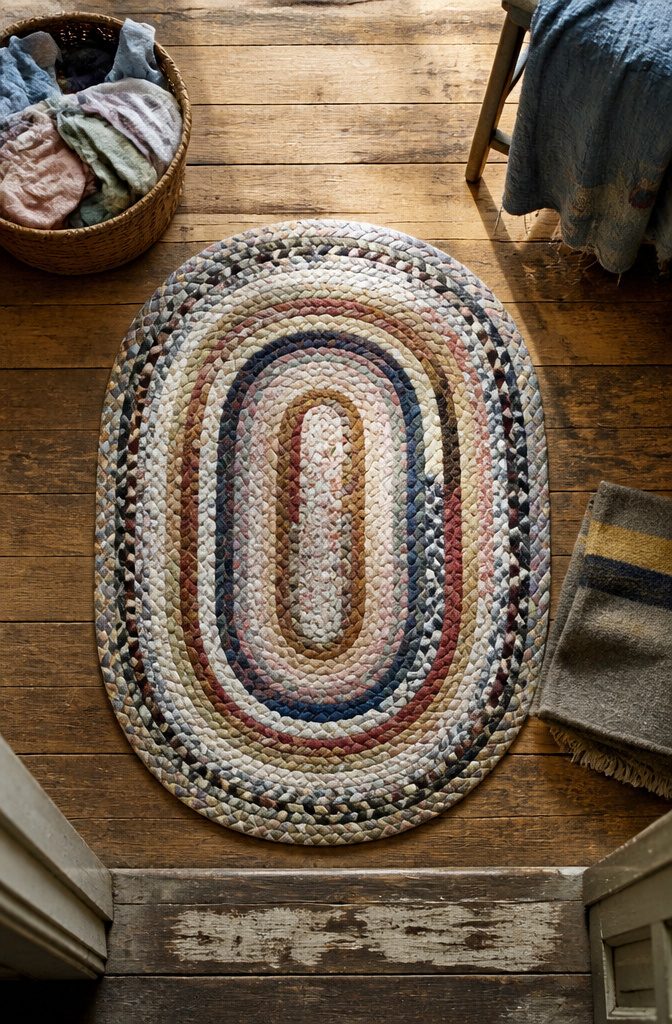
Braided rugs started as a practical way to give worn clothing and fabric scraps a second life. T-shirts, old sheets, towels, jeans, and wool garments all work, though the fabric type shapes how the finished rug behaves.
T-shirt fabric stretches just enough to lie flat as you turn the braid around curves, while cotton sheet yarn tends to buckle at the ends of an oval because it lacks the give needed to make those turns smoothly.
Woven wool is the traditional choice for braided rugs and still the best if you can find it.
Look for winter coats, suit jackets, pants, or heavy blankets. An 80/20 blend or better works well, with 100% wool the top pick.
That ratio means 80% wool and 20% nylon or another synthetic, which adds durability the same way nylon does in carpet. Older pieces labeled only "dry clean only" are usually all wool.
If the label is gone, rub the fabric between your fingers: wool feels warm and soft, while synthetics have a slick, almost squeaky feel as the fibers slide past each other.
Thicker wool is easier to braid and fills out the rug faster, so heavy coats and blankets beat lightweight dress fabric every time.
Choosing Your Shape and Size
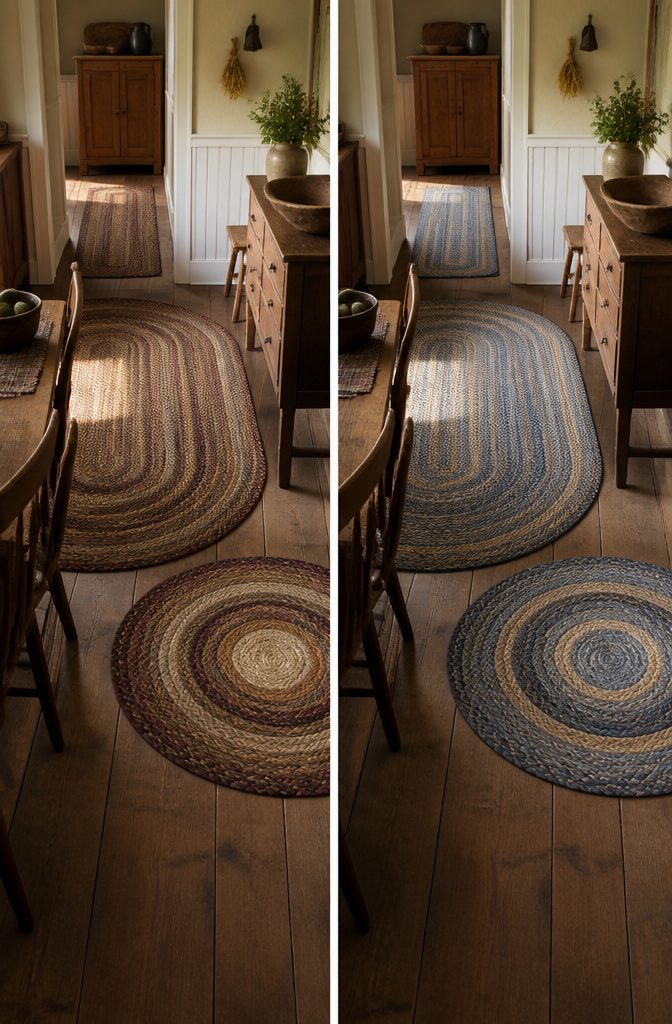
The rug shape you pick depends mostly on where it will land.
Oval rugs sit cleanly under dining tables and in front of sofas, and they’re the classic starting point because you curl the braid into a small loop, stitch it tight, then wrap each round outward from there.
Round rugs work the same way but keep circling evenly instead of stretching into an oval.
Rectangular rugs take a little more planning: you fold the braid back and forth to build straight edges, which makes them good for hallways or bath mats.
Size comes down to how much fabric you feed into the project.
Fifteen T-shirts of different sizes will give you a rug around 30 inches across. A 2-by-3-foot rug takes roughly three suit coats, a skirt, a pair of pants, and a winter coat.
The more braid you make, the larger the rug grows, so if you want something bigger, gather more fabric before you start lacing.
Keeping the Rug Flat
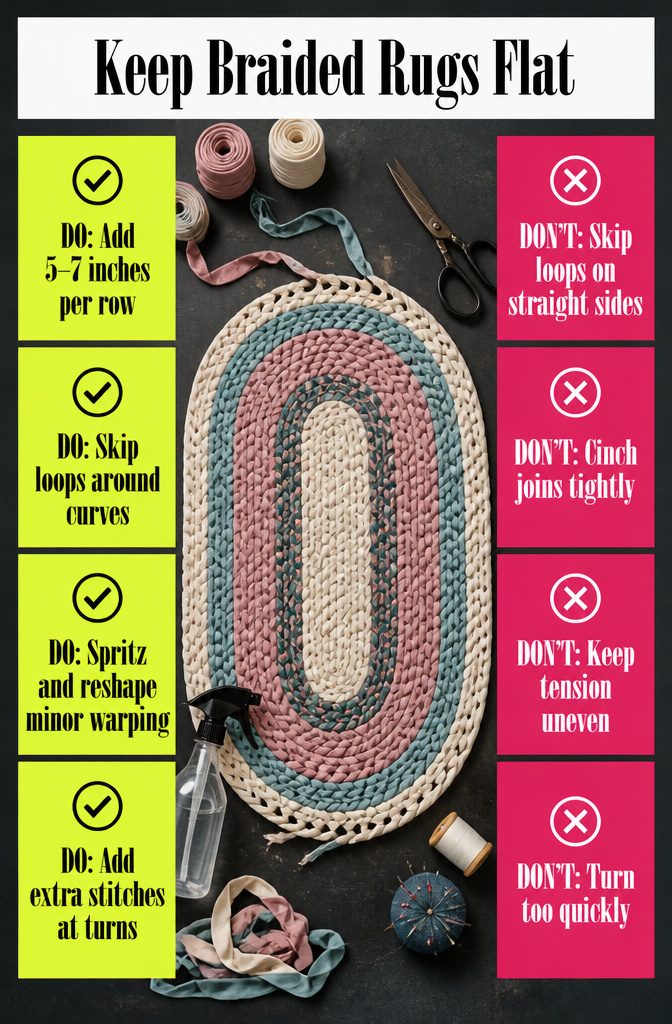
The rug will want to buckle if the fabric is too rigid or if you skip the adjustments that let each row expand.
Each new row is 5–7 inches larger than the one before, and if you lace through every loop without skipping any, the outer braid has nowhere to go.
The fix is to skip loops when you lace around curves, never on the straight sides or the rug will ripple instead of lying flat.
T-shirt fabric stretched during braiding may spring back and resist staying down. Spritz theThe rug can buckle if you turn too quickly or maintain uneven tension as you build the rows.
Spritzing the surface with water and reshaping by hand usually flattens minor warping, and you can weight the rug with heavy objects while the next section dries.
At the oval ends, add extra stitches by lacing into the same holes to give the turns the volume they need without puckering.
Each new row measures 5 to 7 inches larger than the one before, so skip some loops on the outer braid when lacing around curves to keep the rug from rippling. Never skip on straight sections or you invite waves.
T-shirt fabric can fight you in woven or laced methods because the braiding stretches it and the material wants to spring back.
Cotton sheeting lies flatter with less fuss. Consistent tension matters more than anything you do after the fact, so braid just snug enough to hold the shape and keep joins loose rather than cinching them tight.
Frequently Asked Questions
What can you make a rag rug out of?
Old T-shirts, sheets, towels, jeans, and wool garments all work for braided rugs.
Woven wool from coats, suit jackets, or heavy blankets gives the best durability and holds a tight braid without stretching. Cotton sheets and jersey knits also braid well, though they lack the long-wearing quality of wool.
Do you need a sewing machine to make a rag rug?
No. Finger crochet rugs and braid-in methods skip the needle entirely, anchoring new strands directly into the existing work with a blunt device like a closed safety pin.
Sewn rugs use a curved needle and carpet thread to lace rows together, but a machine is optional.
How many shirts will you need for a rag rug?
15 T-shirts of different sizes will make a rug about 30 inches across.
The more shirts you use, the larger the rug grows. Size depends on how much fabric you feed into the project.
What kind of wool is needed for braided wool rugs?
Woven wool is best, with an 80/20 blend or 100% wool the top choice.
Look for coat weight or heavy blankets in winter coats, suit jackets, pants, or wool blankets. The thicker the fabric, the easier it is to work with and the less you waste building a good roll.
How to make a handmade rug?
Cut fabric into 2 to 2 1/2 inch strips, fold the raw edges inward, then braid 3 strips together with left over middle, right over middle.
Coil the braid into the shape you want and lace adjoining rows with carpet thread through alternate loops. Taper the ends over 5 to 7 inches and stitch them under to finish.
How to get wrinkles out of a braided rug?
Spritz the surface with water and reshape by hand, then weight the rug with heavy objects while it dries.
You can also press it lightly with a damp cloth and hot iron. Wrinkles usually come from uneven tension during braiding or skipping loops on straight sections instead of only at curves.






