

A fabric-covered rug takes 3 to 5 coats of polyurethane and about a day and a half to seal, or a few hours to sew and back with rubber tape if you skip the glue-and-seal method.
Most builders apply too few coats and end up with a surface that absorbs dirt instead of shedding it.
The vinyl method needs fabric cut 3 inches wider and longer than the base to fold cleanly at the corners, while the rubber mat route only asks for 1 inch of margin on all sides.
1. Cut the Base and Fabric to Size
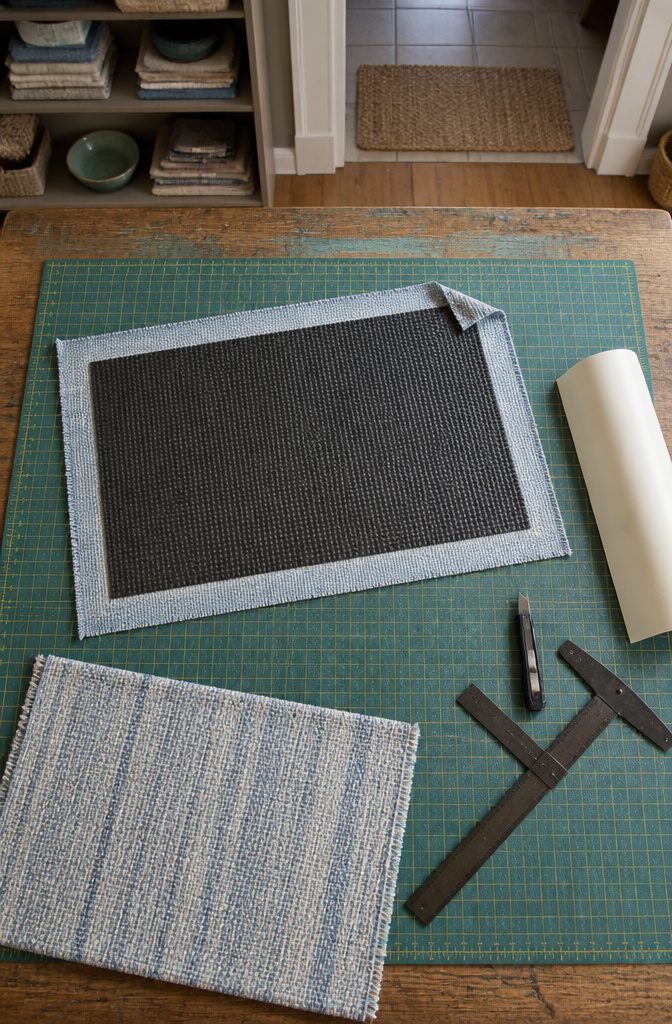
Start with the base. A rubber mat cut to size needs fabric 1 inch larger on all sides, and if the fabric frays, add another inch to fold a hem before you turn the edge over the mat.
The vinyl method wants more room: cut fabric 3 inches wider and longer than the base to give yourself enough fabric to fold cleanly around the edges without pulling short at the corners.
A traditional doormat runs about 2 by 3 feet, which works for most front entries and keeps the project small enough to finish in an afternoon.
Use a craft knife and a T-square to trim vinyl remnants or straighten the edges of a rubber mat if the hardware store cut left them uneven.
One yard of fabric makes two small rugs this size, so you can keep one and gift the other or match a pair for a back door and a mudroom.
2. Prepare and Glue the Surfaces
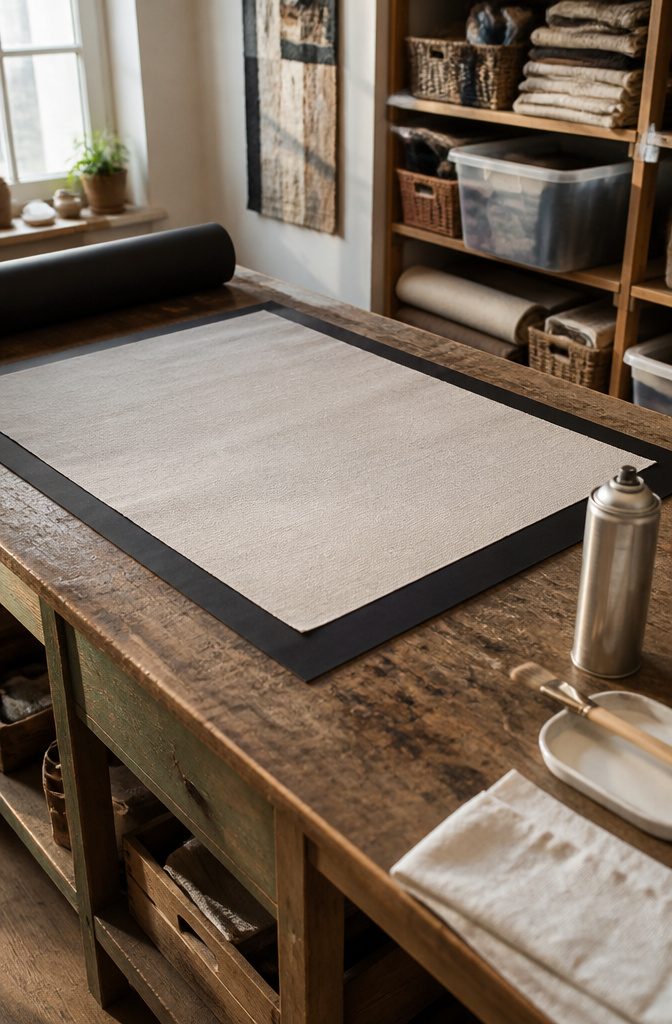
If you’re working with light fabric over dark vinyl backing, prime the vinyl side with white primer first so the color underneath doesn’t show through.
I skip this step when the fabric is already opaque or darker than the mat, but it matters when pale linen sits over black rubber.
Once the base and fabric are cut and any wrinkles ironed out, apply spray adhesive to both surfaces: the underside of the fabric and the top of the base.
For rubber mats, that’s the smooth side rather than the textured one.
I use 3M Super 77 Spray Adhesive Low VOC 18 oz. or Super 88 Spray Adhesive 13 oz., holding the can about eight inches back and sweeping in even passes so no pools form.
Lay the mat onto the fabric sticky side down, then press from the center outward with your palms to push air bubbles toward the edges.
Any trapped air left under the surface will wrinkle the fabric once the adhesive sets, so take a few seconds to smooth it properly before moving on.
3. Fold and Secure the Edges
Fold and Secure the Edges
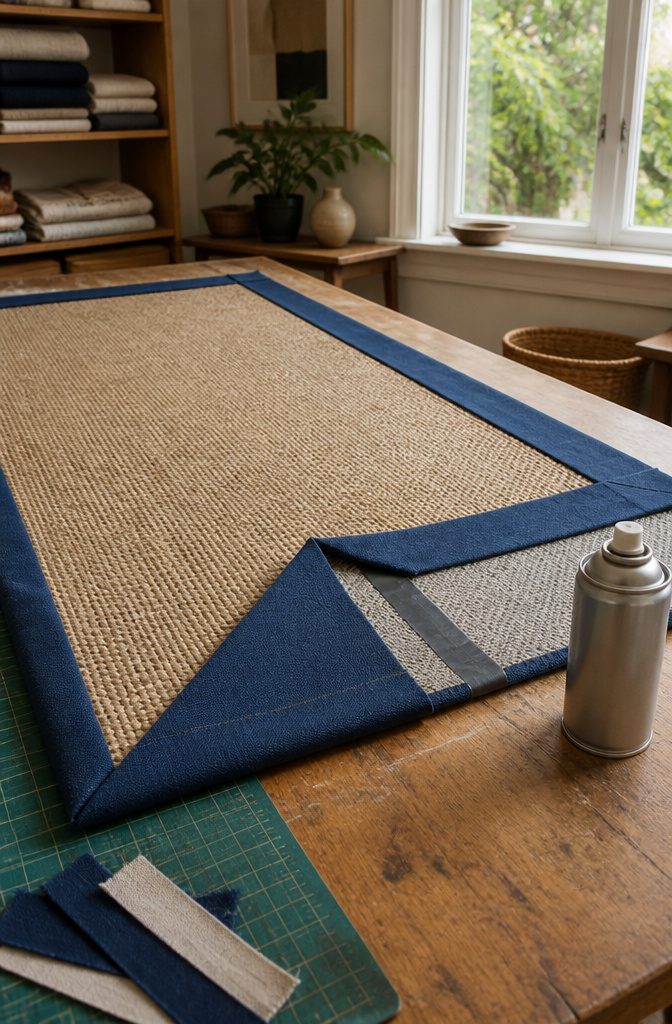
Start with the long sides. Fold the fabric over the mat’s edge, working from one end to the other and smoothing as you go.
If you added an extra inch for fraying, fold that onto itself first to create a hem, then fold the hemmed edge over the mat.
Extra spray adhesive along the edges keeps the fold tight if the first coat has started to dry.
The corners need a different move.
Fold each corner under at an angle so the fabric tucks neatly without bunching. Add more adhesive at the corner fold if it lifts.
Some builders skip the spray at this step and run a strip of duct tape along the underside instead. Duck Brand duct tape holds through the polyurethane coats and the first months of foot traffic without peeling.
This folding happens after at least two dry coats of polyurethane if you are using the vinyl mat method. Folding wet fabric smears the seal and leaves the edge vulnerable to water.
4. Seal the Fabric With Polyurethane
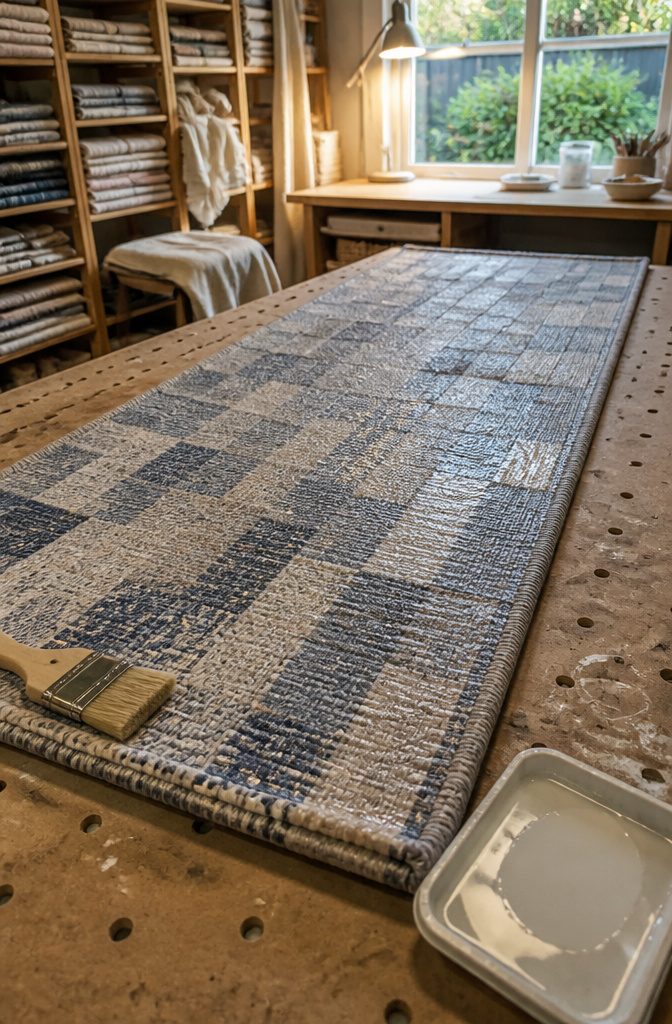
Once the fabric wraps tight and the edges fold under, apply water-based polyurethane with a stiff-bristle brush to seal the surface. I use Zinsser Bulls Eye Ultimate Polyurethane in gloss finish because it dries clear and makes the rug wipeable.
The first coat goes on thin and dries overnight. After that, you can apply coats every two hours until you hit three to five total layers.
Too few coats leave the fabric porous, and dirt works its way into the weave instead of sitting on top where you can wipe it off.
Five coats give you a hard, cleanable surface that holds up to foot traffic and spills.
The whole sealing process takes about three hours of active work spread over a day and a half, most of it waiting for the polyurethane to cure between applications.
5. Finish and Keep the Rug in Place
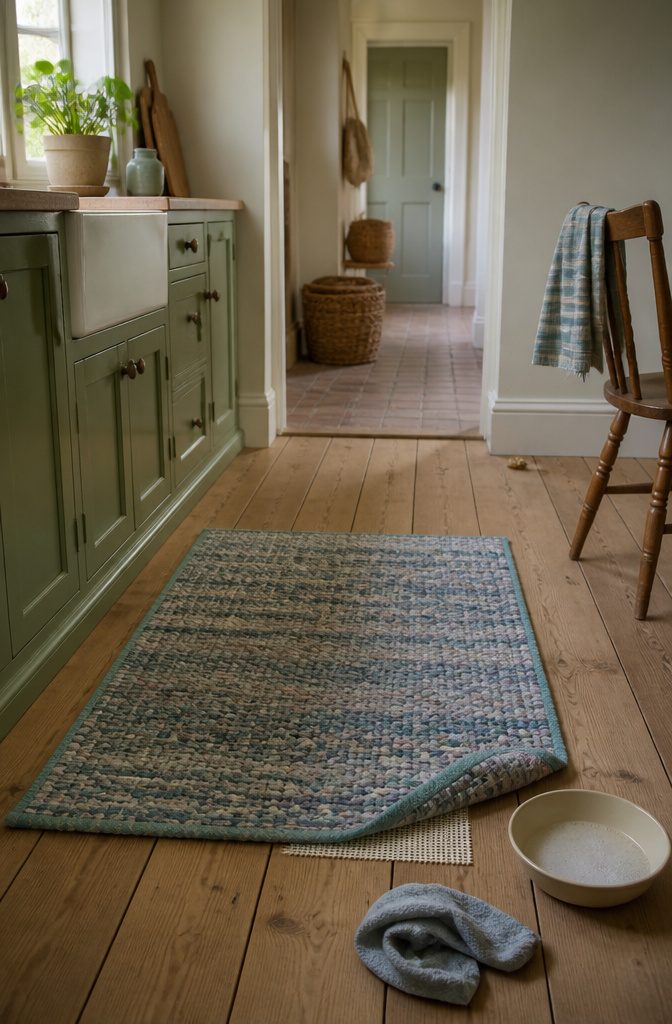
Once the seal has dried, the rug is ready to use. Rough-backed vinyl tape and wrapped fabric edges naturally resist sliding on hard floors, enough for light-traffic spots where the rug sits flat.
Slick-backed rugs, particularly those sealed with a glossy finish or made entirely from smoother fabric, need a non-slip pad underneath or corner grippers to keep them from shifting underfoot.
I find the pad worth it in kitchens or doorways where people turn quickly.
Cleaning takes a damp rag and a little detergent.
Wipe the surface in the direction of the fabric weave, wring the rag well so water does not soak through to the base, and let it air-dry before putting it back down.
The sealed surface sheds most spills, but ground-in dirt near entries can work into the weave if left too long. A quick wipe every few weeks keeps it looking fresh.
6. Choose Upholstery Fabric and Cut a Double Layer
Choose Upholstery Fabric and Cut a Double Layer
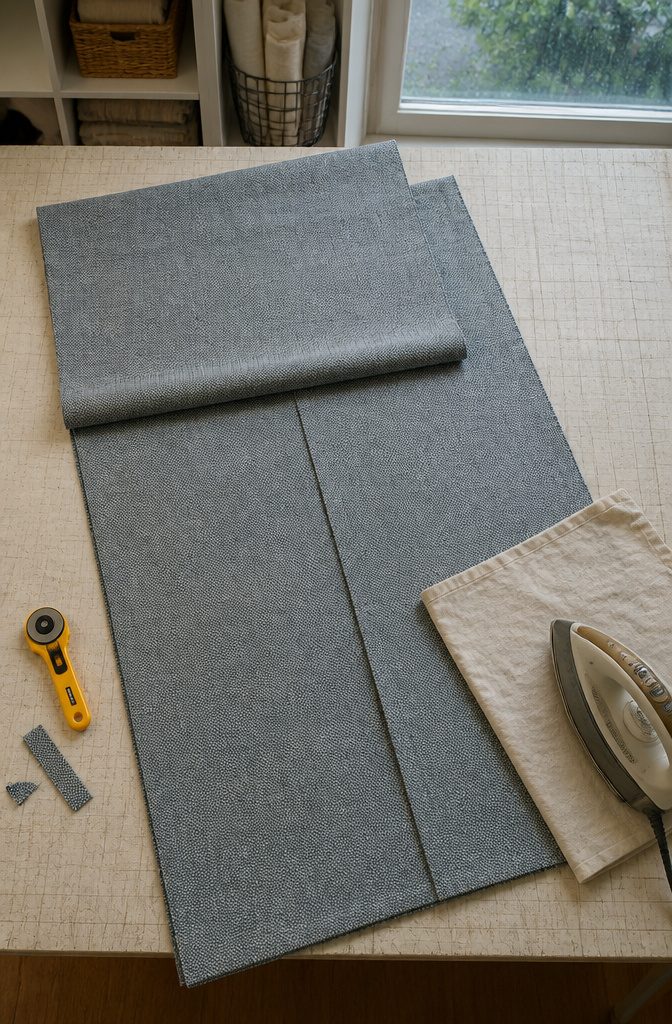
Upholstery fabric handles foot traffic better than quilting cotton or home-dec prints. You need a piece large enough to fold or cut to twice the finished size of the rug, because you will work with two layers stacked.
A 60-by-130-inch length becomes two 60-by-65-inch pieces when you cut it in half across its width, or you can fold the yardage once and leave the fold at one edge.
If the fabric looks or feels synthetic, use a pressing cloth when you iron.
Polyester and some blends scorch or melt under direct heat, and a buffer cloth keeps the surface smooth while you flatten the fold line or straighten the cut edges.
Plain canvas, decorator-weight linen, and medium to heavyweight cotton twill all press cleanly without a cloth between the iron and the fabric.
7. Hem and Sew the Layers Together
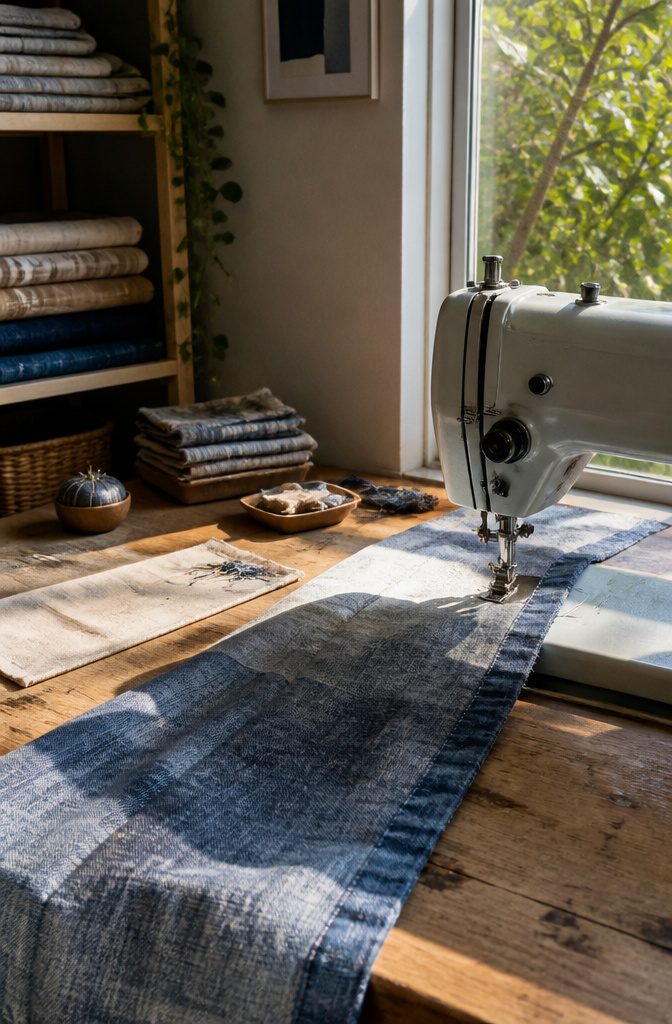
Press about a 1-inch hem along each side of both layers and pin it in place.
If your fabric is even partially synthetic, put a scrap cloth between the iron and the rug to keep anything from melting onto the soleplate. Cotton handles direct heat; blends and poly need that barrier.
Sew a straight stitch along the edges of each layer before you join them.
The fabric is thick at this point, and pinning alone will not stop it from shifting under the foot. Stitching each hem separately locks the fold and gives you clean edges to work with when you topstitch.
After both layers are hemmed, topstitch them together around the perimeter. I like a straight stitch here too, set far enough from the edge that you catch both fabric and backing without crowding the fold.
The bulk will fight you a little as it passes under the presser foot, so go slow and keep tension even. If one layer creeps ahead of the other, stop and realign before you get too far off.
8. Apply Rug Backing to the Sewn Rug
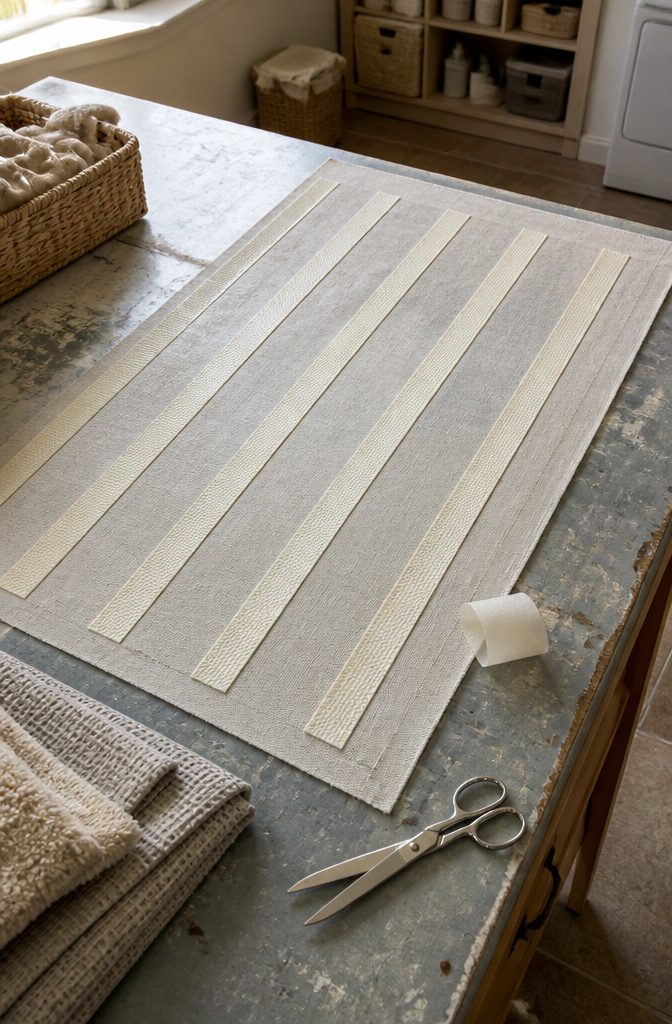
Cut the rubber-based rug tape into strips that match the length of your rug, using sharp scissors.
The instructions on most brands call for leaving a 1/2-inch bare edge around the entire perimeter, so keep the tape pulled back from the sides.
One roll covered five strips on the back of a standard sewn rug, enough to secure the fabric without blanket coverage.
Peel off the plastic backing slowly, a few inches at a time rather than all at once.
As you pull the plastic away, press the sticky side of the tape firmly onto the back of the rug. Working in short sections keeps the tape from folding back on itself or catching dust before it makes contact.
Once all the strips are down, step on them. The pressure from your full weight pushes the adhesive into the fabric weave better than hand pressure alone, and the bond holds through vacuuming and foot traffic.
9. Prepare Fabric Strips From Old Clothes
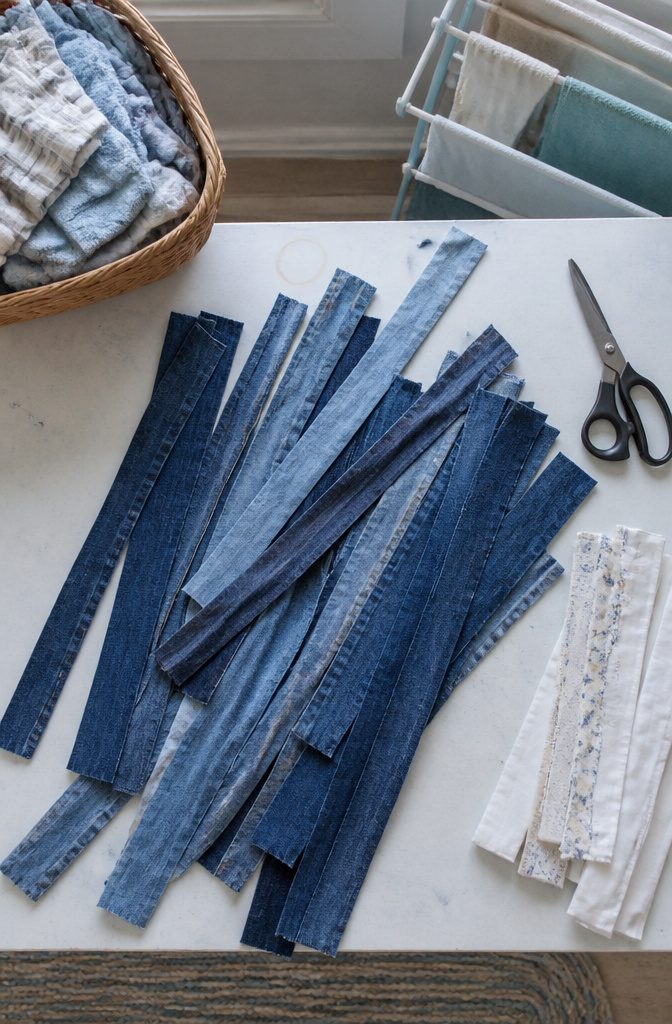
Old clothes work better than you might expect. Jeans, T-shirts, bedsheets and curtains all cut into strips that braid cleanly, as long as the pieces you choose are roughly the same weight.
Mixing canvas with jersey is asking for a lumpy braid; sticking to one fabric type keeps the texture even.
Prewash any new fabric before you cut it.
Skipping this step means the rug shrinks the first time you clean it, and by then the strips are woven in place with no way to adjust. Cold water and a dryer cycle take care of it.
Strip width changes with the method. For the rope method, cut 1-inch strips.
Wool and old jeans need 1½ inches to fold over themselves without bunching. Cotton runs wider: 2½ to 3 inches works best because it is lighter and thinner than denim.
Fraying edges look messy in a finished rug. Fold the long edges of each strip inward before you braid so the raw edge sits hidden in the middle.
The fold adds a second layer of fabric where the strip takes the most stress, and the braid reads as one clean color instead of a tangle of loose threads.
10. Coil Rope and Wrap the First Loop
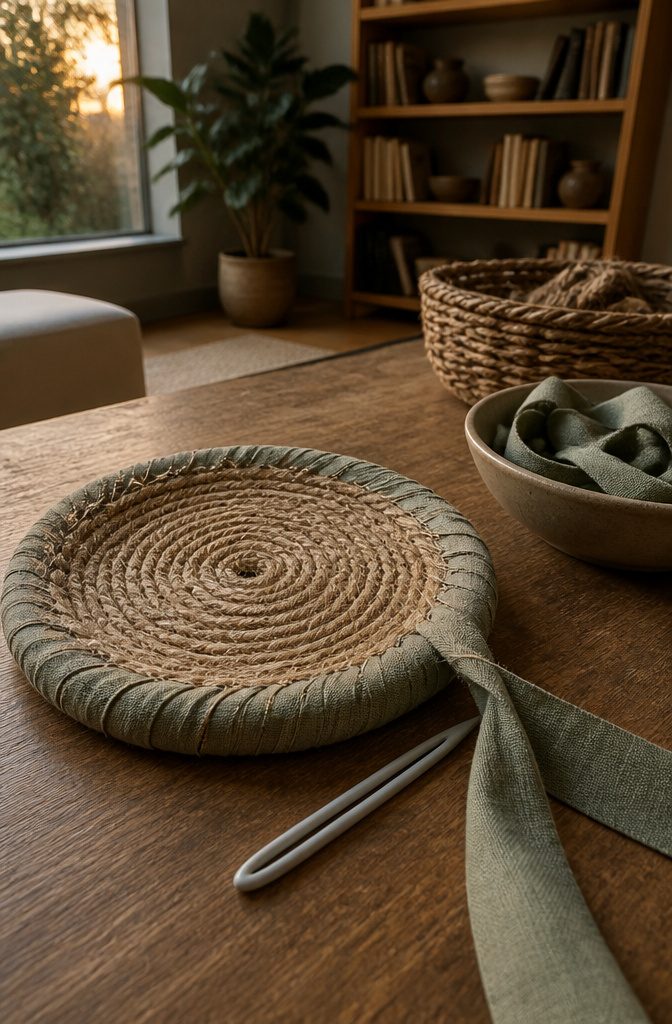
Coil Rope and Wrap the First Loop
Coil the coir rope into a round and tie it in place to form the starting loop. This becomes the center of the rug, and everything else builds outward from here.
Start winding your fabric strip around that first loop. The right side of the fabric should face out, and you want to keep the strip flat as you go so it does not twist on itself.
When you reach the point where the rope meets itself to close the loop, thread the loose end of your fabric strip through and keep wrapping.
You will need a plastic needle with a large hole for the stitching that holds everything together. These usually come in knitting kits and make it possible to work with fabric strips instead of ordinary thread.
Once that first loop is fully wrapped, you are ready to start coiling the rope over it and stitching the layers down.
11. Stitch the Coils and Join Strips
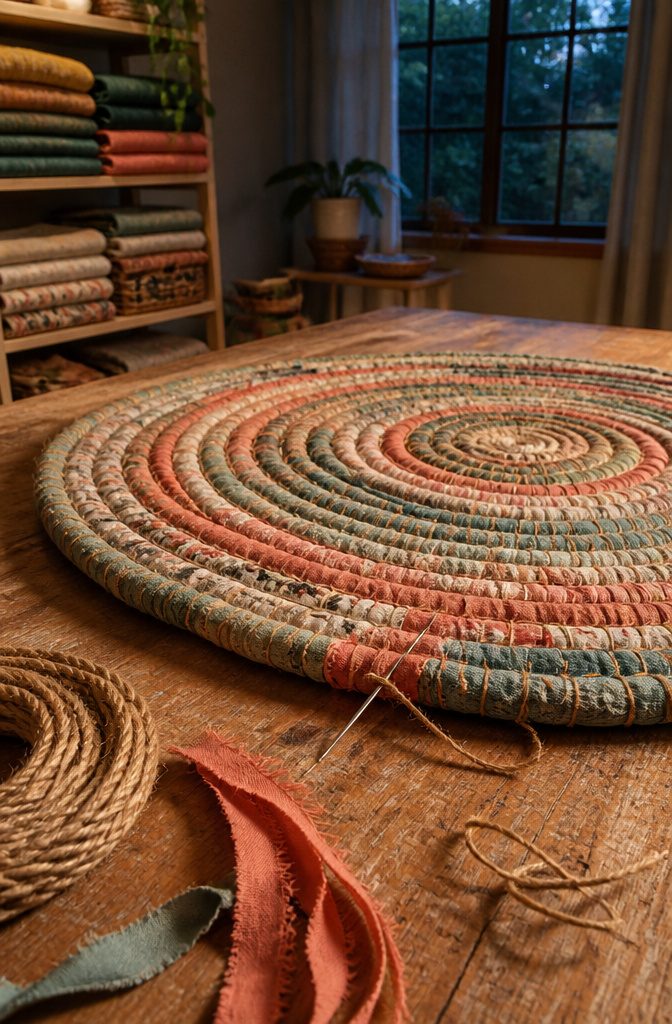
Stitch the Coils and Join Strips
Push the needle through the center hole of the wrapped rope and back up around the outside, catching both the fabric wrap and the edge of the previous coil.
The stitch anchors the spiral and keeps it from coming apart under foot traffic.
After you pull the thread tight, move the needle forward past two rope layers and insert it again from the back side. That spacing holds the coil without bunching the fabric or leaving visible gaps between stitches.
When a fabric strip runs out, make a small hole near the end of the old strip and another in the end of the new one.
Line them up and thread the new strip through the hole in the old, then pull the end back through its own hole to lock them together.
The knot sits flat against the rope and disappears under the next wrap. Keep stitching until the rug reaches the size you want, then tie off the thread on the underside and trim the rope end.
12. Braid and Sew Fabric Strips Into a Coiled Rug
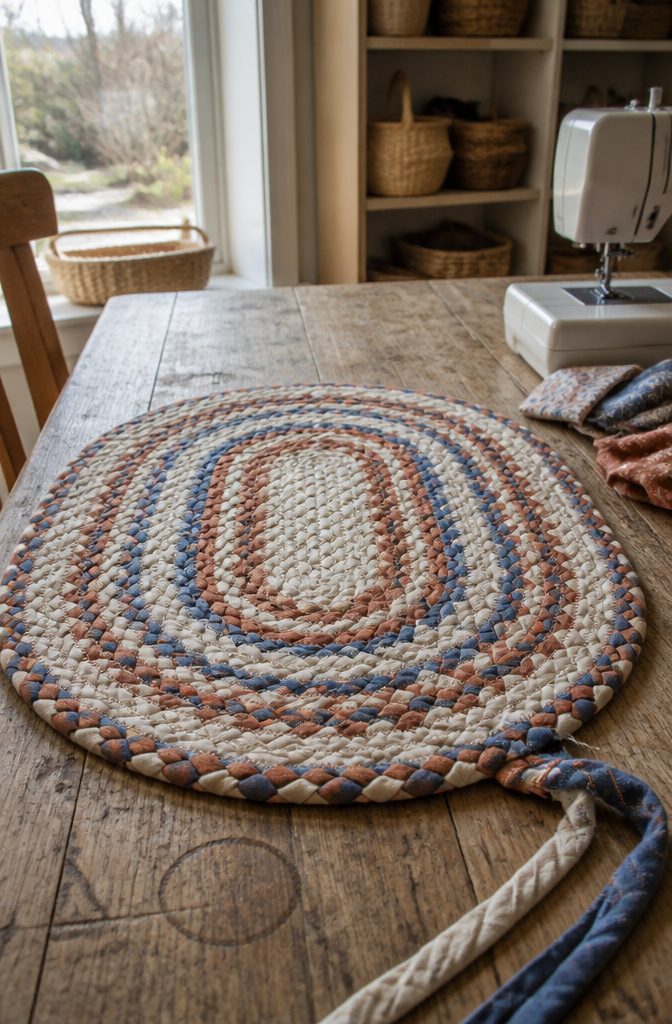
Braiding starts with three strands, though you can take it as wide as twelve if you want more heft.
Stitch the tops together to keep them joined, then work downward. Even tension matters more than speed.
Pull too tight and the braid stiffens; leave it too slack and it flops. You want a braid that lies flat and flexes when you coil it.
When a strip runs short, pin the braid 2 to 3 inches ahead of the end with a safety pin, then join the next piece straight across. Stagger the joins so you’re not adding bulk in one spot.
Once you have enough length, start coiling the braid into a circle. Machine stitching works if you set a wide zigzag stitch and butt the braids side by side so the stitch catches both edges as you go.
Hand sewing takes longer but hides the thread on the back, which reads cleaner from the front.
Either way, coil with some ease. Tight coiling without give makes the rug dome at the center or lift at the edges, and flattening it later doesn’t fix the problem.
Choosing Fabric for a Custom Look
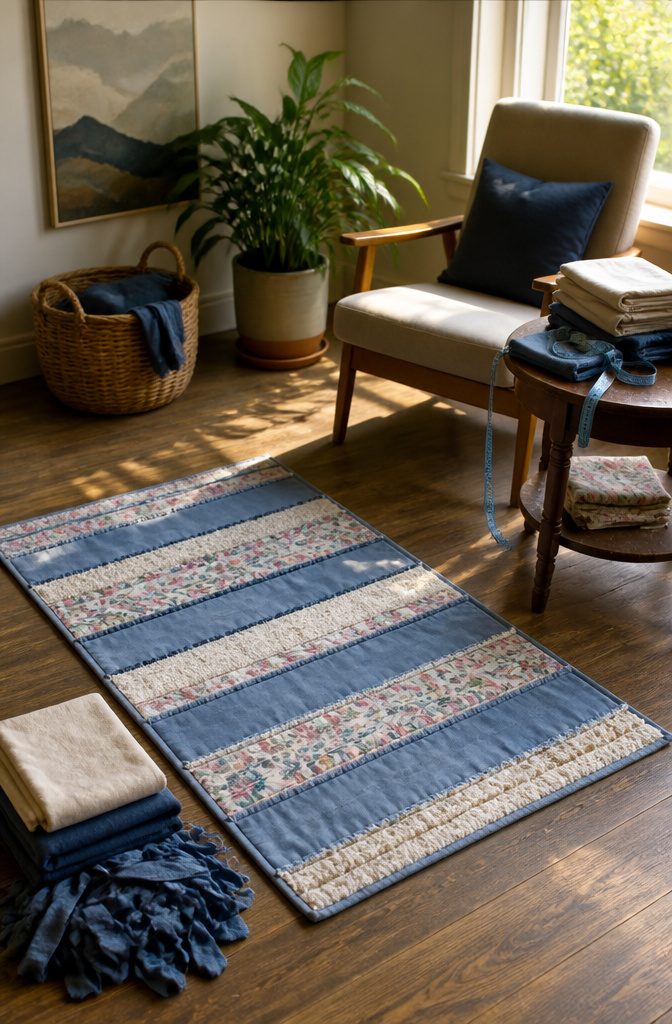
The choice starts with where the fabric comes from. You can buy new yardage from a fabric store—duck cloth at Jo-Ann’s Fabrics runs $5.99 per yard, and remnants cost less if the pattern works for you.
Or you can pull from what you already have: old T-shirts, bedsheets, towels, even a shower curtain if the material is still intact. Both paths work, and the method itself is the same either way.
What changes is control over the final look. New fabric lets you match a specific color or pattern you saw in your head.
Salvaged textiles lock you into what they already are, but the price drops to zero and the shape, texture, and size are still yours to decide.
If there’s a particular spot that needs a rug, measure it first and buy or cut accordingly. If you’re starting with fabric on hand, the yardage sets the ceiling and you size the rug to fit.
Decorating and Personalizing the Finished Rug
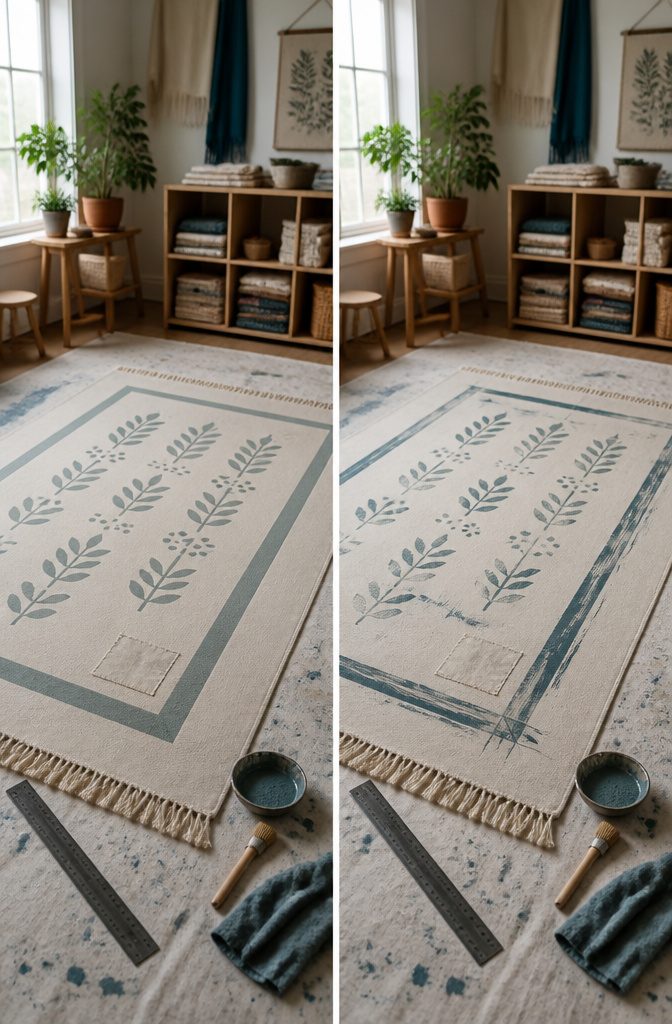
Once the rug is built and sealed, paint and stencils let you add pattern without sewing another stitch.
Acrylic paint works straight on sealed fabric, and a border placed 3 inches from the edge frames the rug the way a mat frames a print.
I line up a ruler at that distance, position the stencil, and work the paint in with a 3/4-inch stencil brush.
The brush stays nearly dry so the paint doesn’t bleed under the stencil, and a paper plate or bowl holds just enough for one pass.
A rag nearby keeps hands clean between repeats. Stripes painted freehand or with tape run faster than stencils but commit you to straight lines.
Fringe sewn along two edges gives a traditional rug look, and fabric patches add color or hide a repair. Patches go on before the rug tape, since sewing through tape dulls the needle and leaves a bumpy finish underneath.
Different Rag-Rug Techniques You Can Try
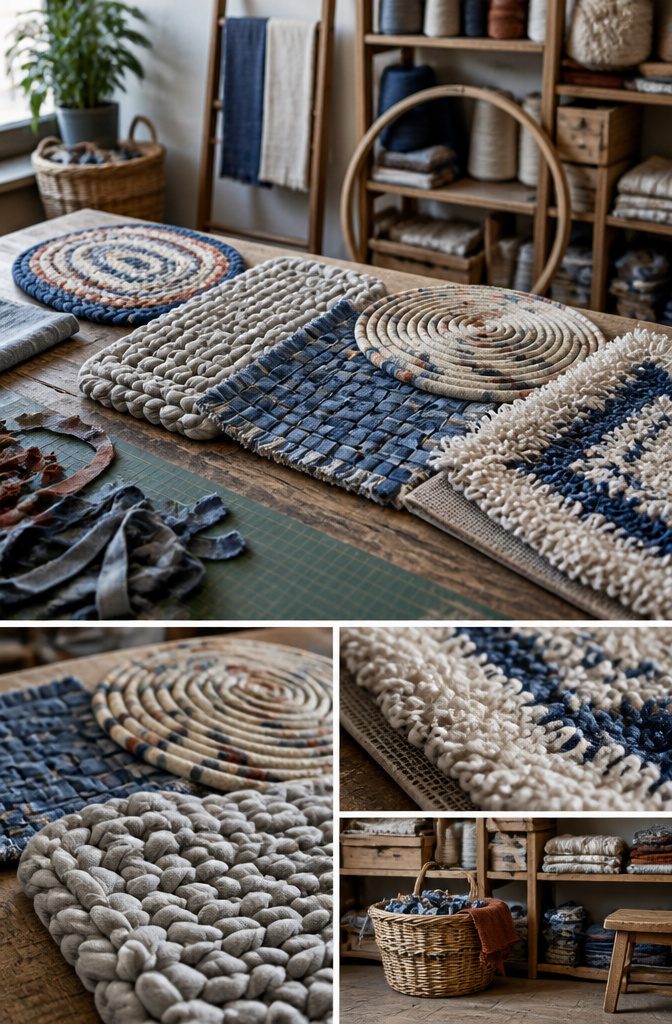
Here are nine ways to turn fabric or old clothes into a rug, depending on the tools you have and the look you want:
- Braided no-sew: Braid fabric strips and coil them into a flat circle or oval without any stitching—fast, but the braid can shift without glue or pins to hold it.
- Braided and sewn: Braid the strips, then stitch the coils together as you wind them; the sewing keeps everything locked in place.
- Finger crochet: Loop fabric strips with your hands instead of a hook to build a thick, textured mat—no crochet knowledge needed.
- Hula-hoop weaving: Wrap a hoop with warp threads, weave fabric strips through, then cut the rug free when you finish.
- Denim with yarn scraps: Cut denim into strips and weave or stitch them together with leftover yarn for extra grip and color.
- Cut-and-glue sweater: Layer pieces of old sweater fabric on a base and glue them down—works best with felted wool that does not fray.
- Fabric-twine spiral: Make twine from scrap fabric, then zigzag-stitch it into a coiled mat on your machine.
- Yarn pom-pom on rug underlay: Thread yarn through a non-slip mat and tie pom-poms in each hole—this one stretches the definition of a fabric rag rug, but you could adapt it with fabric twine instead.
- Towel shag on rug mat: Knot strips of old towel through a mat backing to make a looped or shaggy surface.
Prewashing and Preventing Fraying
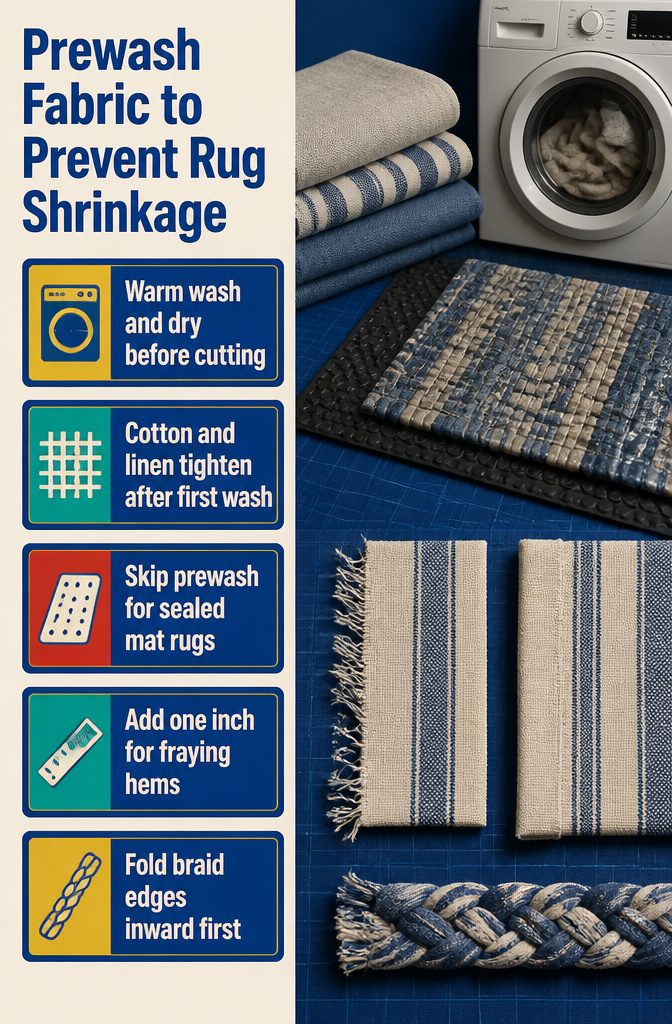
Prewashing new fabric before you start limits shrinkage once the rug is in use.
Cotton and linen both tighten after the first wash, and a rag rug that pulls smaller or puckers later is harder to fix than one made from fabric that has already settled.
Throw the yardage through a warm wash and dry cycle before you cut strips or squares, and any movement happens before assembly rather than after.
If you are building a no-sew rug on a vinyl or rubber mat base and plan to seal the surface with polyurethane, prewashing is not necessary. The fabric gets glued flat and locked under several coats, so it cannot shift.
Fraying is the other prep issue. Fabrics with a loose weave lose threads at the cut edge, and those threads work through the polyurethane or show along a fold.
Add an extra inch to the fabric margin if fraying is visible, fold that allowance onto itself to make a hem, then fold the hemmed edge over the mat.
For a braided rug, fold fraying edges inward along the length of each strip before you start the braid so the raw edge stays hidden inside.
Tools and Products That Make the Work Easier
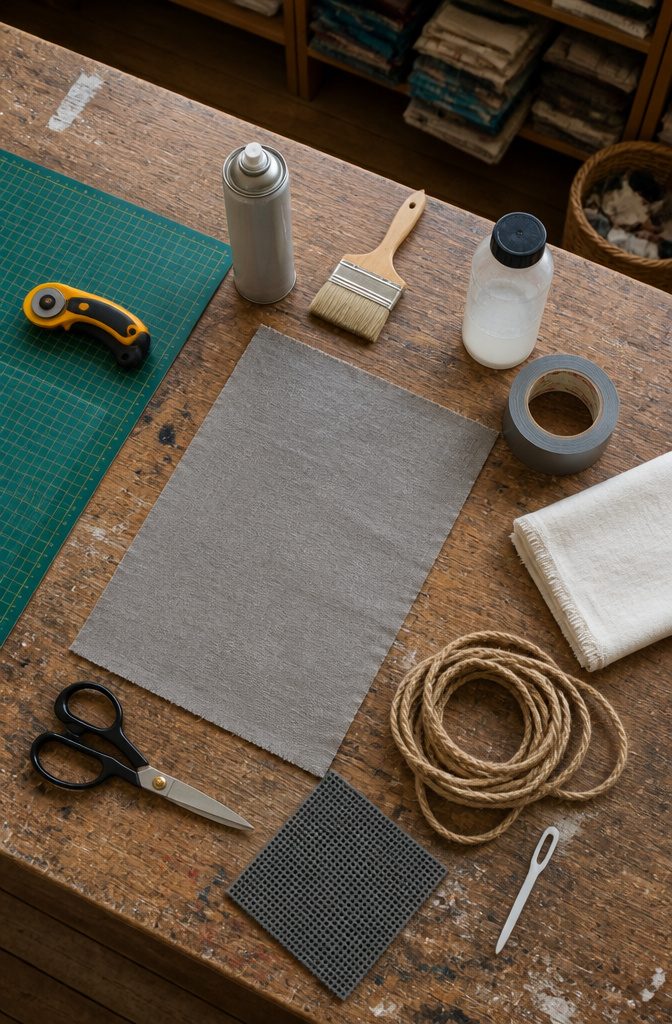
The no-sew and sewn methods call for different gear, but a few things show up in both. Here’s what makes the work cleaner and faster.
Bring a little extra color into your home by wrapping a plain floor mat in decorative fabric and protecting it with polyurethane so it can withstand wear.
— Sailrite
That method relies on adhesive and sealer to hold up, and the tools below keep the edges sharp and the layers flat.
- 3M Super 77 or Super 88 spray adhesive for bonding fabric to a rubber mat base without hand-stitching
- Comfort Grip Rotary Cutter 60mm paired with a cutting mat 24 by 36 inches to slice straight lines through multiple layers
- Gingher 8-inch scissors for trimming edges and cutting curves where the rotary cutter won’t reach
- Water-based polyurethane and a paintbrush to seal the finished surface
- Duct tape to hold edges in place before gluing or hemming
- A pressing cloth to protect synthetic or blended fabric from melting onto the iron
- Coir rope and a plastic needle with a large hole for the wrapped-coil method that uses fabric strips from old clothes
Frequently Asked Questions
How to make a rug for beginners?
Start with the no-sew method: cut a rubber mat to size, cut fabric 1 inch larger on all sides, spray adhesive on both surfaces, press the fabric onto the mat from the center outward, fold the edges over, and seal with 3 to 5 coats of water-based polyurethane.
The whole process takes about 3 hours of active work spread over a day and a half, most of it waiting for coats to dry.
Is it cheaper to make my own rug?
Yes, especially if you use salvaged fabric from old clothes or bedsheets, which brings the cost down to zero for materials you already own.
Even with new fabric, duck cloth runs $5.99 per yard at Jo-Ann’s, and 1 yard makes 2 small rugs at doormat size (2 by 3 feet), so each finished rug costs around $3 in fabric plus adhesive and polyurethane.
How hard is it to make your own rugs?
The no-sew glued method is straightforward and takes an afternoon to finish, with most of the time spent waiting for polyurethane to cure between coats.
Sewn and braided rugs require more time and hand-sewing or machine work, but the steps themselves are simple: cut, fold, stitch, and coil.
Does polyurethane make a fabric rug usable in a busy kitchen?
Yes, 3 to 5 coats of water-based polyurethane seal the fabric and make it wipeable so spills sit on top instead of soaking into the weave.
The sealed surface sheds most spills, including food stains, when you wipe it with a damp rag and a little detergent.
How do you prevent a fabric rug from sliding?
Rough-backed vinyl tape and wrapped fabric edges resist sliding naturally on hard floors in light-traffic spots. For slick-backed rugs or high-traffic areas like kitchens, place a non-slip pad underneath or use corner grippers to keep the rug from shifting underfoot.
Should fabric be washed before making a rug?
Prewash new fabric before you start to limit shrinkage once the rug is in use, since cotton and linen both tighten after the first wash.
If you are building a no-sew rug that will be sealed with polyurethane, prewashing is not necessary because the fabric gets glued flat and locked under several coats.






