
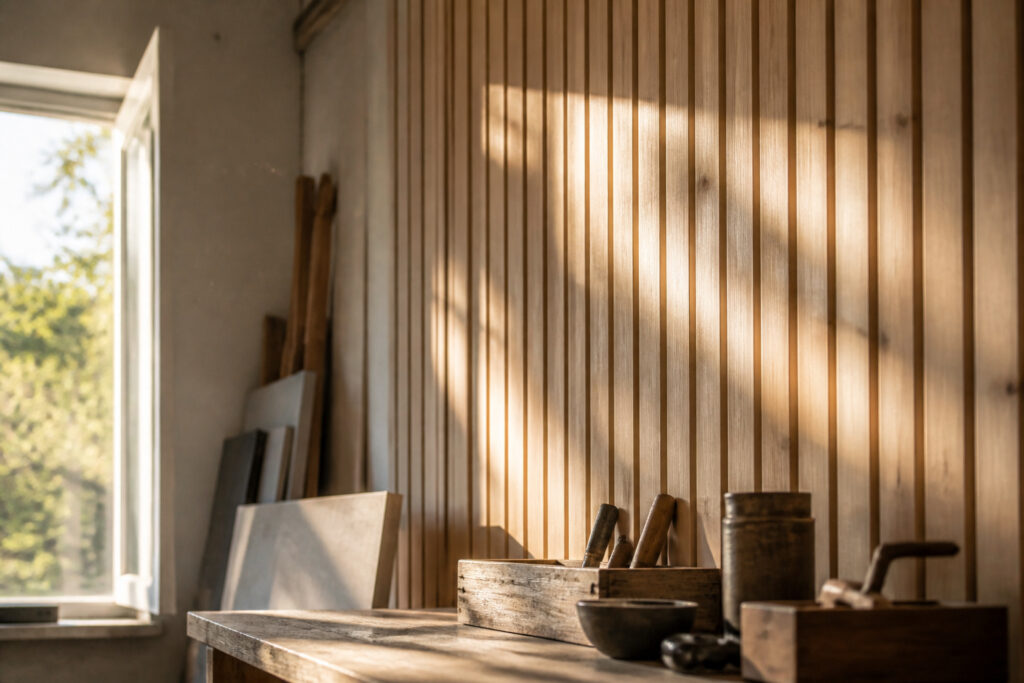
A finished slat wall panel runs about $225 in pine for a single accent wall, or closer to $70 per sheet if you rip birch plywood yourself.
The real mistake is not the material choice; it is spacing slats by eye instead of cutting a scrap spacer to the exact gap you want.
One builder I trust spent two years watching his unsealed outdoor panel gray and check at every joint because he skipped the matte sealant coat.
1. Measure and Plan the Wall

The wall behind my guest bed was eleven feet wide with standard eight-foot ceilings, and that single measurement dictated every choice that followed.
Taller ceilings exist, but plywood sheets top out at eight feet, so plan for a seam, a tall baseboard, or a different material if yours run higher.
Slat width is worth deciding before you buy. One project aimed for one-inch strips and ended closer to one and a half after blade kerf and sanding, so build your spacing around the actual cut, not the labeled board size.
Spacing itself gets surprisingly little mention in most tutorials.
One approach pairs one-inch gaps with one-inch slats for a grid-like rhythm; another turns a scrap offcut perpendicular and uses it as a running spacer, landing somewhere near half-inch gaps without ever pulling out a tape measure.
That scrap method saves the real headache: trying to hold a ruler steady while wielding a nail gun. Cut a single slat shorter than the rest, wedge it between pieces, nail, then pull it free and repeat.
For a geometric pattern, lengths can run from forty-four inches down to six, with repeats at twenty-four, so your initial wall length tells you how many full repeats fit and where to adjust.

Sturdy: The slatwall metal plate mount backplate is crafted from heavy duty metal material with rustproof powder coating, which is sturdy and long lasting

Tool-free snap-in design, no screws required. Installation can be done with bare hands, and the positioning is quick, while disassembly is also convenient.Made from high-quality, high-density nylon, it is tough, durable, and reliable, and can withstand repeated impacts. It is UV-resistant, salt- and alkali-resistant, and corrosion-resistant.

Strong Load-Bearing Capacity: The slat wall panel can support up to 300LBS/4ft², providing stable and efficient storage for various heavy items such as hammers, drills, ladders, and more, making it ideal for use in garages, workshops, and other spaces.
2. Select Materials and Tools
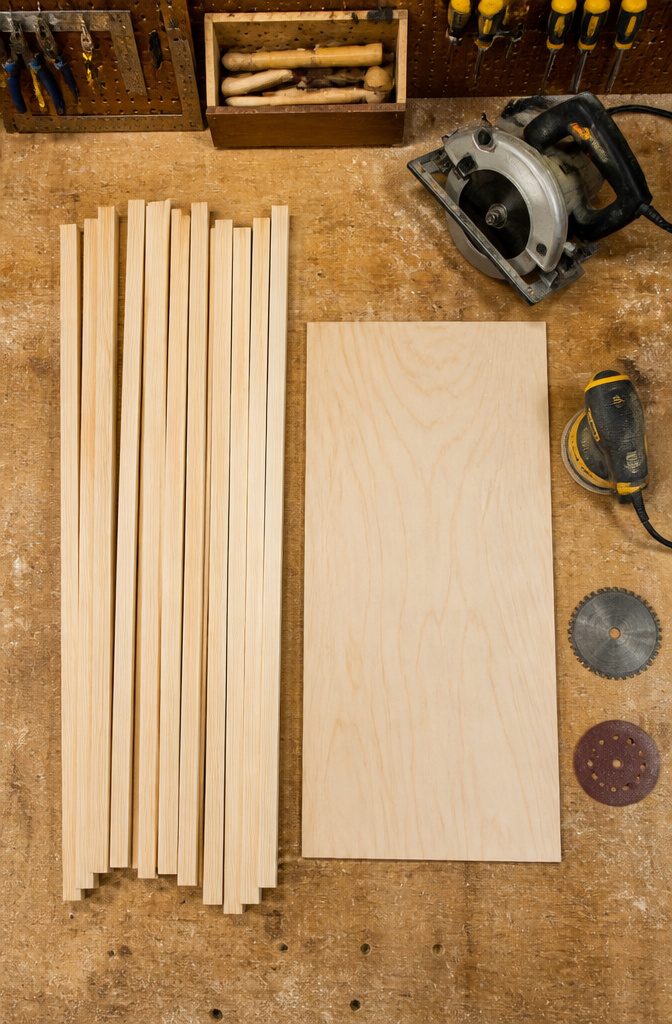
Pine 1x2s run about $7.50 each at the big-box stores, which adds up fast when a single wall eats thirty slats or more.
Poplar bought rough-sawn cuts that cost significantly: roughly 108 board feet of 8/4 stock comes in under $500, enough for two full walls, but only if you have access to a planer and the patience for serious sanding.
Birch plywood lands somewhere else entirely on the effort-to-cost curve.
A 4’x8′ sheet at around $70 gets ripped into strips, and while the finished look carries less depth than solid stock, the savings are substantial enough that most weekend projects never notice the difference.
| Material | Price | Best for |
|---|---|---|
| Pine 1×2 | ~$7.50/board | Small walls, ready to install |
| Poplar 8/4 rough-sawn | Under $500/108 BF | Large projects, own a planer |
| Birch plywood 4’x8′ | ~$70/sheet | Tightest budgets, willing to rip strips |
The tool list stays short no matter which wood you choose.
A circular saw handles all the cutting, an orbital sander saves your grip on the prep work, a nail gun sets the slats, and a level keeps the lines honest.
Pick up the lumber and the blades in one trip; nothing kills a Saturday like discovering your sandpaper is the wrong grit halfway through.
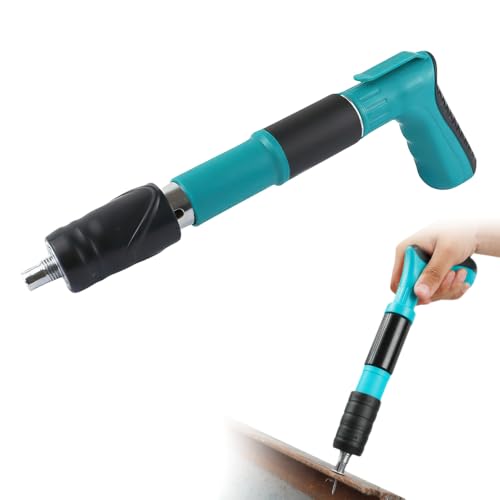
Silencer Steel Nail Gun :Our manual nail gun tool is light and it’s convenience for you to carry and handle in various different scenes and comes with muffler as it’s designed with thickened steel silencer reduces noise and is safer

VINYL-COATED WIRE HOLDERS: These 10 slatwall gun hooks are made of sturdy, heavy-duty steel and can securely support up to 30 pounds. The vinyl coating makes them easy to store, clean, and maintain, while also providing excellent cushioning and slip resistance to protect your firearms from scratches and damage

5 Gear Adjusted: concrete nailer gun adjusted by removing screws and according to different construction intensity requirements; Gear 1 can penetrate 3 mm steel plates; gear 2 can use in DIY ceilings, mounting brackets, door and window monitoring etc
3. Cut the Slats

A miter saw is the cleanest way to cut slats to length, and a circular saw with a straightedge guide works if that is what is on hand.
The cut itself is the same whether the material is solid 1×2 pine or plywood strips.
Plywood sheets are heavy and awkward to maneuver alone; having a second person steady the sheet while you run it through the table saw for the rip cuts saves frustration and keeps the blade path straighter.
For the crosscuts, cut only a few slats at a time rather than the full batch.
Walls are rarely plumb top to bottom, so measuring and trimming in small batches lets each slat fit the actual gap rather than the ideal one.
One accent wall project used 30 individual slats; at that scale, the repeated back-and-forth to the saw feels slow, but it beats discovering halfway through that your uniform cuts are a half-inch off at one end of the wall.
A push stick or push block is worth using for every pass on the table saw, especially as the sheet narrows to its last few strips and your hands want to drift closer to the blade.
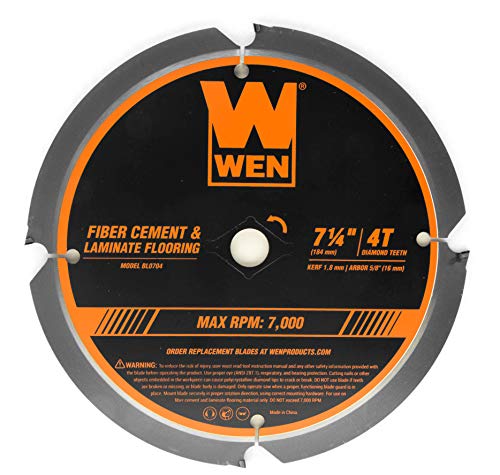
Featuring a 7-1/4-inch diameter (184 mm), a 5/8-inch arbor (15.88 mm) and a rating of up to 7000 RPM
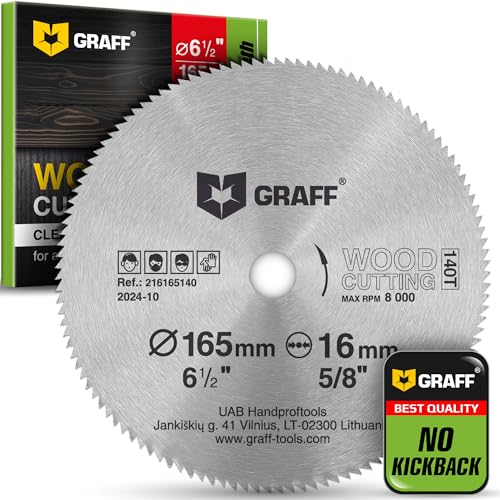
APPLICATION – GRAFF 6 1/2 circular saw blade is suitable for cutting wood, plywood, drywall, MDF, plastic and all other non-metallic materials.

Non-Stick Coating – Up to 10X Longer Life: Premium heat-resistant, anti-corrosion non-stick coating reduces friction and pitch build-up, ensuring smooth cuts and extending blade life by up to 10 times.
4. Sand All Surfaces

Raw pine slats fresh from the lumber aisle carry more rough edges than you notice until one catches your palm.
120-grit paper on an orbital sander takes the worst of it down, then 220-grit smooths the surface enough to take stain evenly.
Skip the back or hit all four sides; sources disagree on whether it matters. I sand everything, back included, because splinters migrate during installation when you’re pressing slats flat against the wall and your fingers wrap every edge.
Hand sanding with a block works if the power tool budget went to the saw instead, though an orbital sander turns an hour of rubbing into ten minutes of noise.
The dust is relentless, so a respirator beats the paper mask you bought for staining.
Skip this step and you’ll feel the regret every time the afternoon light rakes across a skipped scratch or someone pulls a fiber from a slat edge.

GARDEN BED WOOD SEALER - For Use On Cedar And All Wood Types Used In Raised Bed Gardens. Deep Penetrating, Natural Oils, Bond With Wood Fibers To Protect Wood For A Decade Or More.
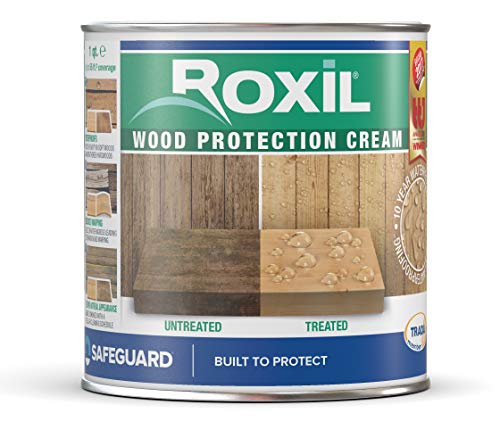
✅ Weatherproofs wood for 10 years - Shower-proof application - Instantly Waterproofs
【PROFESSIONAL-GRADE WEATHER PROTECTION】 Provides outstanding weather resistance, effectively resisting harsh environmental factors such as rain, snow, and ultraviolet rays. The special flexible formula adapts to the thermal expansion and contraction of wood, preventing cracking and peeling.
5. Stain or Seal the Slats
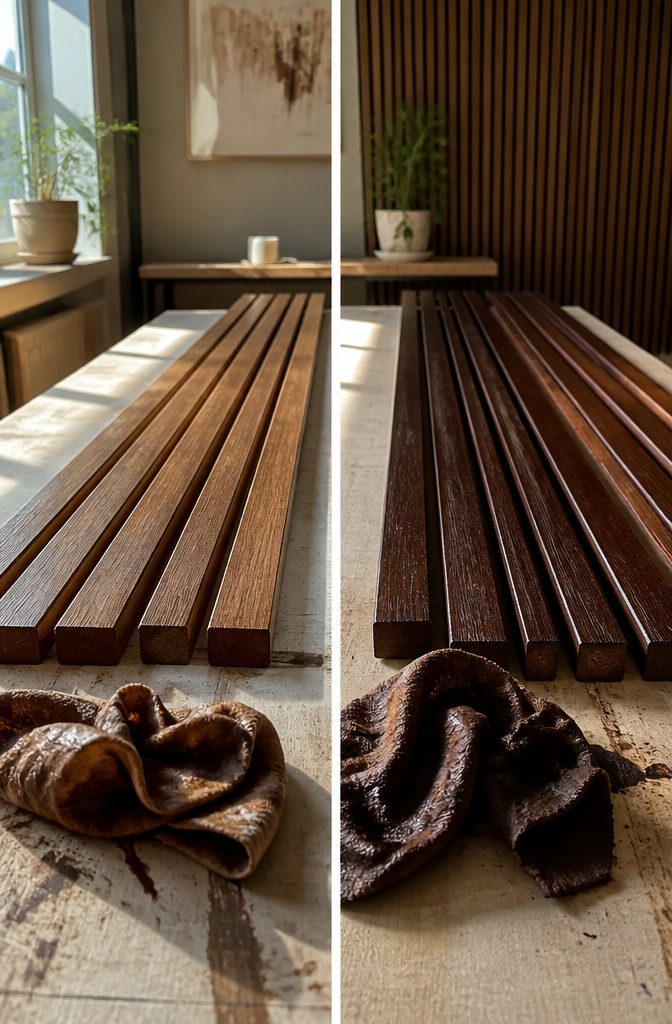
Stain goes on faster with a rag than a bristle brush when you’re flipping forty slats to hit every edge, and it wastes less product that way.
I lay mine front-side up first, then come back for the two visible edges and leave the back bare, since no one will ever see it pressed flat to drywall.
Minwax Provincial and Special Walnut are the two stains that come up again and again in this project, Provincial for something that reads rustic, Special Walnut if you want depth without going dark.
Both dry to the touch in about 20 minutes, which matters more than you’d think when you’re deciding whether you can squeeze in another coat before dinner or need to call the night.
For sealing, polycrylic or polyurethane both work; a foam roller covers the face fast, though loading it light enough to keep drips from running down the edges takes some practice.
One coat is usually enough if you’re not in a high-splash zone. The real mistake to avoid is waiting until the slats are on the wall, like I have definitely seen people do.
You’ll spend twice the time taping off drywall and cutting in around gaps that a garage floor would have saved you entirely.

Package Includes: 10 pcs wood planks, they are 1.5 inch (3.8 cm) in width, 1/2 inch (1.25 cm) in thickness, 12 inch (30.5 cm) in length

Package Include: 15 PCS square wooden dowel rods, each dowel rod is 1/2 inch thick by 1 inch wide and 12 inch long

2 x 4 ft Slatwall Panels: Each pack has 2 horizontal slat wall panels, 2 ft H x 4 ft W x 3/4 in D, that fit together for a seamless run. Use one panel, stack them or run them in strips.
6. Attach Slats to the Wall

Construction adhesive and a finish nailer together make the most secure attachment for slats on drywall.
I apply several small dots of adhesive to the back of each slat, then drive nails at a slight angle, alternating left to right so the slat stays put while the glue sets.
A level on the first piece is non-negotiable; every slat after follows its line.
For even gaps, a scrap spacer cut slightly shorter than the slats saves the measuring.
I keep it tight between two slats while nailing, then pull it free and move on. A 1×2 turned sideways works the same way if that is what you have on hand.
Horizontal slats are simpler to install because you nail across the studs or supports you have already placed. Vertical slats demand more anchoring but give a different visual rhythm; this is the moment to commit one way or the other.
Outlets and fixtures need attention now.
Measure their locations against your slat spacing and cut openings before the piece goes up with adhesive on it. Drywall anchors or longer nails may be necessary where a stud does not fall in your gap pattern.
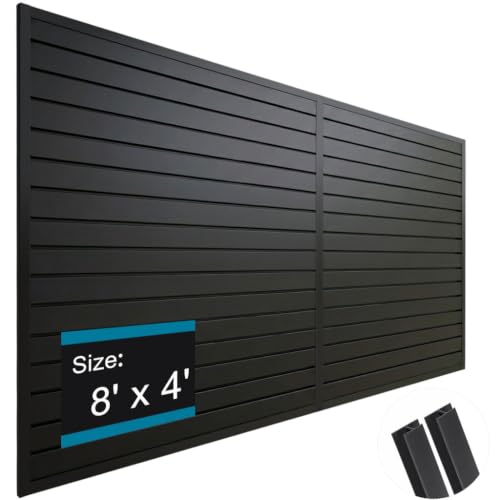
✅【KEEP YOUR SPACE NEAT】Transform your garage with this Slat Wall Paneling that makes full use of wall space. Hang shelves, tools, and accessories easily with interlocking grooves. Keep your garage organized, efficient, and clutter-free while enjoying quick access to everything you need.

Heavy Duty Slatwall Panels: The slat wall panels definitely made with thick and strong PVC material, compared to the traditional plastic wall panel, we have 3 times the load capacity and strength, the tool organizer can withstand the weight of all your tools is the right choice for your tool room.
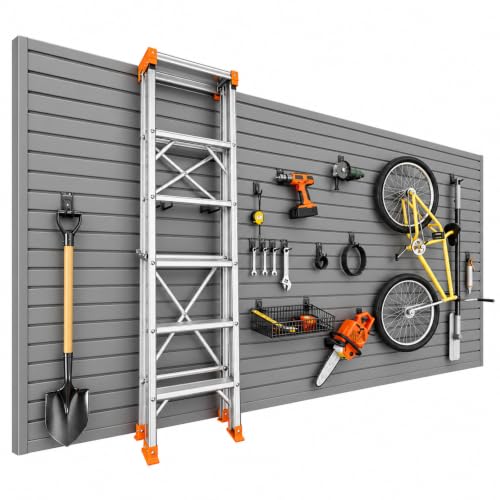
32 Sq Ft Wall Coverage: The 4 x 8 ft configuration creates a large slat wall paneling area for organizing tools, equipment, and supplies across an open garage wall.
7. Final Touches

Caulk is where the slat wall stops looking like a weekend project and starts looking built-in. I run a thin bead of DAP Alex Plus along every outside edge where the slats meet the wall and ceiling.
It is flexible enough to handle the slight movement between wood and drywall without cracking, and it takes paint well if you need to match a wall color.
The nail holes are what betray a DIY job if you skip them.
I fill each one with tinted wood filler rather than a single generic shade. Poplar especially carries those green and gray streaks, so I mix small batches of DAP Premium Wood Filler stained to match the exact board I’m patching.
One coat of Polycrylic over the slats after installation protects the finish from the oils hands leave behind, applied with a foam roller so it does not drip down the gaps.
Two thin passes beat one heavy coat that pools on the edges.

ORGANIZATION SOLUTION FOR YOUR PISTOLS: This lightweight, gun organizer tool is the simple and cost-effective alternative to a traditional gun rack. Display guns on slatwall in your gun shop or vault room. Simply place the Sniper into the slats on the slatwall panels and slide the pistol on to the wire. Enjoy the ease of access, extra space and view of your gun wall. You’ll love these quality sniper hooks!


Use our metal hooks as your primary gun rack or rifle rack. Perfect for your gun display on any slatwall hook or pegboard hook. Great for long gun wall display, gun wall, and AR wall display systems.
Material Costs Compared
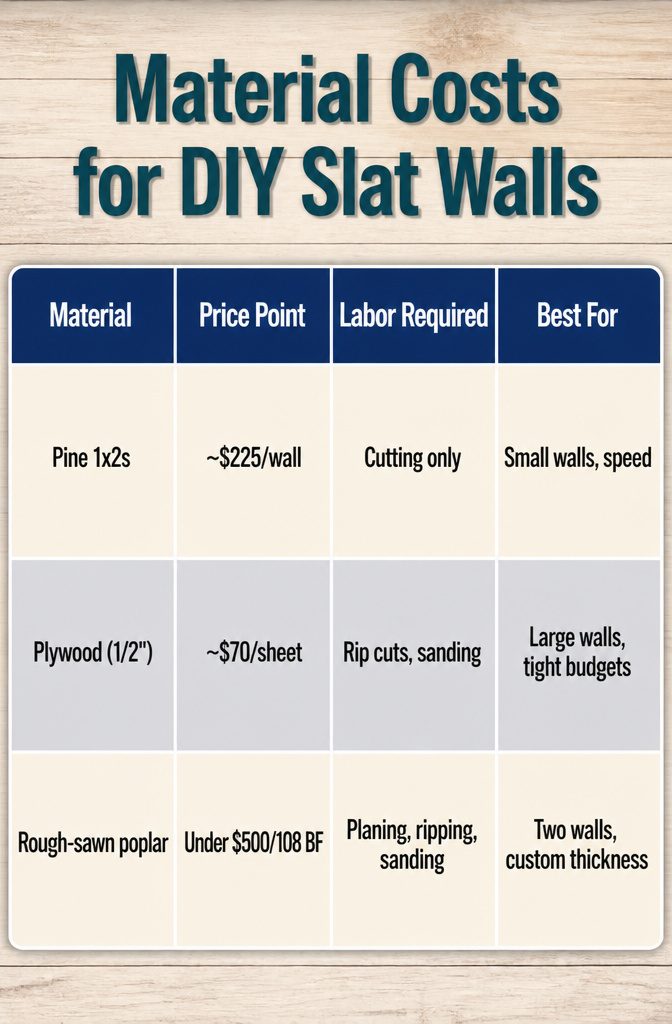
Pine 1x2s run about $7.50 each at Home Depot, which adds up fast. Thirty slats for one accent wall hits roughly $225 before paint or fasteners.
Hardwood like oak or maple pushes that same wall past $600, so I started looking at rough-sawn poplar instead: around 108 board feet of 8/4 stock cost under $500 at my lumber yard, enough for two full walls.
The tradeoff is tooling. Rough boards need planing, ripping, and at least two solid days of sanding faces and edges.
A thickness planer is essential; an edge jointer helps but a track saw or circular saw with an edge guide gets close enough for this application. A table saw becomes non-negotiable when eighty identical slats are on the menu.
Plywood splits the difference.
A 4×8 sheet of 1/2" birch runs $70, or $90 if you want 3/4" for extra depth. Have the store rip it into strips so it fits your car; the depth difference on a slat wall is barely visible once installed.
The labor shifts from milling to sanding factory faces smooth, which is faster but still real work.
| Material | Price Point | Labor Required | Best For |
|---|---|---|---|
| Pine 1x2s | ~$225/wall | Cutting only | Small walls, speed |
| Plywood (1/2") | ~$70/sheet | Rip cuts, sanding | Large walls, tight budgets |
| Rough-sawn poplar | Under $500/108 BF | Planing, ripping, sanding | Two walls, custom thickness |
Plywood stretches a weekend budget furthest. Rough-sawn hardwood stretches it only if you already own the tools and the time.

APPLICATION – GRAFF 3 circular saw blade is suitable for cutting wood, plywood, drywall, MDF, plastic and all other non-metallic materials.

Designed for cutting plastics, acrylic sheets, Plexiglas and solid surface materials such as: Corian and Fountain Head.

Installation Methods

Horizontal slats saved my patience on the last wall I planned.
Vertical slats look sharp, but each one needs anchoring into studs or supports; horizontal boards nail straight across a few furring strips and level-checking happens once per row, not twelve times.
A laser level on the first board matters more than the ones after, because every slat copies that line.
Nails versus adhesive splits the room cleanly. Brad nails at 1 1/4 inches let you remove the wall later without tearing drywall paper.
Construction adhesive plus finish nails adds holding power but commits you permanently; one builder I trust skips liquid adhesives entirely for rental rooms. Spacing stays honest with a scrap spacer block, usually 1/2 inch or cut to match your slat depth.
Tap it tight, nail, pull it free, repeat. The spacer itself gets cut shorter than the slats so it slips out clean.
Working alone, a pile of scrap wood braces the far end while you check level middle and both edges. Three nails per slat, middle and ends, angled slightly and alternating left-right so the board doesn’t walk on you over time.
🏡 【Versatile Use on Multiple Wood Surfaces】 Each gallon of Wood Sealer can cover 150-250 square feet of surface when applied in a single coat ,Wood Sealant works on virtually all wood types, Wood Sealer including pressure-treated pine, cedar, redwood, and composite lumber. Wood Sealer use on decks, fences, pergolas, outdoor furniture, and siding. Whether protecting new wood or restoring weathered surfaces, All-purpose Wood Sealert delivers exceptional performance. Wood Sealant And Stain is durable ,Waterproof ,works seamlessly with most finishes for both interior and exterior Wood applications. Invest in one quality Wood Sealer and Stain for all your wood protection needs.

【PROFESSIONAL-GRADE WEATHER PROTECTION】 Provides outstanding weather resistance, effectively resisting harsh environmental factors such as rain, snow, and ultraviolet rays. The special flexible formula adapts to the thermal expansion and contraction of wood, preventing cracking and peeling.
Finishing Options
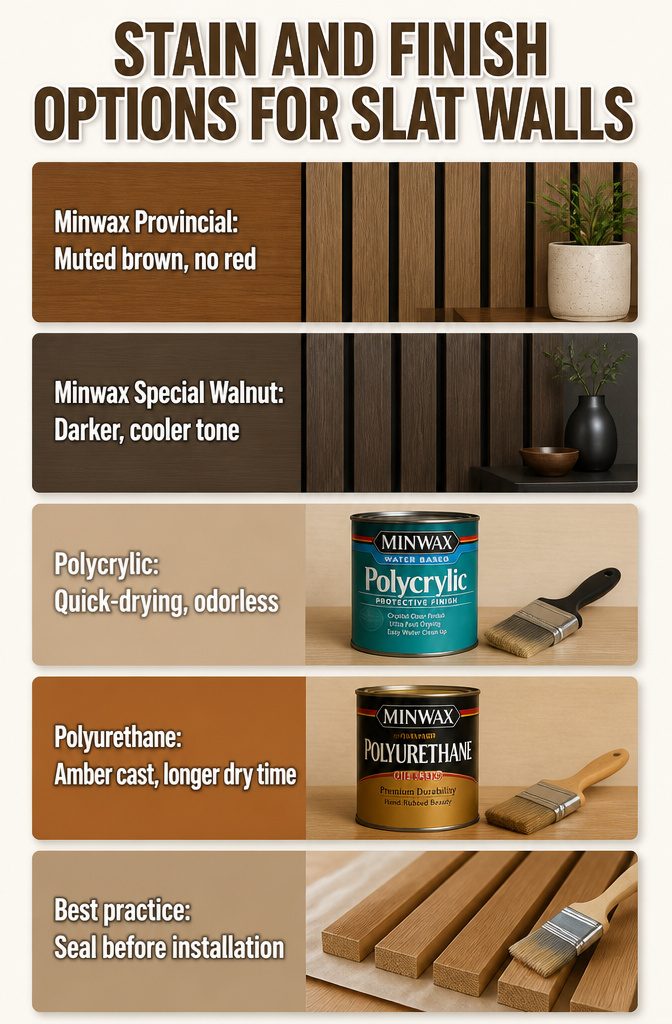
Minwax Provincial and Special Walnut are the two stains that keep coming up for this project, and after testing both on scrap pieces the difference is clearer than the names suggest.
Provincial reads as a muted brown with almost no red, which is what you want if the wall sits near warm oak floors or brass hardware.
Special Walnut runs darker and slightly cooler; it can look almost charcoal in low light, so the room’s sun exposure matters more than the label implies.
Polycrylic versus polyurethane is the other choice that trips people up. Water-based polycrylic dries fast and stays nearly odorless, which matters when you’re coating slats in a bedroom or apartment with the windows open a crack in March.
Oil-based polyurethane adds a faint amber cast that some people love on pine and others call dated; it also needs a full day between coats and ventilating that most renters do not have.
Both need at least two coats on the end grain, where stain soaks in unevenly and shows every gap between slats. The one real mistake here is sealing after installation.
Brushing polyurethane between mounted slats takes three times as long and leaves drips you cannot reach; the ten minutes to seal boards flat on a work surface pays back in the final wall.

Industrial-Grade Durability: Constructed from industrial-grade PVC, our slatwall garage wall panels are waterproof, moisture-resistant, and easy to clean. With a load-bearing strength three times that of standard wall panels, slatwall panels offer a reliable storage solution for all your tools.

【Superior Sound Dampening】With SGS acoustic certification and a high NRC rating of 0.95, vipbear Wood panels with a combination of wood veneer and acoustic felt backing significantly reduce background noise and echoes, making it ideal for use in homes, offices, studios, and other spaces where acoustic quality is a priority.

Strong Load-Bearing Capacity: The slat wall panel can support up to 300LBS/4ft², providing stable and efficient storage for various heavy items such as hammers, drills, ladders, and more, making it ideal for use in garages, workshops, and other spaces.
Outdoor Slat Walls

Outdoor slat walls need thicker stock than interior ones if they are going to take wind and shifting humidity without warping.
A 2×6 frame with 1×4 slats fastened across it gives enough mass to stay flat through a season of weather, and the gap between slats lets air move so moisture does not sit against the wood.
Pressure-treated lumber is the straightforward choice for the frame, since the treatment is already in the fiber.
For the slats themselves, pine is cheap and easy to find, though oak, cedar, poplar, or maple will all work if the budget allows and the look matters more.
The coating is where this project lives or dies. Even wood that tolerates dampness needs a protective coating, and a matte sealant keeps the natural grain visible while it blocks rain and UV.
Reapplication follows whatever the product label specifies, but skipping the first coat guarantees gray, checked boards by the second summer.
I would rather spend an extra Saturday on the front end than rebuild the panel in two years because the seal failed at a joint.
Sanding and Safety

Raw plywood edges slice skin faster than you’d think, which is why sanding matters more for a slat wall than for a shelf you never touch.
I sand the cut edges of every strip with 120 grit first, then run 220 grit over the same spots to knock down the fibers that 120 leaves standing.
The face that presses against the wall can stay rough, but the three exposed sides need that two-step pass.
An orbital sander handles the flat surfaces fast. Lining pieces up and sanding them together saves time and keeps the height consistent, though a sanding sponge works for the edges if you don’t want to haul the machine out.
Birch splinters less than construction pine, but even birch will catch a sleeve during installation if you skip the 220 pass.
220 grit is the step most people drop, and it’s the one that actually prevents splinters.
What Readers Ask

The same three questions come up every time I mention this project to someone who is thinking about starting their own.
- What wood works best? Pressure-treated lumber holds up if you are building outside, though in a dry climate like Arizona you can get away with standard boards as long as you seal them. A matte protective coating keeps the natural look without the plastic sheen.
- How does installation actually go? Skip the liquid nails. It bonds so hard that removing the panel later tears the drywall. A brad nailer with 1 1/4" nails is the cleaner choice, and a laser level keeps that first row straight. Check level at the middle and both ends of every slat before you nail; a half-inch scrap of plywood makes a quick spacer.
- What tools do I need? A miter saw or circular saw for the cuts, an orbital sander, a drill, and a level. A brad nailer and step ladder round out the list if you are working alone.






